What happens if the ignition coil is connected incorrectly?
Content
The ignition coil is one of the main components in the control system of gasoline internal combustion engines, which is involved in the process of ignition of the fuel-air mixture.
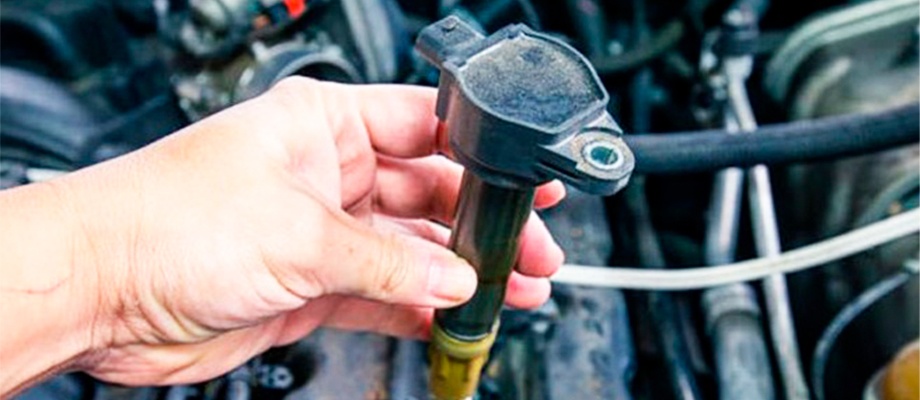
By design, the ignition coil is similar to any other transformer. Electromagnetic induction converts the low-voltage current of the primary winding into a high-voltage secondary, which is then "sent" to the spark plugs to form a spark that ignites the fuel.
To connect a new ignition coil, it is not necessary to know the “secrets” of physical processes, and knowledge of the coil device is worth it in order to follow the sequence of work.
Any ignition coil consists of:
- primary and secondary windings;
- housing;
- insulator;
- outer magnetic circuit and core;
- mounting bracket;
- covers;
- terminals.
It is to the last elements of the coil through the wires, following the instructions, that the remaining components of the ignition system will be connected.
How to connect the ignition coil correctly?
Care must be taken when replacing the coil. Since the coil is a high voltage transformer, in front of it
dismantling the car must be de-energized by removing the wires from the battery. Further work is carried out according to the following scheme:
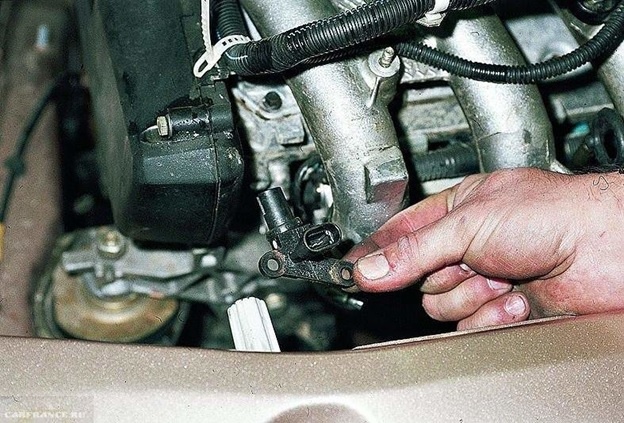
- Remove the high voltage wire from the coil body.
- Unscrew the nut from the "OE" terminal of the coil. then remove the spring washer and wire end.
- Unscrew the nut from the "B +" terminal, remove the washer and the tip.
- Unscrew the two nuts securing the coil to the mudguard.
- Remove the failed coil and install a new one in this place.
- Tighten the coil nuts.
- Screw the nut with the wire to the "B +" terminal, after substituting a new spring washer under the wire end.
- Screw the nut to the "OE" terminal, replacing the spring washer.
- Connect the high voltage wire to the coil body.
It turns out that replacing the coil will take 10-15 minutes. On older cars (after changing the wiring), the colors of the wires may differ. In this case, it is better to mark them when removing the old short circuit. If this is not done, you can see what color leads to the lock or distributor, or ring "plus".
It turns out that even a schoolboy can handle connecting only three “wires” of different colors and sizes. The main goal at the end of the installation is to diagnose the quality of the contacts and fasteners of the case, and also to protect the short circuit from moisture.

When repairing a car, especially when it comes to the ignition system, you need to be extremely careful in your actions. Since you can collide with high-voltage wires. Therefore, when making a change or performing repairs, safety regulations must be observed.
What happens if the ignition coil is connected incorrectly?
If during dismantling you did not remember and did not note which wire went to which terminal, the ignition coil connection diagram is as follows. The terminal with the sign + or the letter B (battery) is powered from the battery, the switch is connected to the letter K.
The correct connection is important, and in the event of a polarity violation, the coil itself, the distributor, and the switch can be damaged.
And then the situation cannot be corrected - the device will only have to be replaced. Before installing a new part, you should remember and take into account previous mistakes so that the next new short circuit does not fail very soon after installation in the car.