Retrofitting the speedometer with LED: Step by step instructions
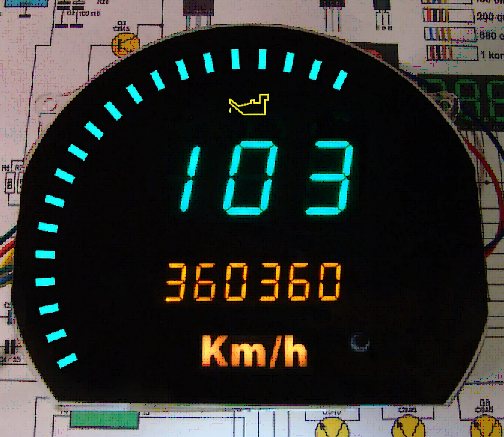
A defect that occurs in older cars is noticed only after a while, as it appears gradually: your speedometer lights up weaker and weaker. This is caused by incandescent bulbs, which can still be found in car dashboards. The proper solution is a light source that will replace traditional light bulbs: the LED.
What are LEDs?
Light-emitting diode is an abbreviation for Light Emitting Diode , an electronic component used to generate light. In many ways, it differs from incandescent lamps.
Diode is the so-called semiconductor , which means it only conducts current in one direction. As a rule, when replacing incandescent lamps with LEDs, this does not matter. .
New lighting has the correct polarity at the factory. If you prefer to adapt the lighting of the instrument cluster with a soldering iron, pay attention to the markings. Both the LEDs and the PCB are always clearly marked . How to correctly determine the polarity and avoid soldering errors will be explained next.
Benefits of LEDs
LEDs have many significant advantages over incandescent lamps. for example:
| – extended service life - less heat dissipation - brighter lighting – additional comfort |
Subject to choosing a decent quality when installing LEDs they can last the entire life of the car and even more. Therefore, it may be appropriate dismantle the replaced LEDs from the speedometer and signaling when scrapping a car. They can be used in the next car without any problems.
- LEDs consume much less energy than incandescent lamps.
- They will transform more energy into the light and emit less heat. This can only be an advantage in a narrow space behind the dash panel.
- LEDs shine much brighter and more powerful than incandescent lamps without generating heat.
Not only that, the LEDs can be dimmed to your liking.
- Latest generation RGB LEDs offer interesting lighting effects .
- RGB is short for Red Green Blue , primary colors capable of generating any color of light.
- RGB LED can be customized to your favorite color or illuminate the speedometer with a spectacular light show.
LED conversion for beginners
Converting a speedometer from incandescent to LEDs is quite simple. All you need:
| – instructions for dismantling the instrument cluster – proper tools – approved lamps - patience and firm hands |
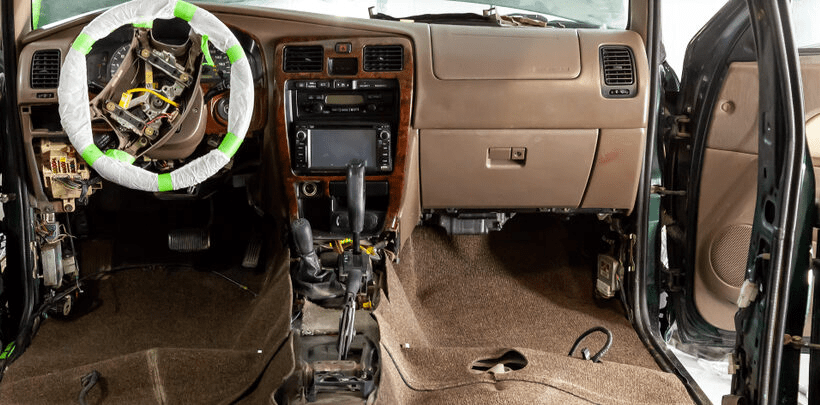
1. Incandescent lamps are attached to the rear of the instrument cluster using swivel connectors. To get to them, you need to remove the instrument cluster.
- Depending on the type of car, this can be a difficult task. . By all means, try to remove the instrument panel without removing the steering wheel.
- The airbag is integrated into the steering wheel. Removal requires technical expertise .

2. There are two things to keep in mind when removing the dashboard. The plexiglass cover is quite thin and can break easily . An awkward cluster turn is often enough to cause a violation. Unfortunately, the cover is not available as a separate spare part. The only option now is to visit the junkyard or look for classified ads. to get a replacement fitting.

3. Window glass should not be removed when replacing incandescent bulbs with LEDs.
- If it is damaged or accidentally dropped do not touch fittings with bare hands.
- The matte black layer is not consistent with the sweat of the palms.
- The spots don't go away . Replacement LEDs are also available as modified LEDs , which means that they are already adapted to the available luminaires.
Therefore, the following procedure is recommended:
| 1. Remove the entire speedometer. 2. Operate the speedometer in a clean work area such as a table. 3. Operate the speedometer with cotton gloves. |
When dismantling the speedometer, the incandescent lamps are removed with needle nose pliers. The protruding socket is clamped and rotated by 90°. Then it can be pulled out.
Now the LEDs are installed in reverse order, the speedometer is installed again - ready.
LED conversion
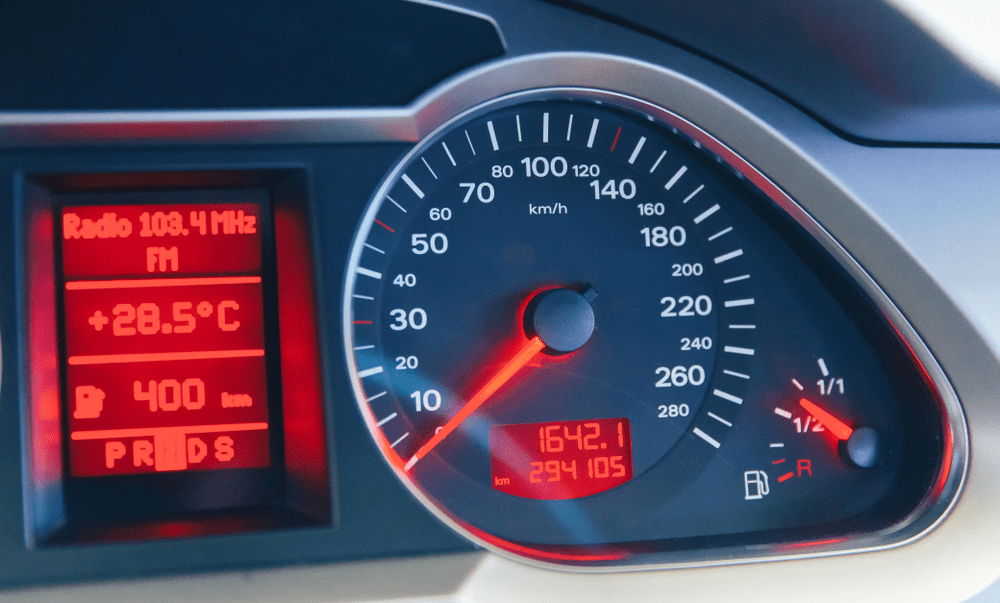
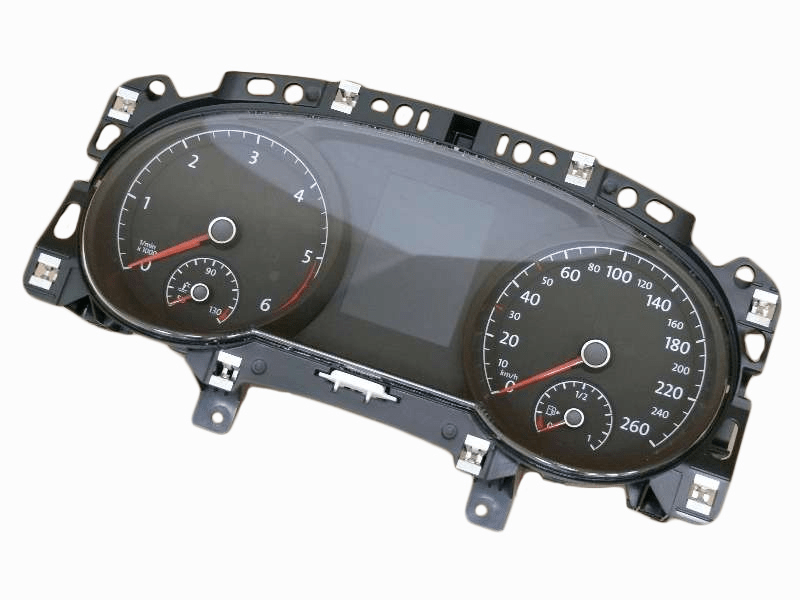
Nowadays, many cars are equipped with LED lights on the speedometer at the factory.
Some manufacturers, for reasons of economy, use lamps of mediocre quality. Therefore, it can happen that supposedly long-lasting LEDs lose their brightness prematurely or fail completely.
Their replacement is somewhat more complicated and must be carefully worked out in advance.
There are two ways to convert the speedometer:
| – Replacement of soldered components. - Transition to LED strips. |
Replacing soldered LEDs is definitely the right and safe way with sufficient experience. If you indiscriminately attack the dashboard with a soldering iron, you will probably do more damage. The most important thing when soldering LEDs is polarity. .

I will say in advance: although the polarity reversal will not cause the cable to ignite, the diode simply will not work. If you didn't notice this before reinstalling the speedometer, all the work was in vain.
Determination of LED polarity
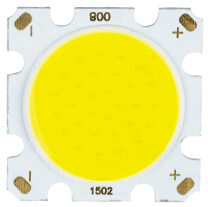
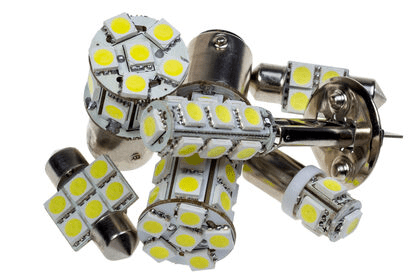
Only SMD LEDs are used to illuminate the dashboard.
- SMD stands for Surface Mount Device , i.e. the component is soldered directly to the PCB surface.
Traditional design Many electronic components have pins that need to be inserted into holes on the PCB and soldered to the back. This design is very complex and especially unsuitable for automated assembly, much less for manual assembly. For DIY purposes » LEDs with pins are still available.
Polarity is determined by the length of the contacts:
- The longer is the anode or positive pole
- The shorter the cathode or negative pole .
- Their position is indicated on the printed circuit board by the symbols + or - or, alternatively, by the letters "A" or "C".
- Pins are cut off after soldering, so used Pin LEDs cannot be used again.
- Soldering SMD is pretty easy. . It is better to use two soldering irons. SMD heats up at both poles and lays aside after a few seconds .
- Soldering is harder . However, the SMD polarity markings are very obvious: SMD is always missing a corner .
This missing corner is marked on the PCB with the symbol . The SMD is set in the direction of rotation, showing the missing corner, terminating the character.
Installing all the SMDs on a speedometer, originally equipped with LEDs, will take several hours. Conditions - the right tools, a firm hand, ideal working conditions and great experience. There is an alternative that needs some work, but may lead to a satisfactory result.
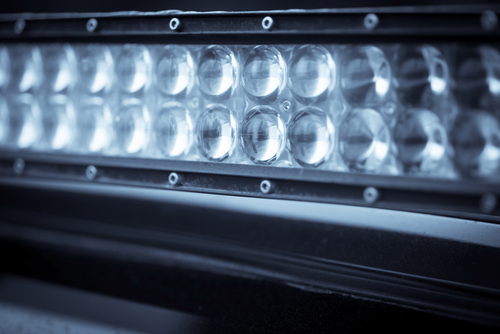
Converting LEDs with Light Strips
LEDs, in particular RGB LEDs, are also available in so-called light strips with SMD soldered to them. These trips can be cut anywhere. Many homemade tuners organize their conversion to LED as follows:
| – Remove the instrument panel. – Remove the window pane from the appliance. - Glue the LED strip to the edge. – Connect the LED strip to the dashboard circuit. - Reinstall everything. |

- Window glass must be removed from the dashboard so you must wear cotton gloves .
- Dashboard now has ambient indirect lighting . This solution fits for exciting illumination of rev gauge, clock, speedometer, engine temperature gauge and all other hand tools.
- This solution is not equipped to manage signals, verification indicators engine, engine temperature, battery current, ABS and airbag indicators .
- Here you depend on traditional lights.
