How to remove scratches on the plastic bumper with and without painting
Content
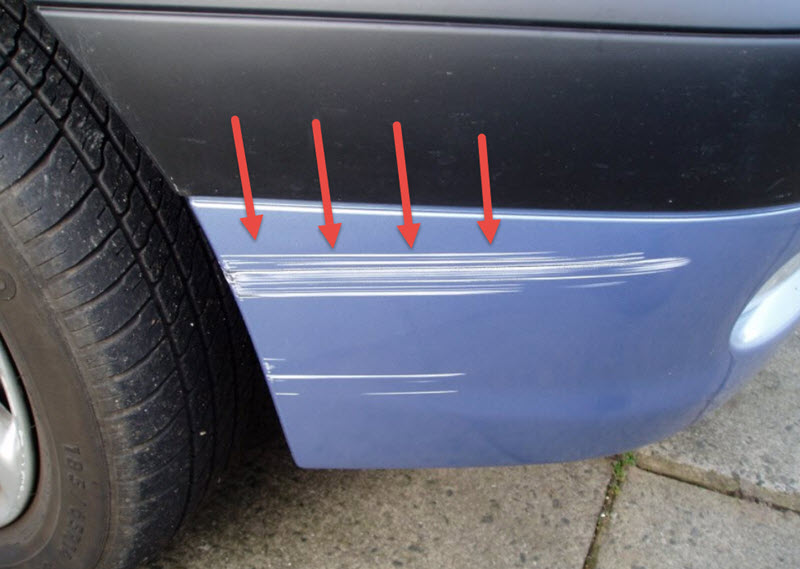
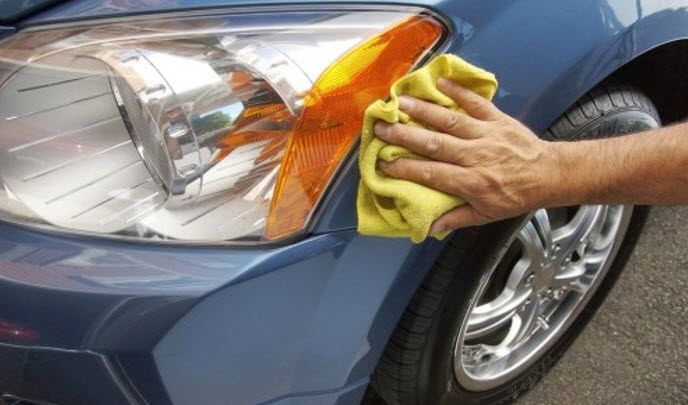
Every motorist, at least once during the entire operation of the car, faced the problem of removing scratches from the bumper. An awkward exit or entry onto a curb, careless parking, small stones that hit the bumper at speed, accidents or deliberate damage to the car by ill-wishers - all this can cause scratches on it.
If the scratch is not serious, and the bumper is made of plastic and is not badly damaged, then you can restore its aesthetic appearance yourself. How to do this will help you figure out the photo and video instructions below.
How to remove bumper scratches without painting
The bumper was scratched, but there is no time and money for painting in a car service? It doesn’t matter, you can remove scratches from the coating without painting, by doing it yourself.

Consider the popular methods of restoring the aesthetic appearance of the bumper without the use of paint materials.
Polishing minor scratches and abrasions
Polishing with chem. products can be used to remove scratches and scuffs on a plastic bumper only if they are shallow and the bumper itself is not cracked. To polish and remove chips, you need WD-40 and an ordinary rag.
Any chemical is suitable for polishing. composition intended for such purposes. The tool can be purchased at almost every auto shop for little money.
The process of eliminating minor damages and abrasions using a VD-shki:
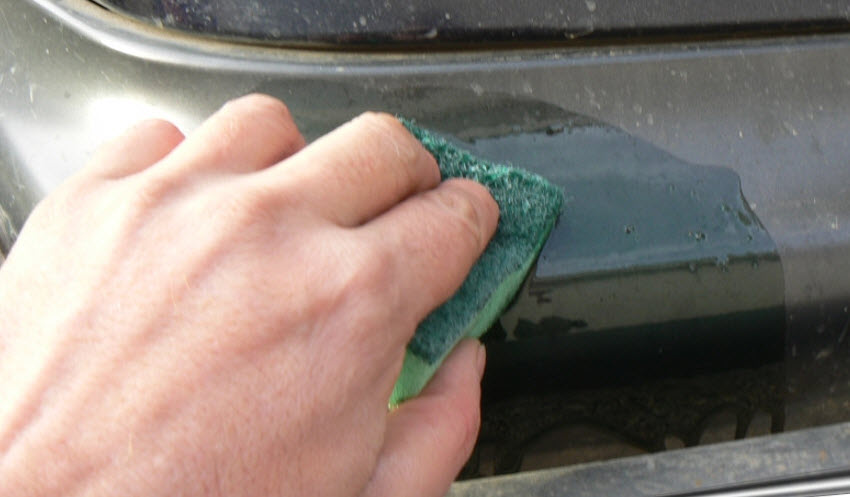
1) Using a sponge with water, we clean the damaged area from dust and dirt. Let's dry a little.
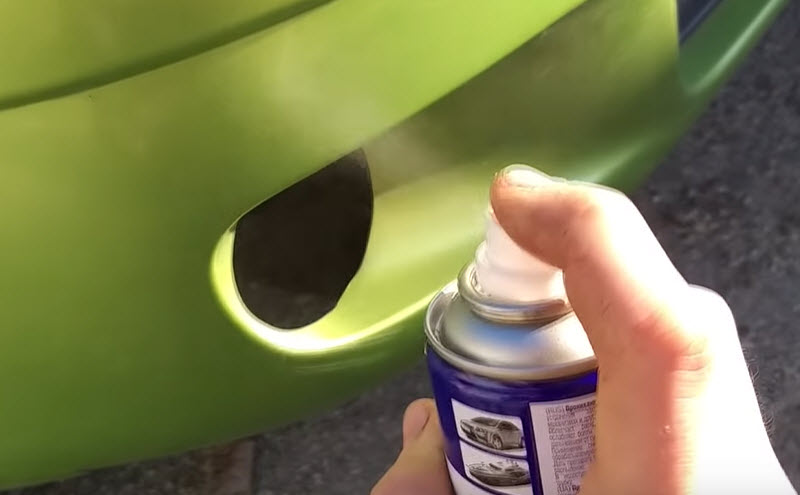
2) Spray on the damaged area.
3) Intensively rub and polish the scratched area with a rag until the surface is smooth and no scratches are visible.
Polishing Benefits:
- Simplicity and accessibility;
- Speed of execution.
You can learn more about the polishing method from the video.

If we talk about the classic method of polishing plastic parts with a special paste, then this method is much more effective, but also more difficult.

Removing deep scratches with a hair dryer
The method is easy to perform and does not require any special skills and knowledge.
Of the tools you will need a building hair dryer and a chemical. degreaser. Please note that the hair dryer can only be processed unpainted areas.
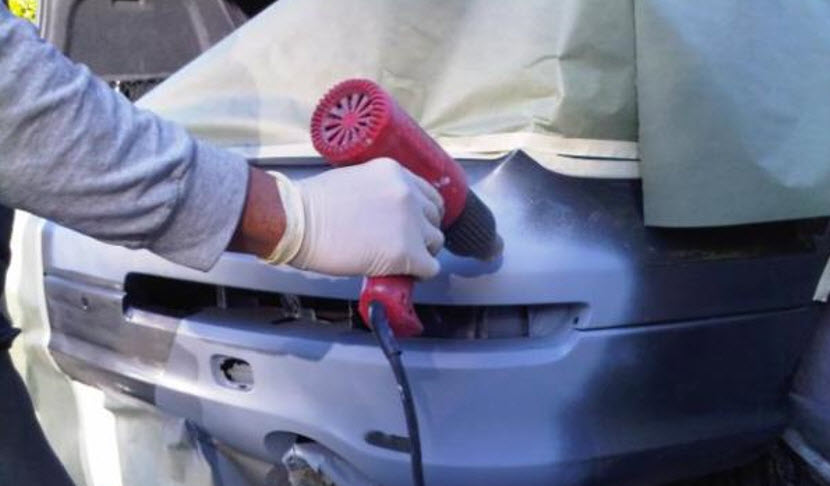
- Damaged surfaces must be treated with a degreasing agent to remove dust deposits and dirt.
- Further, the damaged areas are intensively heated with a hairdryer, under the influence of high temperature the plastic melts and straightens. Heating must be even.
Benefits of blow dry scratch treatment:
- Speed and availability;
- It requires special skills;
- Cheap.
Disadvantages:
- There is a high probability of plastic deformation;
- The method is only suitable for unpainted bumpers.
How to eliminate scratches with a hair dryer can be found in the video review.

What is a wax pencil capable of
A wax pencil is a universal synthetic tool made from polymer compounds. Suitable for painting over shallow and thin damage to the bumper paintwork.
A pencil can be purchased at an auto shop or ordered online.
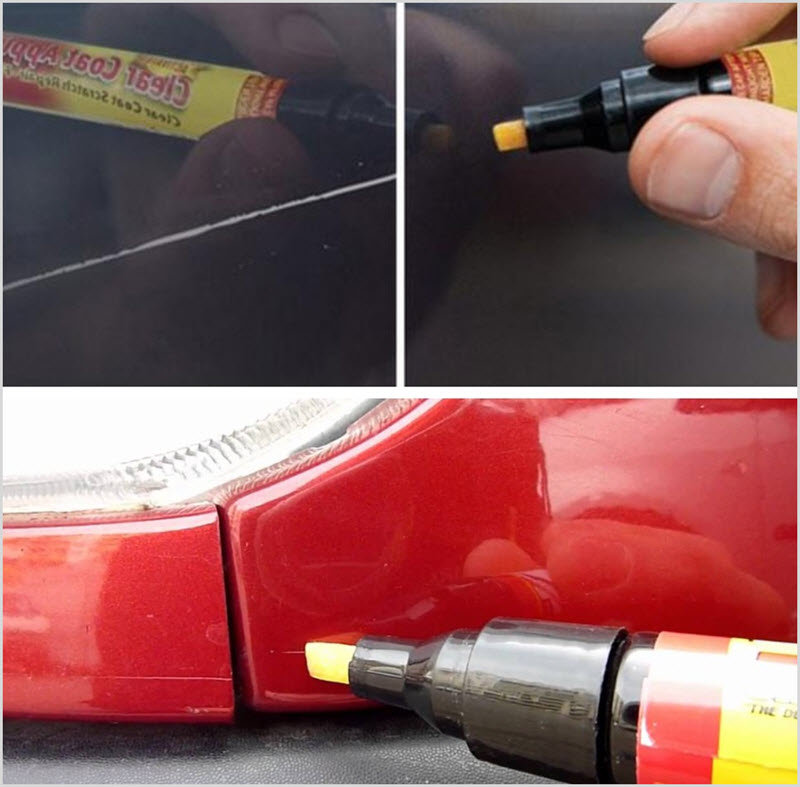
The application of the pencil is simple: just make a few strokes in the place of damage and the scratch will be removed.
Principle of action: the chemical composition of the corrector fills the damaged areas and aligns them with the common surface, forming a protective layer.
Step-by-step instruction:
- The damaged surface is cleaned of dirt and treated with a degreaser;
- The treatment site is thoroughly dried.
- With neat strokes, the scratch is evenly painted over.
Benefits of wax crayon:
- Simplicity and accessibility;
- No need to paint the bumper;
- Convenience and cheapness;
- Durability;
- Forms a protective anti-corrosion layer;
- Safe for paint.
Disadvantages:
- The method is effective only for shallow and subtle lesions.
How to use a wax pencil, see this video.

How to fix scratches on a plastic bumper by painting
Not all mechanical damage to the body can be eliminated without a trace without resorting to painting. If deep cracks or wide scratches have formed on the bumper, then they can be eliminated only with the help of special paint.
Painting any surface of a car, including a plastic bumper, consists of three stages:
- Grinding - the damaged area must be thoroughly cleaned and sanded;
- Primer - used to level damaged areas with a primer mixture;
- Painting - applying paint to the entire bumper or to damaged areas.
Let's consider in detail each of the stages.
Grinding
To sand a scratched auto-bumper at home, you will need the following materials and tools:
- Sandpaper "on the water" R-800;
- Rubber squeegee;
- Emery wheel R-2000;
- Sander;
- Rag and bucket of water.
Please note that repairing wide cracks and damage requires painting the entire bumper, as finding the right paint color is often problematic.
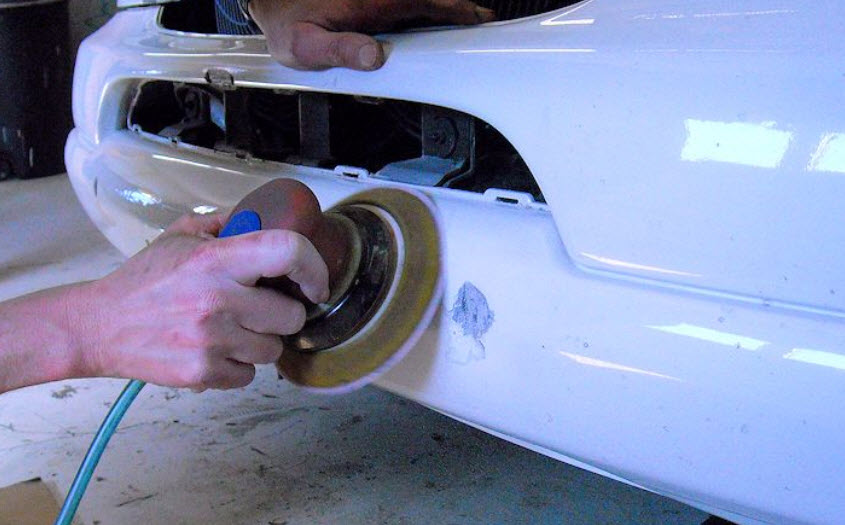
The grinding process is as follows:
- To make it convenient to work with the bumper and have access to all its sections, it is necessary to remove it and fix it in a horizontal position on a stand.
- Rinse thoroughly with water, clean damaged areas and the entire bumper from dirt and dust.
- First, we process the entire surface of the bumper with coarse sandpaper, using an emery wheel and a grinder.
- Next, with a rubber squeegee and fine-grained sandpaper, we process the surface manually, grind and level the layers.
A video instruction for grinding is available at the link.

Primer
Necessary tools and materials:
- Degreaser (white spirit, etc.);
- Moisture absorbent cloth;
- Priming mix;
- Spray.
Priming is done like this:
- After the bumper is sanded, it is necessary to wipe it with a dry cloth so that it completely absorbs moisture.
- The entire surface is degreased with a solvent or similar reagent.
- Carefully in several layers, the surface of the auto-bumper is covered with a primer mixture.
- The part is left to dry for a day in a ventilated area.
Link to video instruction on priming.

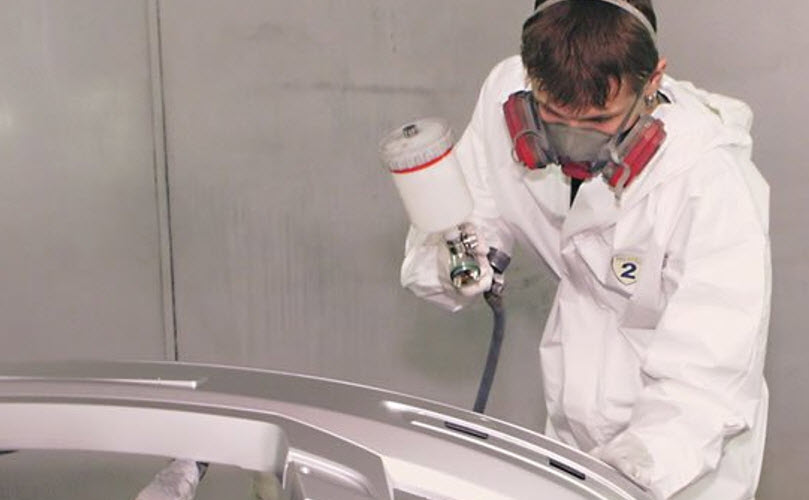
Coloration
Tools and materials:
- Spray gun or spray paint;
- A can of paint and thinner (if a spray gun is used);
- Polishing mixture;
- Dry soft cloth.
Painting process:
- First, the primer is cleaned so that the surface to be painted is smooth and without roughness;
- After that, the paint is diluted with a solvent (usually the proportions are indicated on the package) and poured into a spray bottle. If a can is used for staining, then a solvent is not needed, just shake it before starting work.
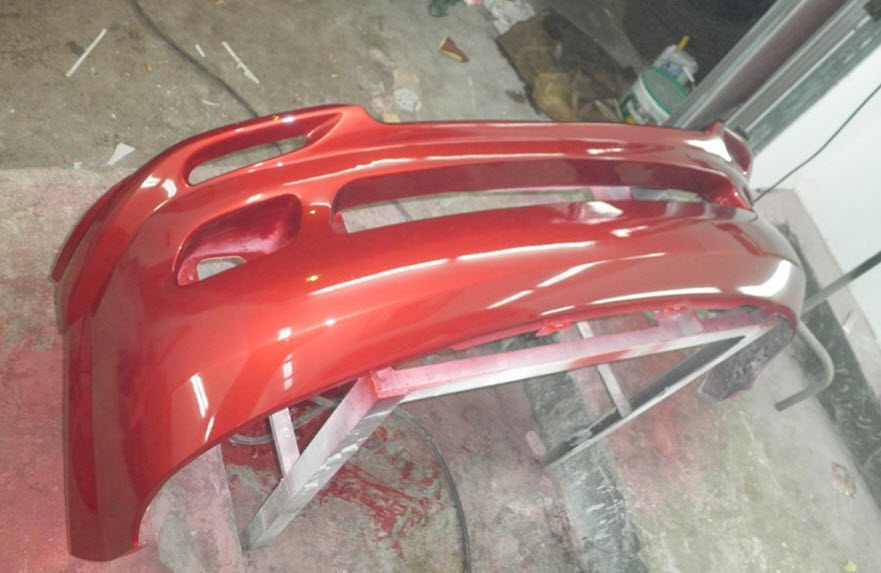
- The surface of the auto-bumper is evenly coated in several layers of paint and left to dry.
- After the paint has dried, it is necessary to polish the updated auto-bumper to a shine. For these purposes, use a polish or you can get by with a rag with wax.
How to paint a car bumper with a can can be found in the video instruction.

How to protect a plastic bumper from chips and scratches
There are several types of car bumper protection from scratches and chips that you can do yourself:
- Kenguryatnik - a metal grill that is installed on the front or rear bumper. Made from metal pipes. Depending on the design, it can protect not only the auto-bumper, but also part of the bottom of the car;
- Molding - a plastic strip that is glued to the car bumper and protects it from minor damage. Can be fixed with self-tapping screws or put on glue;
- Masking tape and wrapping film - this method protects more from dirt and small insects than from real damage;
- Liquid cover is a special silicone gel that can be used to treat a car bumper before long trips. The coating protects against minor damage, but it is ineffective during impacts and collisions with obstacles.
As you can see, even an inexperienced car owner can bring a scratched and damaged plastic bumper into a normal aesthetic appearance with their own hands.