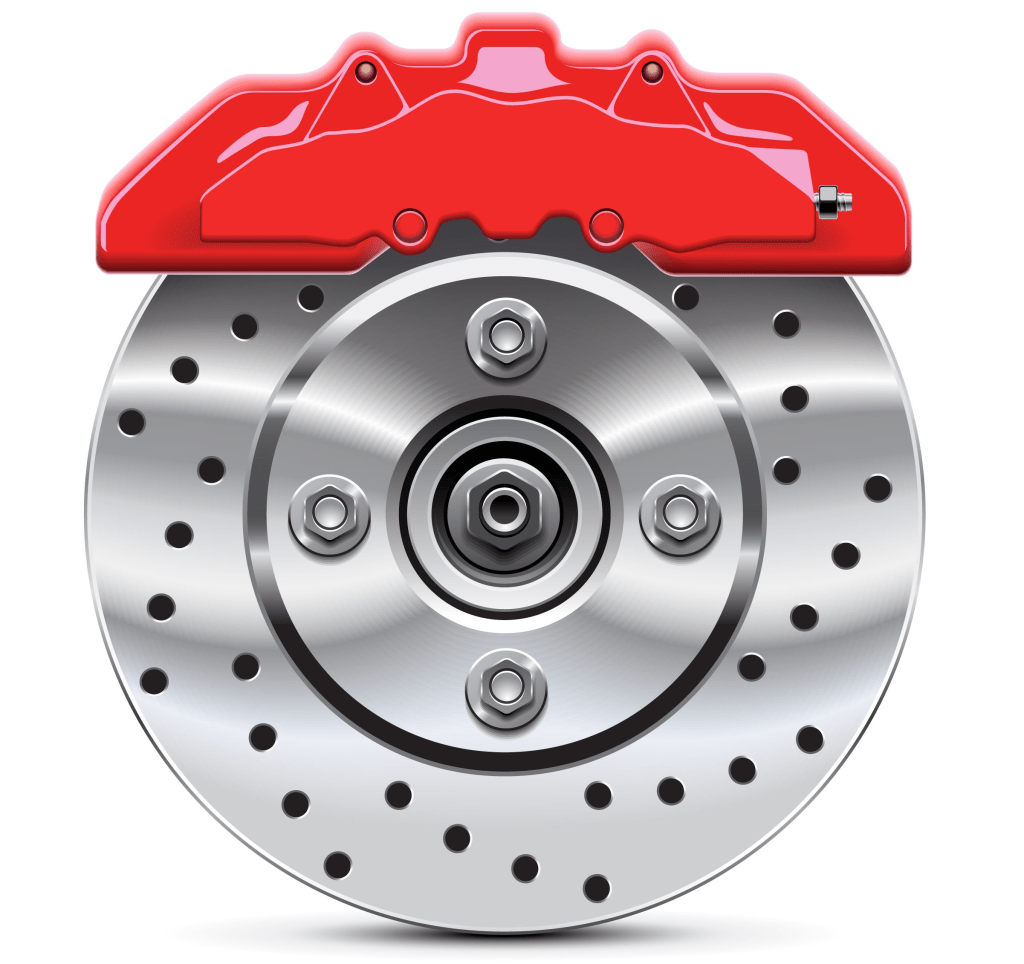
Brake caliper painting: an important detail and a real eye-catcher!
Content
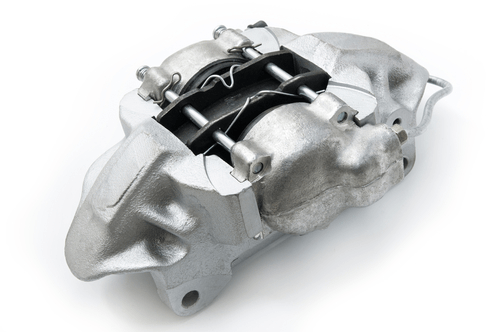
As a component, the brake caliper is on the back row. It is not even visible on a car with conventional rims or hubcaps. So why draw it at all? Read here how to upgrade your caliper and make your car beautiful.
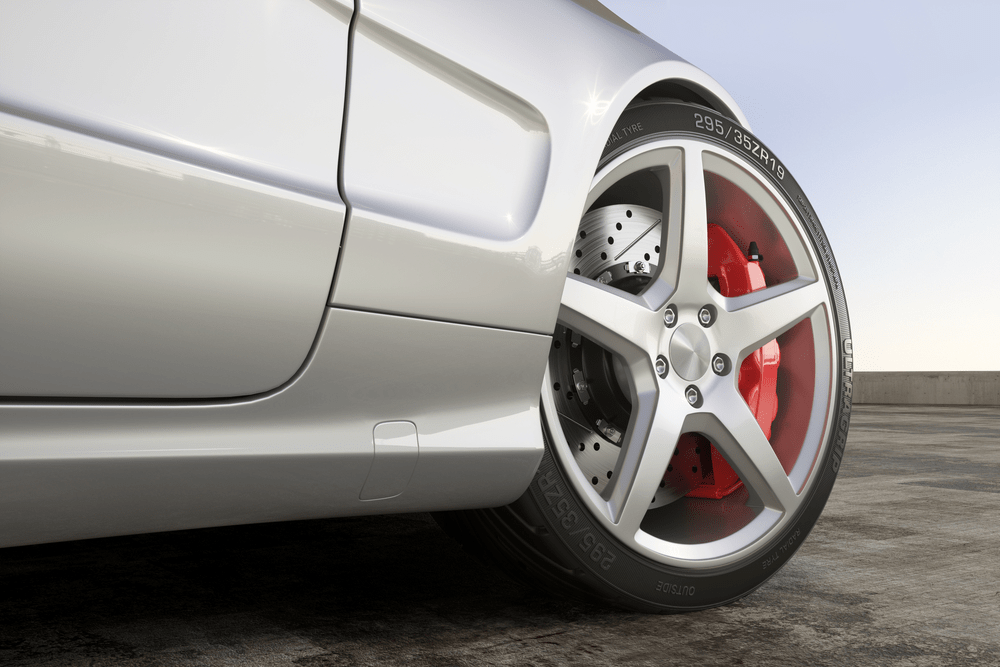
Therefore, you only need to carefully look at the rims. Their design is usually very filigree and thin. This reduces weight and provides a good view of the wheel mechanism. The caliper hanging there is clearly visible : grayish black, dirty and rusty . Between the beautiful aluminum rims and the clean brake disc, it looks dirty. Especially if you've invested in the look of the car, an unpainted brake caliper is embarrassing. Retail and industry have already adapted to this problem.
Only one way is right
There are several options for painting a car. Spray painting and wrapping are common procedures. If the budget is limited and the car is just a means of transportation, you can use a roller brush. For a brake caliper, there is only one correct way to update it: with a brush.
The complex mechanism surrounding the brake caliper does not allow any other procedures . Wrapping does not make sense, as the high temperature of the brake caliper can cause the foil to melt. Spray painting is not recommended as the coating is too thin. In addition, you run the risk of spray painting the sensors and rubber bushings, which can significantly impair the performance and life of these components. Only a brush and a steady hand guarantee the correct application of the paint.
Plan 6-8 hours to paint brake calipers.
What you need
Retailers now offer complete paint kits, especially for brake calipers. The contents of these sets vary. The complete set includes:
– brake cleaner
– two-component coating consisting of paint and hardener
- mixing bowl
- brush
- disposable gloves.
If the kit contains only one bottle of brake cleaner, we recommend buying at least a second one. For old and very dirty brake calipers you will additionally need:
- stiff brush or dish brush
- steel brush
– angle grinder with brush attachment
– brake cleaner
- sandpaper or abrasive disc
- masking tape
- Mouth plug and goggles.
- Extra brush and mixing bowl.
Preparation determines the end result
 Preparation is the determining factor for the final staining result. The more effort and care put into preparing the car, the easier the painting itself will be and therefore the better the end result. |
| Preparation consists of three stages: – disassembly – cleaning – gluing . Don't worry, the brake caliper doesn't need to be completely disassembled for painting. However, it does require some attention before you start attacking rust and dirt with an angle grinder. |
| Special care is required: - all rubber bushings - all air ducts – sensors |
The bushings and the ducts they protect must not be removed. However, you should keep an eye on them throughout the painting process. If something happens to them, you risk getting a serious defect. A damaged bushing loses lubrication, allowing water and dirt to enter. Water causes rust in air ducts. Dirt leads to jamming of the brake caliper. The result is a sticking brake that only works on one side. This can lead to a very dangerous traffic situation and must be corrected immediately. However, this is not cheap. As a rule, it is necessary to install a completely new brake caliper. Sensors, on the other hand, can be easily removed. The ABS sensor and brake pad wear sensor can be removed and hung aside. The cable is especially important here. It cannot be damaged. Disassembly effectively prevents this risk. |
Scrub until you cry
The brake caliper is particularly contaminated. . Especially the abrasion of the brake linings settles on it in the form of dust and gradually cakes. Added to this is tire abrasion and dirt from the road. The caking layer cannot simply be wiped off, it must be removed by force, chemicals and, if necessary, a suitable tool. The layer is rather unhealthy. Therefore: When cleaning the brake caliper, be sure to wear a protective cap and goggles . Useful and gloves: the paint can only be removed with a solvent, which is not at all pleasant for the skin . |
Start by rough cleaning with a steel brush after removing the bracket. Smooth surfaces can be cleaned quickly and effectively with using an angle grinder . Corners require manual application . In places that are dangerously close to the bushings, clean them with a sponge and plenty of brake cleaner. Brake cleaner is very effective and also very volatile. Therefore, always ensure sufficient ventilation when cleaning the brake caliper. If you feel dizzy, stop work and go outside for fresh air. . |
After pre-treatment with a sanding brush and a hand-held steel brush, rinse the brake caliper thoroughly again with brake cleaner using a large paint brush or dish mop. These tools do not pose a risk to rubber bushings. However, be especially careful with small rubber boots. Clean all brake calipers before painting the first one. |
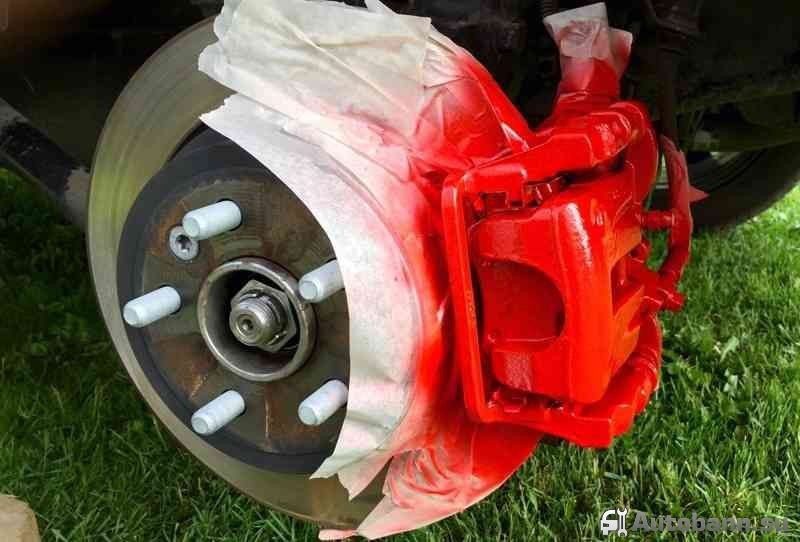
Unsticking – unpopular but sensible
Expert opinion tends to differ on whether to tape . You can never go wrong doing this as it guarantees a clean result. For pasting, paint is used Scotch . Anything that is not paintable gets a protective cover. The brake disc is protected from paint splashes with special adhesive tape. Especially the holes in the brake caliper must be closed with plugs to prevent paint from leaking. This applies especially to the holes in the bracket. They can be plugged securely with a piece of wire, a match, or a toothpick. Brake caliper paint hardens quickly and becomes very viscous, so once hardened, it can only be removed with considerable effort. Therefore, it makes sense to remove the tape, especially for inexperienced painters. |
Mix the coating according to the instructions
| Brake caliper paint is supplied as a two component solution. The mixing ratio is indicated on the package. Be sure to stick to it very precisely. If too much hardener is used, painting becomes difficult because it dries too quickly. Too little hardener will take too long to dry. After mixing, leave for approx. 10 minutes. The brake caliper is painted from top to bottom. Always make sure that the paint does not run. When painting with a brush, strokes on the paint are always visible, which is compensated by the second coating. However, even when using the correct mixing ratio, brake caliper paint requires a long drying time. The second coating should be applied only after 3-4 hours. In the meantime, the brush and mixing bowl can dry completely. A clean, empty yogurt bowl is fine for making a new mix. The second coat gives the brake caliper the finishing touch. Let the second layer dry completely. |
Now the car can be assembled again. Don't forget the sensors!

Tip: The bracket can also be adjusted. By doing this in a contrasting color, you give your car's exterior a special touch.
Details matter
A painted caliper is a small but eye-catching detail in the overall appearance of your car. With a little effort and using cheap tools, you can give your car an optical look. What's more, painted brake calipers increase the resale value of the car.