Do-it-yourself tuning of the VAZ 2110 salon
Content
Every car owner sooner or later thinks about changing something in his car. Owners of the VAZ 2110 are no exception. Many of them prefer to make changes to the interior of the car, improving the appearance of the dashboard, steering wheel, seats. Let's figure out how it's done.
Dashboard upgrade
The main problem of the dashboard on the VAZ 2110 is that it is very soft and can be deformed even from a finger poke. Therefore, car owners seek to strengthen it. Here's what you need for this:
- screwdriver with a set of open-end wrenches;
- sandpaper;
- epoxy resin;
- mounting foam;
- fiberglass.
Sequencing
The main thing that the driver must understand is that you need to work with the panel very carefully. She's easy to break.
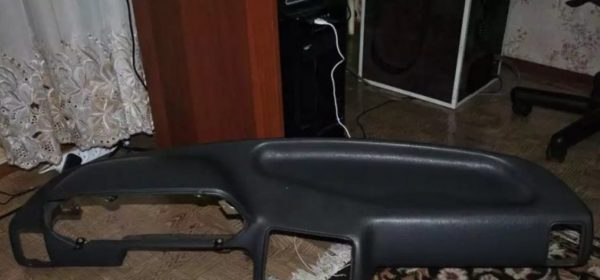
- Since it is impossible to work with the panel in the cabin, it will have to be removed by unscrewing the fasteners with a Phillips screwdriver.
 To upgrade the dashboard, it will have to be removed from the "tens"
 - The removed panel is thoroughly cleaned of dust and dirt. This is done with a piece of dry rag.
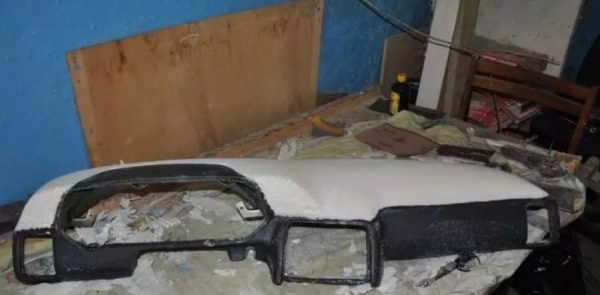
- A thin layer of mounting foam is applied to the cleaned outer surface of the panel.
- When the foam hardens, it is given the desired shape with sandpaper.Mounting foam on the surface of the panel hardened, and it was treated with sandpaper
- The resulting surface must be strengthened. To do this, fiberglass is laid on it in several layers, which is fixed with epoxy resin. After the glue dries, the surface is again treated with sandpaper.
- Now it remains to paste over the panel with a high-quality vinyl film. Its choice depends on the preferences of the driver. Many choose a film painted under carbon.
Improved instrument lighting
The backlight of the dashboard on the VAZ 2110 has never been bright, since it uses ordinary incandescent bulbs. Therefore, drivers often replace them with LEDs. They are brighter. And they last longer.
Sequence of operations
To install the LEDs, you first have to remove the instrument cluster from the panel. The light sockets are located on the back wall of this unit, and there is no other way to get to them.
- The steering wheel of the car is set to the lowest position.
- Using a Phillips screwdriver, two self-tapping screws located above the devices are unscrewed.
- After that, the decorative trim can be pulled out by pulling it towards you.
- Under it there are 3 more self-tapping screws that hold the instrument cluster with light bulbs. Self-tapping screws are unscrewed with the same Phillips screwdriver.
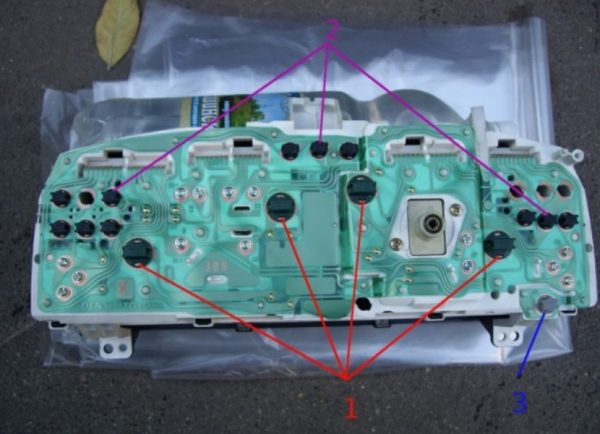
- The instrument cluster is removed. All wires are disconnected from the rear panel. Incandescent bulbs are removed and replaced with LEDs.The arrows show the location of the backlight bulbs, which are replaced by LEDs.
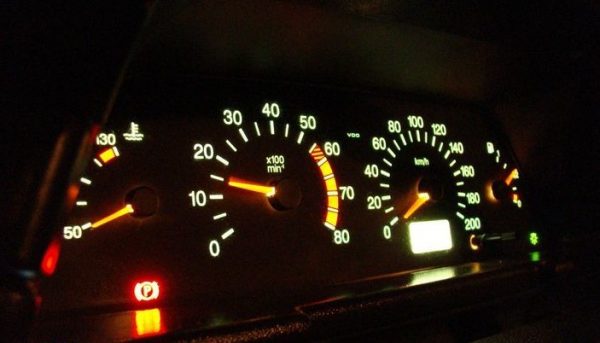
- The block is installed in place, then the dashboard is reassembled.Dashboard with LED lights looks much brighter
Ceiling painting
Over time, the ceiling of any car gets dirty and changes color. It may have spots on it. All this looks very unsightly. Some drivers order a ceiling banner. Doing it in a garage is not so easy. And specialist services are expensive. That is why many drivers prefer to paint the ceiling of the car, rather than drag it. Here is what is required for this:
- paint is universal. Sold in cans (2110 pieces are required for the VAZ 5 salon). The disadvantage of this paint is that it begins to crumble after a few years. In addition, the interior of the car after such painting has to be ventilated for several days;
- mixture of water-based and universal paint. This option is used as an alternative to the previous one. On the ceiling, this mixture holds better.
Sequencing
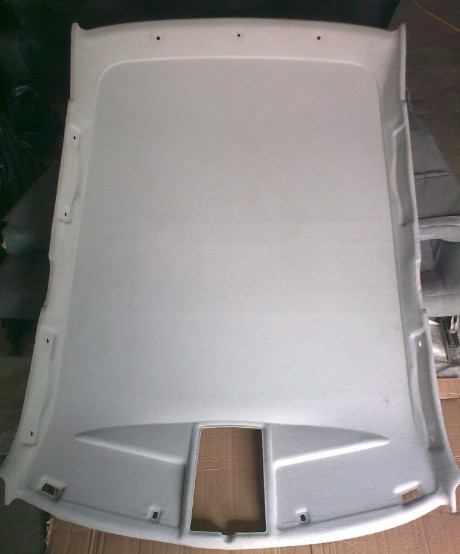
Before starting painting, the ceiling covering will have to be removed from the machine.
- Using a Phillips screwdriver, all the screws that hold the ceiling covering are unscrewed. There are several plastic clips around the perimeter, they open manually. The ceiling covering is removed from the passenger compartment.To paint the ceiling covering of the VAZ 2110, it will have to be removed from the passenger compartment
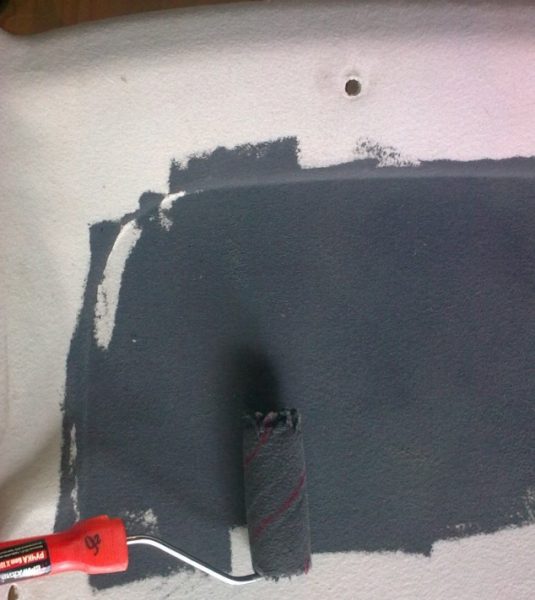
- If the driver has chosen the option with mixed paints, then water-based paint is mixed with universal paint in approximately equal proportions until the consistency of the mixture becomes like that of water.
- The resulting paint is applied to the ceiling with a conventional paint roller. In this case, the layer of paint should not be too thick so that the material is not soaked through.Paint on the ceiling covering VAZ 2110 is applied with a simple paint roller
- The painted ceiling covering is dried in the open air, then mounted back into the salon.It may take several days for the ceiling coating to dry completely.

Improved sound insulation
The noise level in the cabin of the VAZ 2110 is quite high. Therefore, car owners independently improve the sound insulation of the “tens” cabin by using the following materials:
- vibroplast. The material is similar to rubber with an admixture of foil. Fits on all metal surfaces in the cabin. For the interior of the VAZ 2110, 7 sheets of 500 by 1000 mm in size are required;
- isolon. The thickness of the material is at least 5 mm. Fitted on vibroplast. It is better to buy isolon in a hardware store, and not in a spare parts store (it will be cheaper this way);
- foam rubber The thickness of the material is not less than 1 cm;
- building mastic;
- White Spirit.
Sequence of work
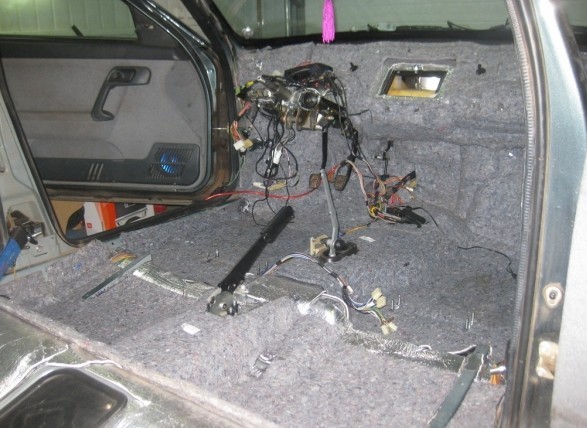
Before starting work on soundproofing the cabin, the VAZ 2110 should be disassembled. The instrument panel, seats and everything that can interfere with the laying of the soundproofing coating is removed from it.
- Dust, dirt and debris are carefully removed from all metal coatings.Before starting work on soundproofing, the interior should be cleaned of dirt and everything superfluous should be removed from it.
- Building mastic is diluted with white spirit so that in consistency it becomes like very liquid sour cream.
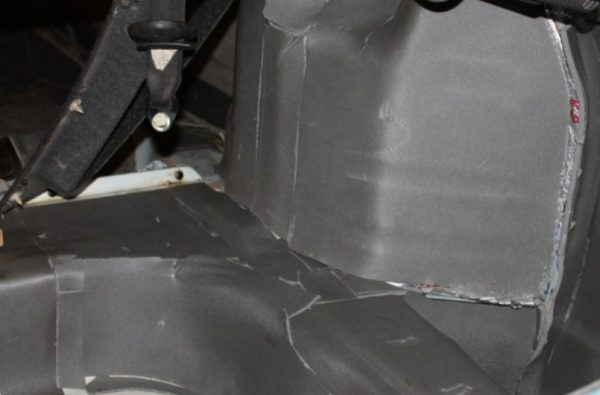
- The first stage is pasting the interior with vibroplast. The operation starts from the front of the cabin. Vibroplast sheets are glued under the dashboard using prepared mastic. It is applied with a brush.Vibroplast is always glued to the front panel first
- Next, the vibroplast is glued to the front and rear doors, from which all trim must be removed before this.
- The next step is laying the vibroplast on the floor (special attention should be paid to the area of the floor under which the muffler is located).
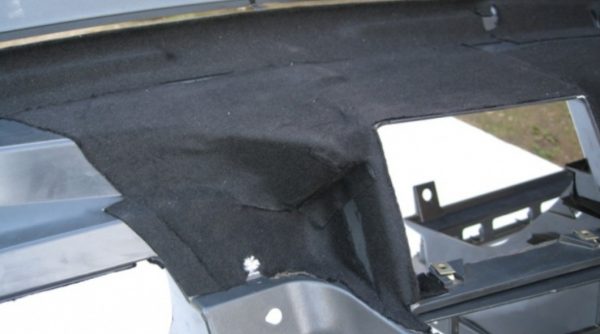
- Now the isolon is glued onto the vibroplast. Pieces of the appropriate shape are cut out and attached to the same mastic.Isolon is glued to the wheel arch over the vibroplast
- The final stage is foam rubber. It is glued to ordinary "liquid nails", and not everywhere. Usually, the space under the torpedo, the ceiling and the doors are treated with foam rubber. There is no point in laying foam rubber on the floor: under the feet of passengers, it will eventually crumble and lose its soundproofing properties.
- After applying the coating, the VAZ 2110 interior is reassembled.
Steering wheel cover
Without a braid, the steering wheel on the VAZ 2110 seems thin and slippery, which does not have the best effect on driving safety. So after buying a car, car owners usually install a braid on the steering wheel. You should choose the size "M", designed for steering wheels with a diameter of up to 39 cm (this is the wheel that is standard for the VAZ 2110).
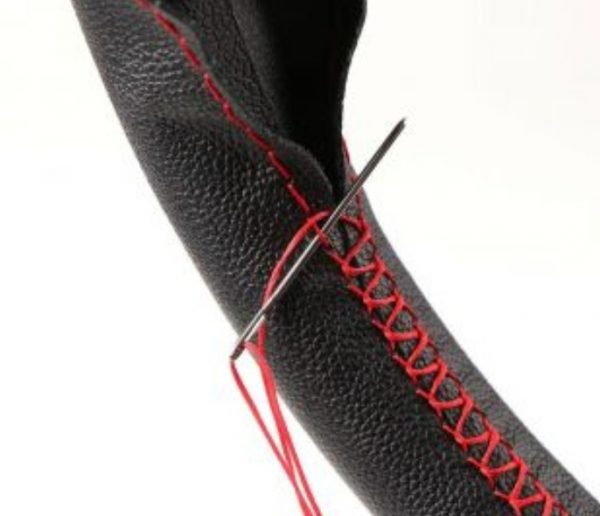
The acquired braid is put on the steering wheel, its edges are tightly sewn together with a clamp needle and a strong nylon thread.
Replacing the steering wheel
To change the steering wheel, you will need a Phillips screwdriver and a 24 socket.
- The overlay with the inscription "Lada" is hooked with a screwdriver and removed.To remove the trim with the inscription "Lada", it is enough to pry it with a screwdriver
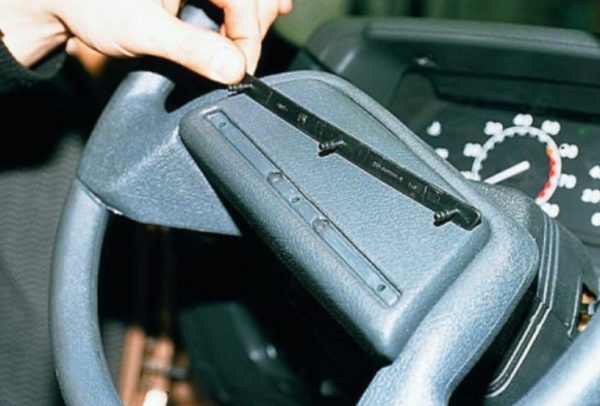
- The horn switch panel is held on by 3 screws. They are unscrewed with a Phillips screwdriver. The panel is removed.
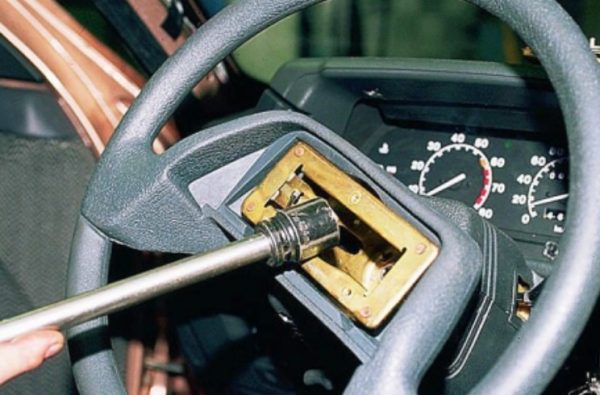
- Access to the 24 nut holding the steering wheel is opened. It is twisted with a head.The fixing nut of the steering wheel is unscrewed by the head by 24
- The steering wheel is removed and replaced with a new one.After unscrewing the fixing nut, the steering wheel can be easily removed.

Video: remove the steering wheel on the VAZ 2110

About replacing seats
Regular seats on the VAZ 2110 have never been comfortable. Therefore, motorists put seats from the following cars in their place: Skoda Octavia A5, Hyundai i30 or BMW E60.
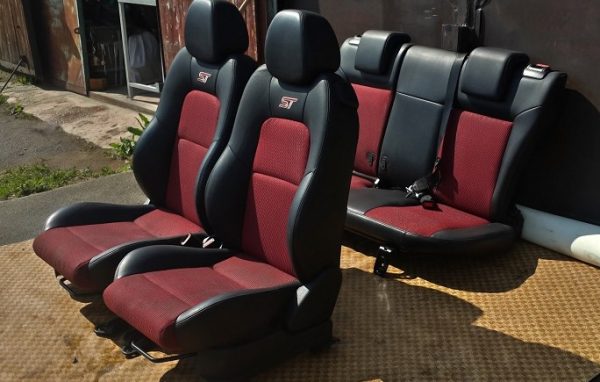
All these chairs differ in the thought over design, convenience and compactness. It is not possible to install them in a garage, since the fasteners will have to be seriously modified and digested. So the car owner has one option: to drive the car to the appropriate car service, having previously agreed with the experts. The price of such a service is from 40 to 80 thousand rubles.
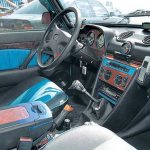
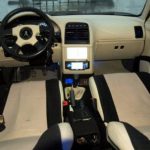
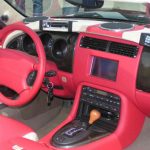
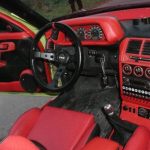
Photo gallery: VAZ 2110 salons after tuning
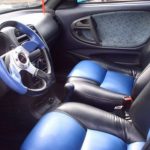
-
- Blue leatherette inserts blend seamlessly with the gray background of the interior
-
- The car owner used leatherette and vinyl of the same color for interior trim
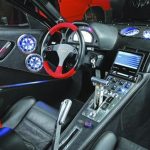
-
- The interior of this "ten" is more like a spaceship cabin
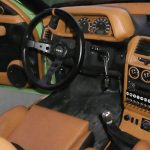
-
- This driver limited himself to plastic inserts in the cabin and the installation of an armrest
-
- The decoration of this salon is dominated by plastic and carpet
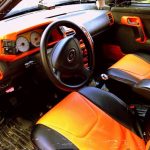
-
- The panel is trimmed with red vinyl, the braid of the same color is installed on the steering wheel
-
- Here the emphasis is on leatherette and plastic inserts.
-
- An original and highly contrasting color combination that makes the interior truly unique
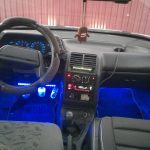
-
- In this "top ten" only LED lighting of the floor and pedals is implemented
-
- On the seats - red leatherette covers, in the doors - red plastic inserts

So, every motorist can improve the interior of the VAZ 2110. The main thing in this business is not to get carried away. Excesses are not beneficial in any business. And car tuning is no exception.

