Making a bumper for a car with your own hands
Content
The original bumpers for cars are made of plastic, but at home you won’t be able to work with such material. Looking for a budget replacement. When choosing a material, it is important to consider its density and ability to withstand moisture, sun and damage.
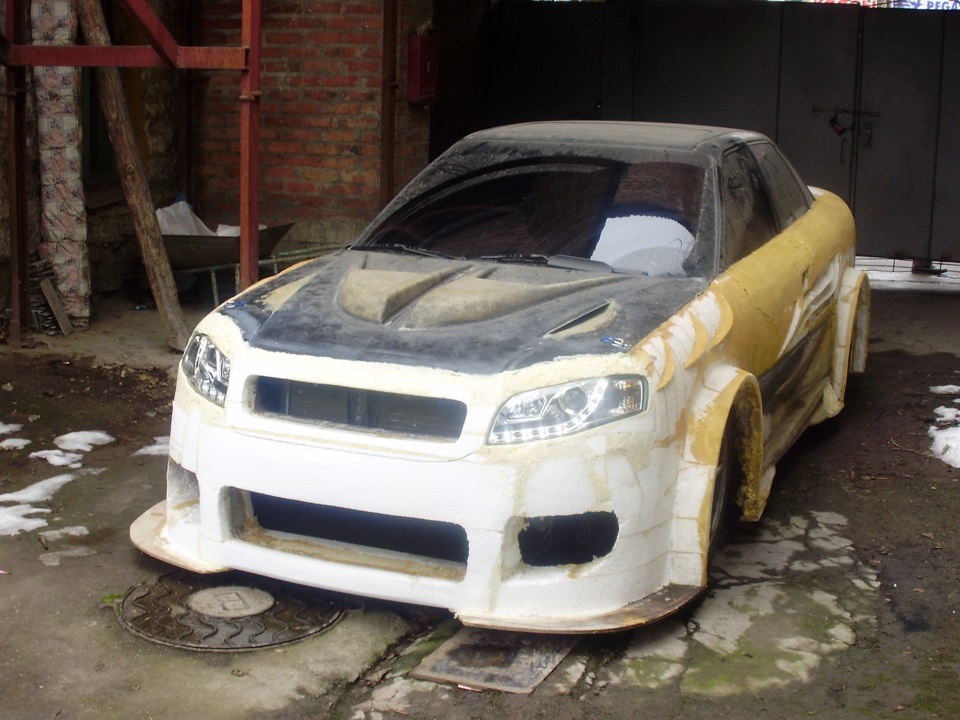
For car owners, the appearance of the vehicle is important. To update it, you can make a bumper for a car with your own hands. Home tuning will be cheaper, but it requires certain skills, effort and free time. First you need to figure out how to make a bumper for a car with your own hands.
What to make a bumper with your own hands on a car
The original bumpers for cars are made of plastic, but at home you won’t be able to work with such material. Looking for a budget replacement. When choosing a material, it is important to consider its density and ability to withstand moisture, sun and damage.
Foam bumper
You can make a bumper for a car with your own hands from polyurethane foam. The manufacturing process here is quite simple and labor-intensive, and the main material is cheap.
Do-it-yourself foam bumper
When drying, the foam increases in size several times, so it is better not to overdo it during pouring.
To create a blank, you need 4-5 cylinders. The design will dry for about 2-3 days. This will be followed by the step of cutting out the shape, it will require another 1-2 cans of foam to fill the voids.
Foam bumper
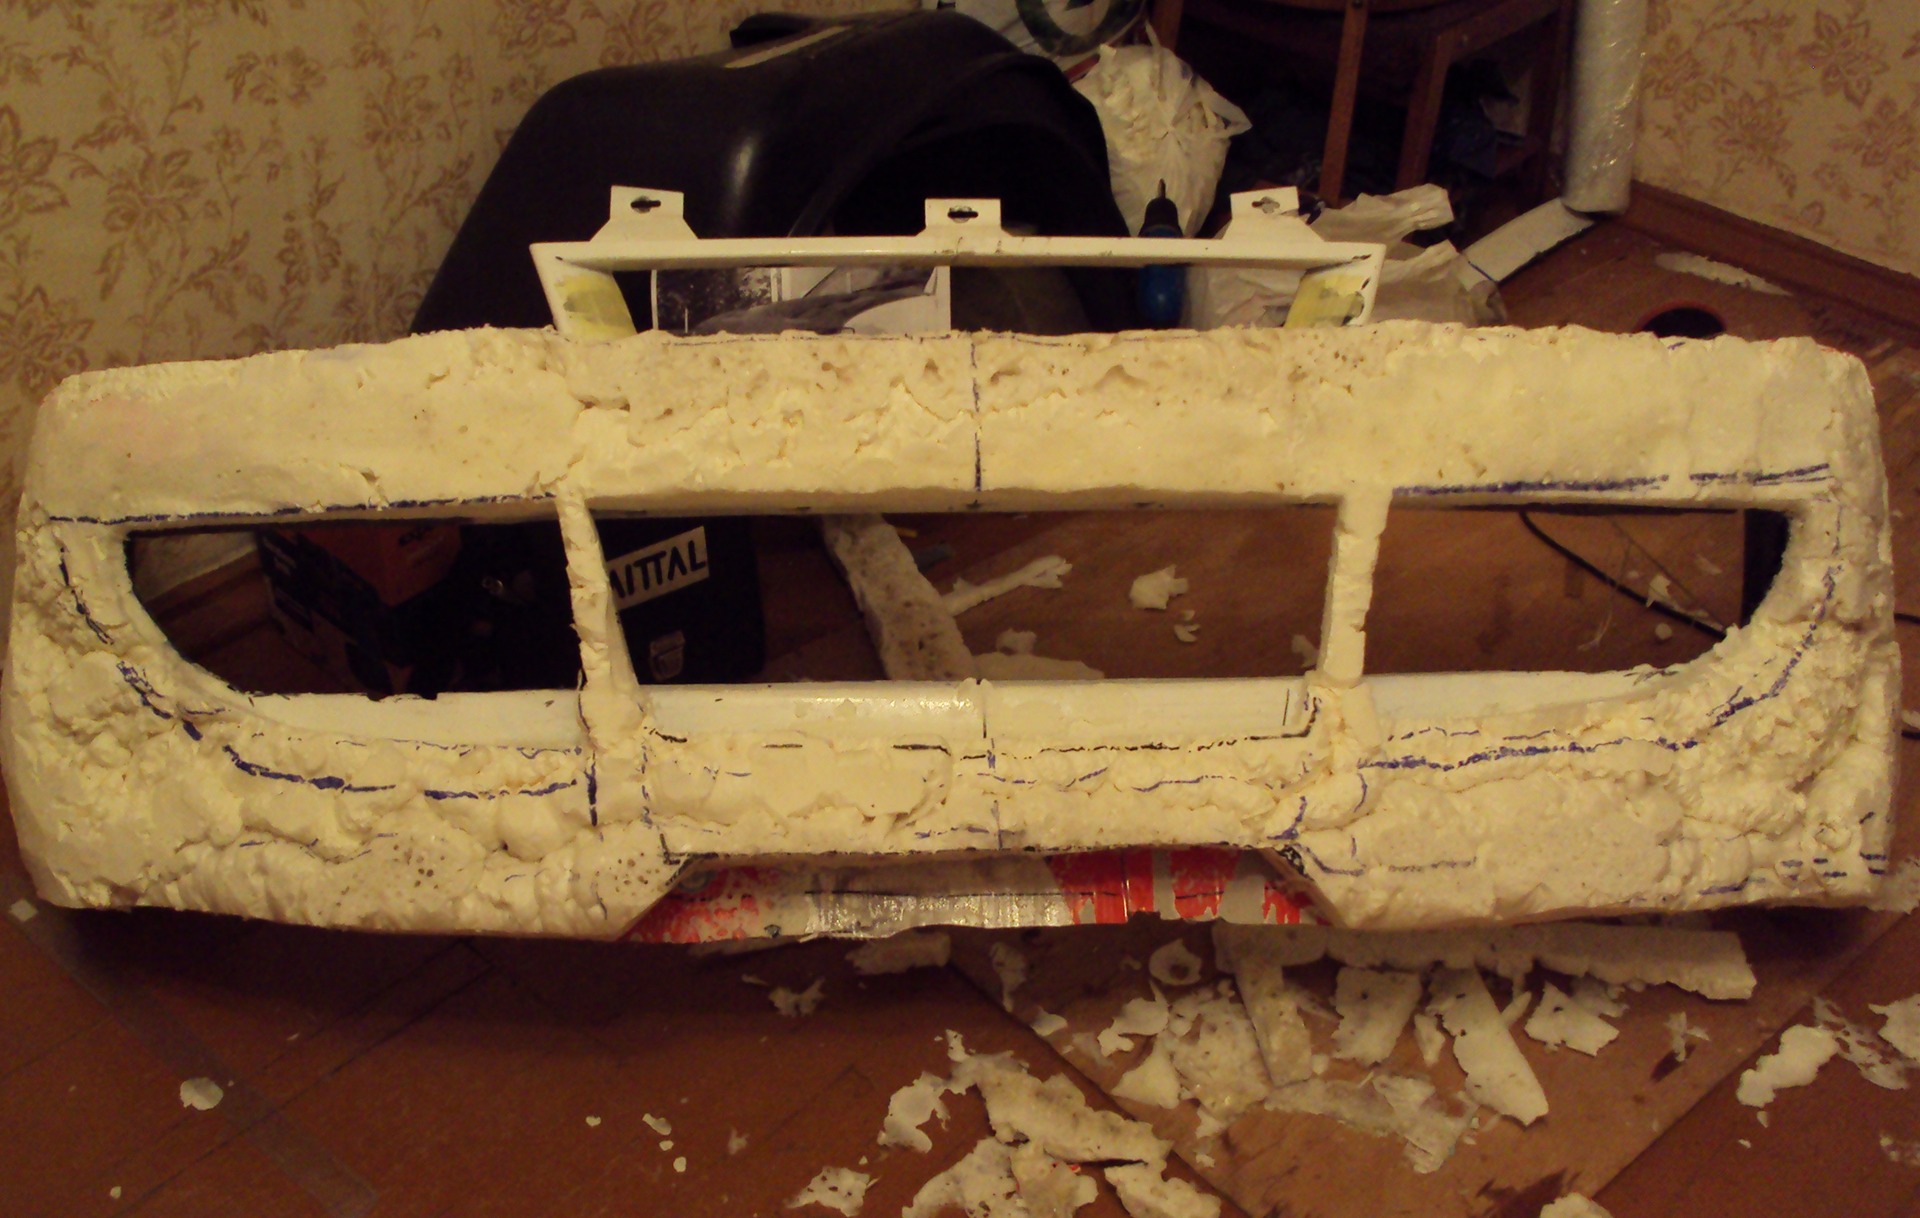
Styrofoam is even easier to work with. You can make a bumper for a car yourself from this material in just a day. For all the work you will need about 8 sheets of foam.
The main difficulty when working with foam will be the stage of cutting out the part. The material is more difficult to cut than polyurethane foam and is less moldable. To strengthen the top, it is required to apply a layer of polymer.
Fiberglass bumper
For another way to make a homemade bumper, you only need fiberglass. If you work with the material correctly, its strength will be higher than that of aluminum and plastic. It also has other benefits:
- it is lighter than steel;
- not subject to corrosion and decay;
- restores shape after minor damage;
- easy to use.

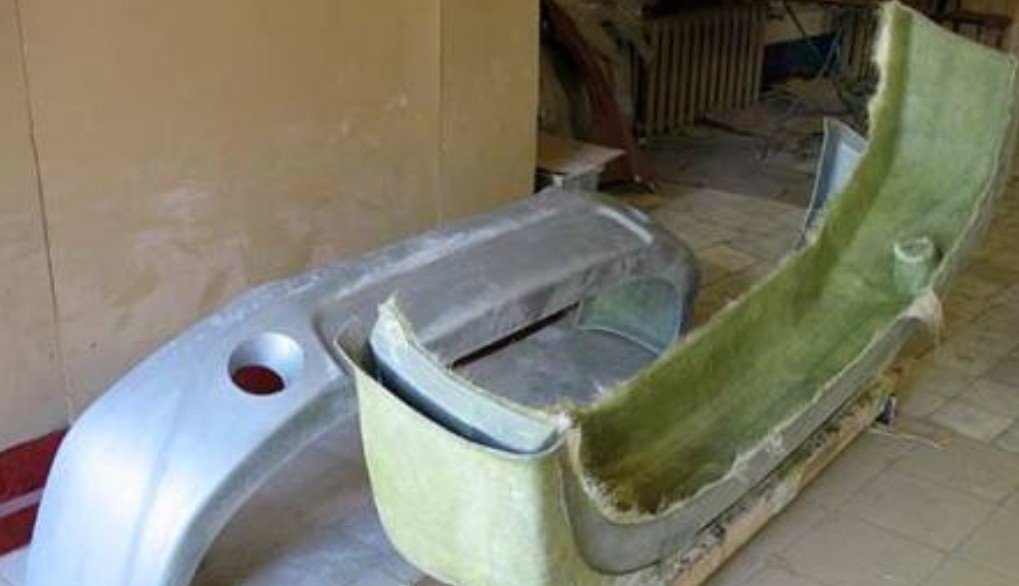
DIY fiberglass bumper
The main condition when working with fiberglass is the use of a respirator and protective gloves. These measures are necessary due to its high toxicity.
What fiberglass is needed for the manufacture of car bumpers
Fiberglass for the manufacture of car bumpers is most often used. It is better to take it with high and medium breaking load. This will make the homemade bumper durable, but light. For these purposes, fiberglass 300 is used.
The composition of the material is also important. It could be:
- glass mat;
- glass veil;
- powder glass mat.
A large amount of work is carried out from glass mat. Powdered glass mat is added in separate layers to create a stronger structure. The side effect is weight gain. Glass veil is the lightest and most flexible material for making a car bumper, so it is applied to the outer layer and in places where the relief is important.
The process of creating a homemade bumper
To make a bumper for the car yourself, you need:
- Draw a sketch.
- Assemble a layout or matrix.
- Create detail.
- Carry out final processing before painting.
DIY bumper
Before you start working with fiberglass, you need to create a layout or matrix of the future product. Their main difference is that in the first case, the fabric is glued on top of the form, and in the second, it lines it from the inside.
To make a model of polyurethane foam, you need:
- Wash and degrease the body.
- Protect exposed areas with penofol so that the foam does not damage the metal.
- Apply foam.
- You need to distribute the material evenly, reinforcing the part with a wire frame.
- Leave to dry for 2-3 days.
When the workpiece hardens, you can start cutting. It is convenient to do this with a clerical knife. All voids must be blown out with mounting foam, and the surface should be rubbed with sandpaper and glued with paper.
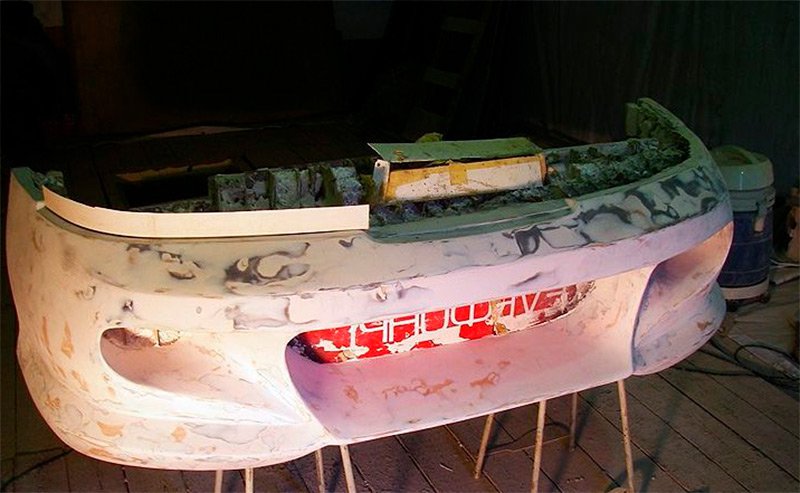
The process of creating a bumper
When working with foam, its pieces are glued to the body with liquid nails, creating a blank. While the glue dries, you need to draw a sketch on paper. Mark the lines on the foam with a marker and cut out the shape with a clerical knife.
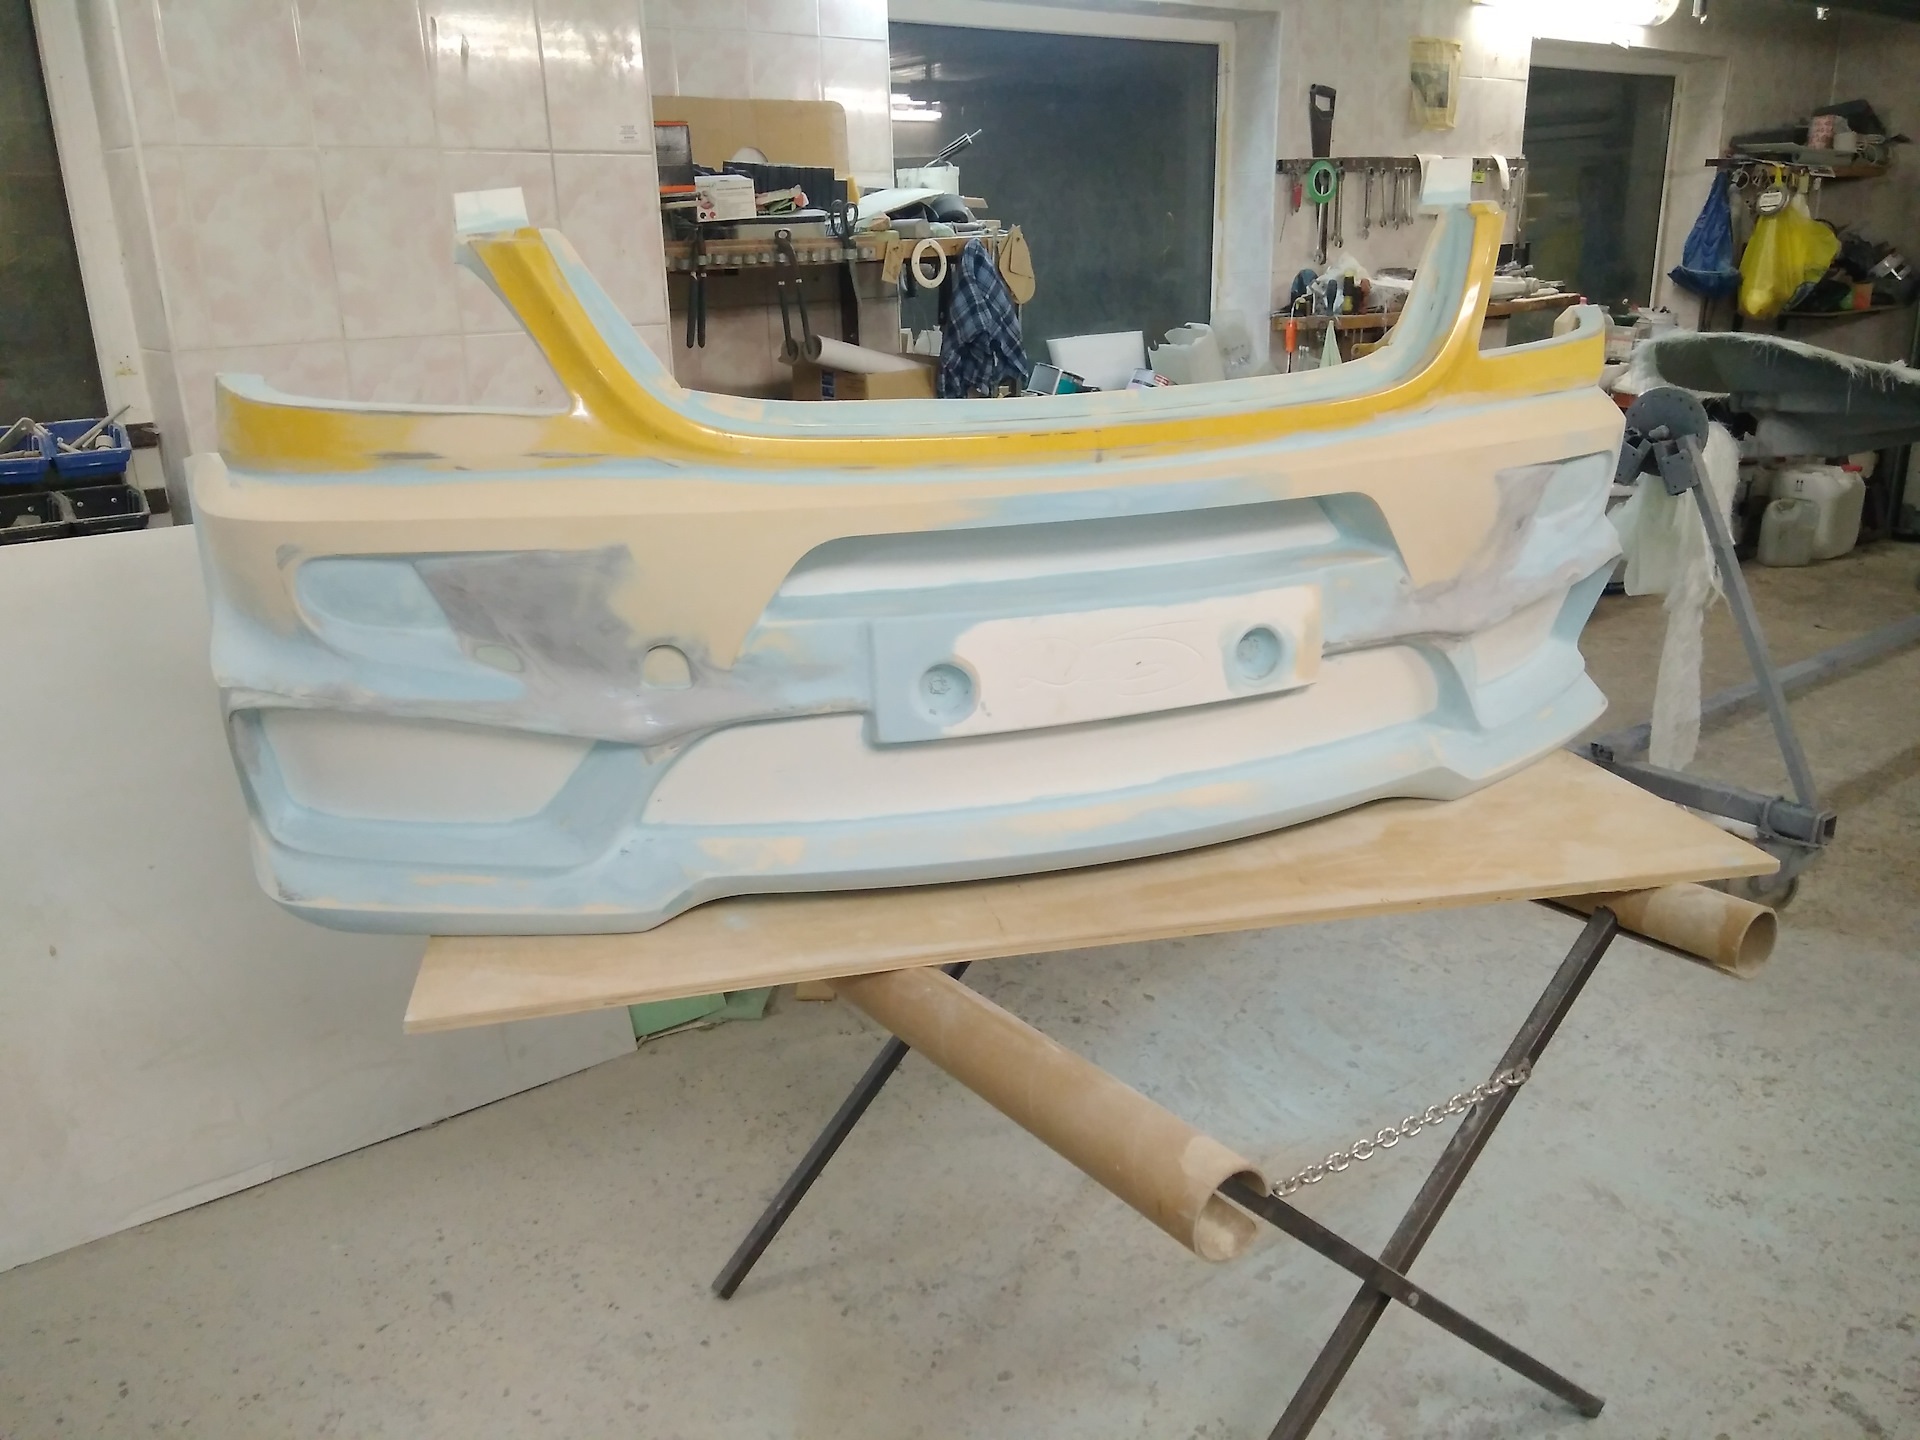
Fiberglass is applied using epoxy resin as an adhesive. They form a durable outer coating. For greater smoothness, aluminum powder can be applied on top to make the surface more even. After completion of work, the workpiece must be left to dry for a day.
The last step is the grinding of the part, for this, 80 sandpaper is used, and then fine sandpaper.
To protect the product, it is covered with technical plasticine or putty. After drying, the surface must be treated with fine-grained sandpaper. The last step is fiberglass and resin.
The matrix needs to be done if it will be used regularly:
- You need to remove the bumper.
- Cover it with masking tape.
- Apply a layer of warm technical plasticine.
- Cold by hand, carefully cover the entire surface.
- Allow materials to harden.
DIY bumper
The layout and the matrix must be covered with a separating layer in the form of paraffin or polish. Then paste over the workpiece with layers of medium and high strength fiberglass, laying the reinforcing material. Layers should be allowed to dry (2-4 hours).
After complete hardening, the workpiece is detached from the layout or matrix, and the surface is rubbed with sandpaper and covered with putty.
Making a do-it-yourself bumper for an SUV
Reinforced bumpers are installed on SUVs. They differ from plastic ones in increased resistance to impacts, a winch with a control unit can be attached to them, not to be afraid of minor damage and off-road.
The production of universal bumpers for the market is focused on quantity, not quality. They look like reinforced counterparts only externally. To get all the benefits of a real power structure, it is better to make a bumper for the car yourself.
- Buy sheet metal 3-4 mm thick.
- Make a layout out of cardboard.
- Cut out the necessary parts from metal.
- Weld them.
"Kenguryatnik" do-it-yourself
After completion of work, the part is polished. If necessary, a place is cut out for attaching the winch.
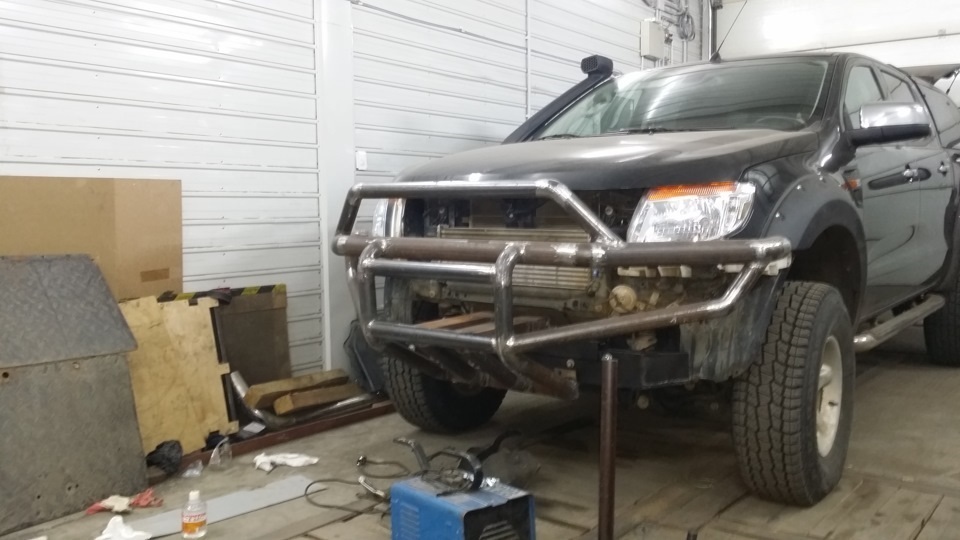
Making a kenguryatnik on a car
Additionally, you can make a kenguryatnik on the car. It is created either only from pipes, or from sheet metal welded with steel plates. After installing the structure on the jeep, curved pipes are added to it.
The second option is more rigid, but it is more difficult to create this kenguryatnik on a car with your own hands. The pipe construction does not require expensive materials and tools; curved parts can be bought ready-made. It remains only to weld them together.
A DIY bumper can be stronger than its plastic counterpart at a lower cost. The owner can make this body part unique, reflecting his style and preferences.