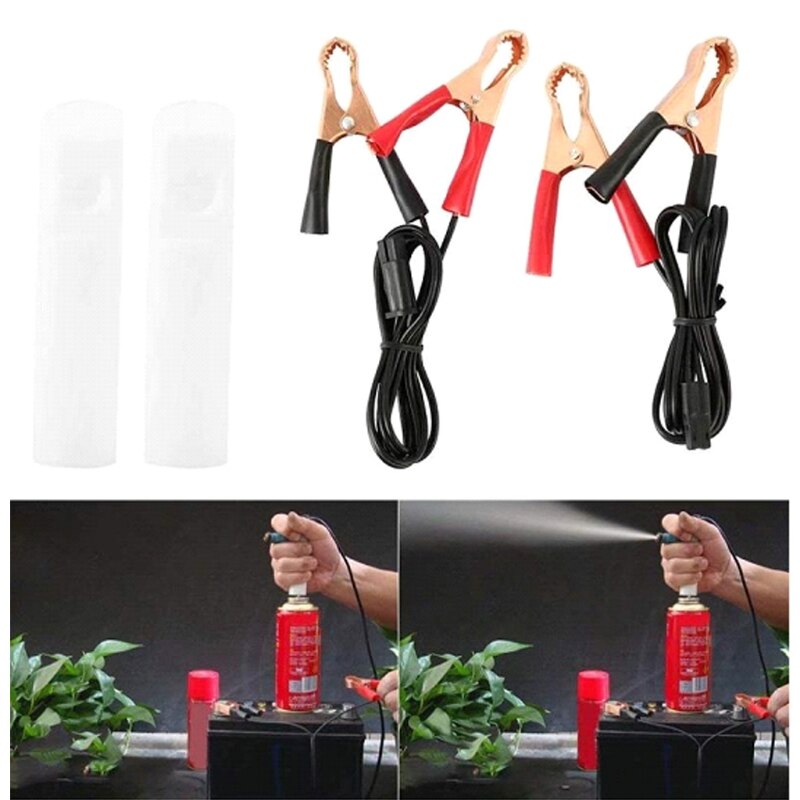
How to use the fuel injector cleaning kit
Dirty fuel injectors are a common problem for many cars these days. With the exception of direct injection and carbureted vehicles, the vast majority of modern vehicles use electronic fuel injection systems that distribute fuel to the engine through electronically controlled fuel injectors.
Most injectors are designed for a very fine and specific spray, which is important for proper engine operation. Over time, injectors that atomize fuel can become dirty and clogged due to deposits found in the engine's fuel.
When a fuel injector becomes too dirty or clogged, it can no longer dispense fuel properly, which negatively impacts engine performance and can even cause emissions problems.
Typical symptoms of dirty fuel injectors are reduced engine power and mpg (mpg), rough idle and individual cylinder misfires. Oftentimes, dirty fuel injectors can lead to one or more trouble codes that activate the Check Engine light and cause the vehicle to fail an emissions test.
Replacing fuel injectors can be expensive, sometimes costing over a hundred dollars each. If several nozzles are dirty, the cost of replacing them can quickly add up to a significant amount. In these cases, cleaning the fuel injectors is a great option that can fix the problem and restore the vehicle to optimal performance. With the help of a fuel injector cleaning kit, a basic set of hand tools and a small guide, cleaning fuel injectors is a task that is often relatively easy to accomplish.
- Attention: Due to the complex nature of modern engines, engine performance problems that are usually associated with dirty fuel injectors can also be caused by a variety of other vehicle problems. If you are unsure if the injectors are dirty, it would be wise to do a thorough check and inspection or have the vehicle checked by a professional before cleaning the fuel injectors. Also, the exact procedures for cleaning kits will vary by brand. In this guide, we'll walk through the steps that are commonly followed with most kits.
Part 1 of 1: Cleaning the Fuel Injectors
Necessary materials
- Air compressor
- Hand Tools
- Fuel injector cleaning kit
Safety glasses
Functions: Read the instructions for your fuel injector cleaning kit carefully. Having a clear understanding of the process before you begin will help you avoid potential problems or mistakes, and make the process faster and easier to complete.
Step 1: Locate the Connector. Locate the connector between the vehicle's fuel system and the cleaning kit.
Most fuel injector cleaning kits come with a set of fittings that will allow the user to service a variety of vehicles.
The connector will vary depending on the make and model. Some vehicles use a threaded nipple located on the fuel rail, while other vehicles use rubber hoses that will need to be driven into with nipple fittings.
- Attention: You will not connect the fuel system cleaning kit at this time.
Step 2: Warm up the engine. Once you have determined where to connect the cleaning kit, start the engine and let it run until it reaches normal operating temperature, or in accordance with your cleaning kit instructions.
Normal operating temperature for most vehicles is simply indicated by an arrow on the temperature gauge located in or near the middle.
Step 3: Shut off the engine and turn off the fuel pump.. When the vehicle has warmed up to normal operating temperature, shut off the engine and turn off the vehicle's fuel pump.
This can often be done by removing the fuel pump fuse or relay found in the fuse panel, or by disconnecting the fuel pump wiring harness from the fuel tank if available.
In most vehicles, the fuel pump relay or fuse is located inside the main engine fuse box in the engine compartment.
If you don't know where the fuel pump fuse or relay might be located, refer to your service manual for details.
Step 4: Prepare your cleaning solution: If the cleaning kit does not come with a pre-filled solution, add the required cleaning solution to the canister.
Make sure the stop valve is closed so you don't spill the solution.
Step 5: Prepare your cleaning kit. Prepare the fuel injector cleaning kit for connection to the engine by connecting the necessary hoses and fittings required to connect to your engine's fuel system.
For most kits, you will also need to attach the cleaner to the hood so that it hangs off the hood latch. This will allow you to see the pressure and make adjustments if needed.
Step 6 Connect the Cleaning Kit. Connect the fuel system cleaning kit to your vehicle's fuel system at the location indicated in step 1.
If your vehicle does not use a threaded fitting and requires the fuel system to be opened, take precautions to relieve fuel pressure before opening the system.
- A warning: If the pressure is not relieved and the system is open, high pressure fuel may be atomized, which may present a potential safety hazard.
Step 7: Connect the compressed air hose. The fuel injector cleaning tool works by using compressed air to power the tool and distribute the cleaning solution.
Open the control valve of the fuel injector cleaner and connect the compressed air hose to the fitting on the top of the cleaning container.
Step 8: Match the pressure. Adjust the regulator of the fuel injector cleaning tool to the same pressure as the vehicle's fuel system.
The pressures must be equal so that when the valve is opened, the cleaning solution flows in the same way as it normally does through the fuel system.
- Tip: Consult your vehicle service manual if you are unsure of the correct fuel pressure in your vehicle.
Step 9: Prepare to Start the Engine. Once the regulator is set to the correct pressure, open the check valve and prepare to start the engine.
Opening the check valve will allow the cleaner to enter the fuel injector.
Step 10: Run the engine for the specified period.. Start the engine and let it run for the specified time or conditions specified in the cleaning kit instructions.
- Functions: Most kits require the engine to run until the cleaning solution runs out and the car stalls.
Step 11: Turn off the vehicle and remove the cleaning kit.. When the cleaning solution runs out, close the shut-off valve on the cleaning tool and turn the ignition key to the off position.
You can now detach the cleaning tool from the vehicle.
Step 12: Reinstall the Relay. Reactivate the fuel pump by resetting the fuse or relay, then start the vehicle to verify that the service was successful.
If your fuel injectors have been successfully cleaned, the symptoms you were showing should be resolved and the engine should run smoothly.
In many cases, cleaning fuel injectors with a kit is a simple procedure that can give excellent results. However, if one is unsure or uncertain about performing such a service, replacing a fuel injector is a job that any professional technician from AvtoTachki, for example, can take care of.