How to use a ratchet on a car
Content
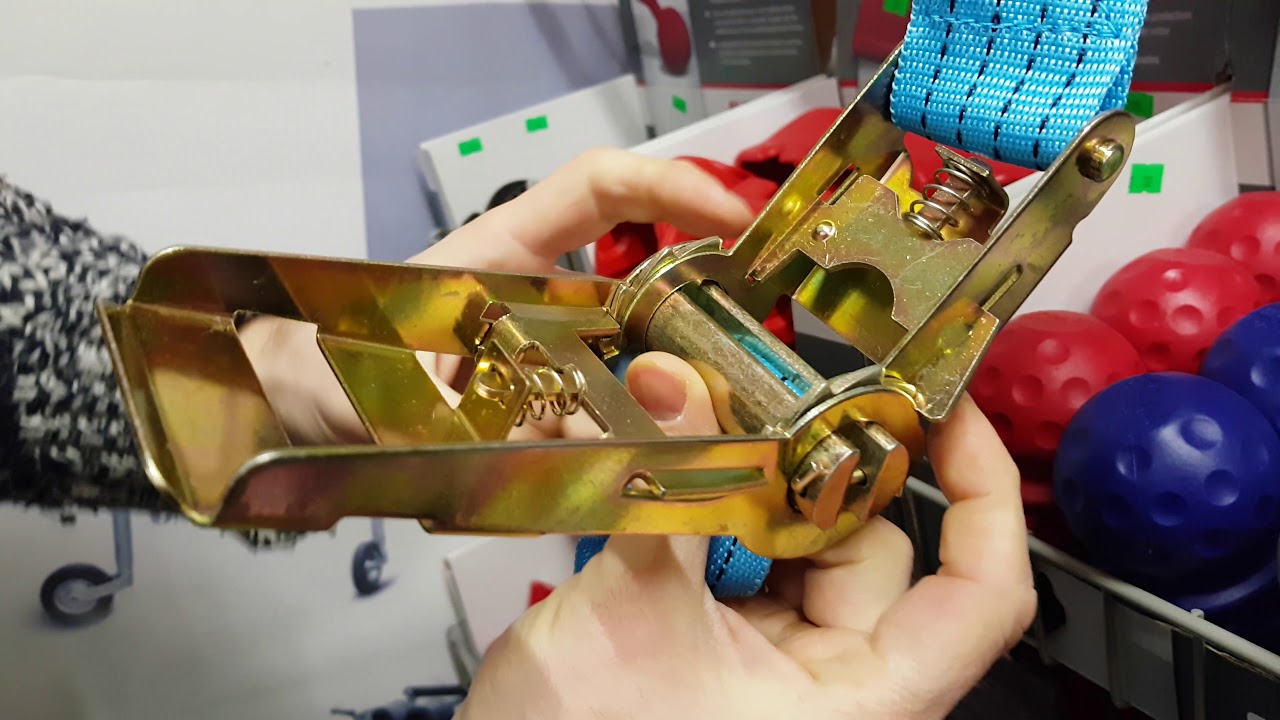
Professional mechanics understand the value of having the right tools for the right job. When it comes to removing bolts and nuts that can be tight or hard to reach, most mechanics prefer to use a ratchet and socket for the task. For those who may not know, a ratchet is a hand tool that works in conjunction with a socket (a round tool that attaches to a bolt or nut). It can be adjusted to turn clockwise or counterclockwise to remove or tighten a bolt or nut.
The ratchet works by applying a lever while removing or tightening the bolt. When the mechanic turns the ratchet in the right direction, the bolt or nut turns in the same direction. However, when the mechanic can no longer turn the ratchet, he or she can change the direction of the ratchet handle without moving the bolt or nut. Basically, it's like a loose sprocket on a bicycle that only moves the chain forward and is free to spin in reverse.
Due to the free rotation of the ratchet, many mechanics prefer to use this tool to loosen bolts and nuts on a car. This is more efficient and can keep the mechanic from hitting potentially sharp objects with his hands.
Part 1 of 2: Getting to Know the Different Types of Ratchets
Mechanics can choose from several ratchets, each with a specific function. As a rule, ratchets come in three different sizes:
- 1/4″ drive
- 3/8″ drive
- 1/2″ drive
There are also swivel head ratchets, extensions of various sizes, and even swivels on extensions that allow the mechanic to reach bolts and nuts at an angle. A good mechanic knows the value of having a full set of ratchets: shorter ones and longer ones for the leverage, as well as sockets in different sizes according to US standard and metric sizes. An average of over 100 individual parts make up a complete set of freewheels and sockets for use in most American and foreign cars, trucks and SUVs.
Part 2 of 2: Steps to use a ratchet on a car
The actual process of using a ratchet is quite simple; however, the steps below describe the typical thought process for selecting and using a ratchet for use on most cars, trucks, and SUVs.
Step 1: Inspect the bolt or nut to be removed: Before selecting a ratchet, the mechanic must consider several facts about the bolt, including its location, proximity to interfering parts, and the size of the bolt. In general, follow the instructions below to determine what type of ratchet and socket combination is best to use.
Step 2: Determine the location of the bolt: If the bolt is difficult to reach, use an extension ratchet to hold the lever over the bolt.
Step 3: Determine the bolt size and select the correct socket: Either refer to the service manual or physically inspect the bolt or nut that needs to be removed to determine the size of the socket.
Step 4: Attach the socket to the ratchet or extension: Always ensure that all connections are latched for safe use of the ratchet.
Step 5: Select the position and direction of the ratchet: If you need to remove the bolt, make sure the forced direction of rotation of the ratchet is counterclockwise. If you tighten the bolt, turn it clockwise. If in doubt, remember: “left-handed is loose; right - tight.
Step 6: Attach the socket and ratchet to the bolt and move the handle in the correct direction..
Once the socket is secured to the bolt, you can continuously rotate the ratchet until the bolt is tightened or loosened. Be aware that some bolts or nuts are bolted together and will require a socket wrench or socket/ratchet of the same size to hold the rear end until service is complete.