How to avoid back pain in the car
Content
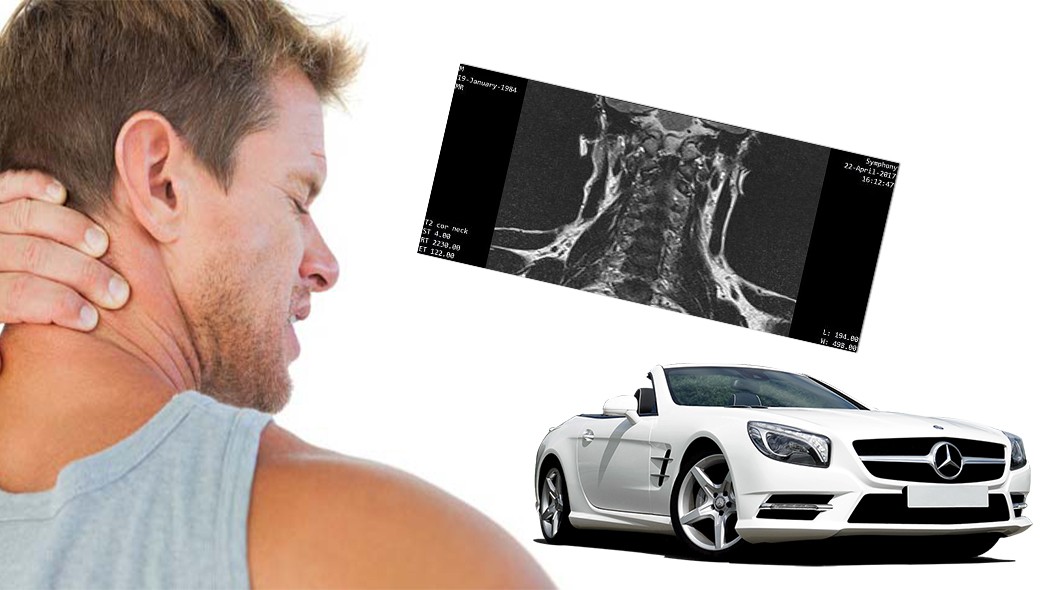
If you have back problems, sitting in a car for long periods of time can be agonizing. Even without back problems, you may experience discomfort and pain from sitting in a car seat during a long trip. Sometimes, if the seat doesn't quite fit your shape, it can only take a few minutes before the soreness sets in.
This is especially true for those whose physique is out of the norm. Tall people, short people, and people with overly wide or overly slender builds may find it difficult to fit correctly in the middle seat.
There are several seat adjustments you can make to make sitting in the driver's seat more comfortable. Many cars have slide-adjustable seats forward and backward, tilt adjustment, height adjustment, and even adjustable lumbar back support. Some manufacturers include a tilt feature to support the back of the thighs, while others offer adjustable distance from the seat to the back of the knees.
Even with all the adjustments available, it can be difficult to find a comfortable car seat. For some, no matter what you do, you just can't stop fidgeting. Have you adjusted the seat correctly?
Part 1 of 5: Handlebar Distance Adjustment
For drivers, the most important seat adjustment is the distance from the steering wheel correction. If you cannot properly manipulate the steering wheel with your hands, then there is no point in driving at all.
When your arms are tense just holding on to the steering wheel, the tension spreads to your back and causes pain, especially for those with back problems.
- A warning: Adjust the seat only when you have come to a complete stop and your vehicle is in park. Adjusting the seat while driving is dangerous and could cause an accident.
Step 1: Position yourself correctly. Sit with your back fully pressed against the back of the seat.
Step 2: Hold the steering wheel properly. Lean forward and grab the handlebars at the nine o'clock and three o'clock positions.
Step 3: Make sure your hands are in the correct position. If your arms are fully extended and locked, you are sitting too far away from the steering wheel. Adjust the driver's seat forward.
If your elbows are less than 60 degrees, you are sitting too close. Move the seat further back.
The arms should not be locked, but should be slightly bent. When you relax your body and sit comfortably, there should be no discomfort or fatigue to hold the steering wheel.
Part 2 of 5. How to properly recline the seat back
When you sit in the driver's seat, you should sit up straight without feeling uncomfortable. This may take some practice.
Tendency for the seat to recline too far. Your driving position requires you to pay full attention to the road, so you need to be as upright as possible.
Step 1: Place the seat upright. Move the driver's seat to the fully upright position and sit on it.
This position can be uncomfortable, but it is from there that you need to start adjusting the seat.
Step 2: Reclining the seat. Slowly recline the seat until the pressure on your lower back is relieved. This is the angle your seat should recline to.
When you tilt your head back, the headrest should be 1-2 inches behind your head.
Leaning your head against the headrest and opening your eyes, you should have a clear view of the road.
Step 3: Adjust as needed. If you find it difficult to see through the windshield with your head pressed against the headrest, tilt the seat even further forward.
If you sit upright with proper support behind your back and head, your body won't tire as quickly while driving.
Part 3 of 5: Seat Height Adjustment
Not all cars have driver seat height adjustment, but if yours does, it can help you achieve a comfortable seating position. Adjusting the height will allow you to see through the windshield properly and will also relieve pressure on the back of your thighs if done correctly.
Step 1: Fully lower the seat. Lower the seat to the bottom of its travel while you sit in it.
Step 2: Slowly raise the seat until it stops.. Gradually begin to raise the seat until the front edge of the seat touches the back of your thighs.
If your seat is too low, your legs and lower back support you, creating pressure points that cause pain.
If your seat is too high, blood flow to your lower legs is limited due to pressure on your thighs. Your feet may become stiff, swollen, or difficult to maneuver between the gas pedal and the brake pedal.
Part 4 of 5: Adjusting the Lumbar Support
Only some cars have lumbar support adjustment, mostly higher end models and luxury cars. However, proper seat adjustment in this aspect will reduce the strain on your back when sitting in a car.
If your vehicle is equipped with a lumbar support adjuster, go to step 1. If your vehicle does not have a lumbar support adjuster, go to step 5 to learn how you can support this area yourself.
Step 1: Fully retract the lumbar support. Some of them are mechanically operated with a handle, while others are an inflatable bubble inside the seat. In any case, completely refuse support.
Step 2: Sit on the seat. You will feel as if your back is sinking into a hunched position right above your hips.
Step 3: Pump up the lumbar support until it touches. Slowly expand your lumbar support. When you feel the lumbar support touch your back, pause for 15 to 30 seconds to get used to the sensation.
Step 4: Inflate the lumbar support to a comfortable position.. Inflate the lumbar support a little more, pausing after each small adjustment.
Stop adjusting when your back no longer slouch after the pause.
If your car has a lumbar support adjustment feature, you are done with this part and can skip to the beginning of part 5.
Step 5: DIY Lumbar Support. If your vehicle does not have lumbar support adjustment, you can create one yourself with a hand towel.
Fold or roll the towel widthwise. It should now be full length, but only a few inches wide and about 1-1.5 inches thick.
Step 6: Position yourself and the towel. Sit in the driver's seat, lean forward and tuck a towel behind your back.
Slide it down so that it is just above the pelvic bones. Lean back on a towel.
If you feel like there is too much or too little support, adjust the towel roll until it feels supported, but not too much.
Part 5 of 5: Headrest Adjustment
The headrest is not installed for your comfort. Rather, it is a safety device that prevents whiplash in a rear-end collision. If positioned incorrectly, it may be too close to your head or too far away to provide the necessary protection in the event of an accident. Correct location is important.
Step 1. Check the distance from the head to the headrest.. Sit properly in the driver's seat. Check the distance between the back of the head and the front of the head restraint by hand.
This should be about one inch from the back of the head. It's a good idea to have a friend check the headrest adjustment for you, if at all possible.
Step 2: Adjust the tilt of the head restraint if possible. To do this, grasp the head restraint and pull it forward or backward, if this adjustment is possible.
Step 3: Adjust the headrest vertically. Sitting normally again, check or have a friend check the height of the head restraint. The top of the head restraint should be no lower than your eye level.
These are the correct adjustments for sitting in a car, especially the driver's seat. The passenger seat is unlikely to have the same set of adjustments as the driver's seat, and the rear seats will probably not have any adjustments other than headrest adjustment.
The fit may feel uncomfortable at first if it is properly adjusted. Allow yourself a few short trips to get a feel for the location. Make adjustments as needed if you find yourself experiencing pain or discomfort. After a few short rides, your new seating position will feel natural and comfortable.