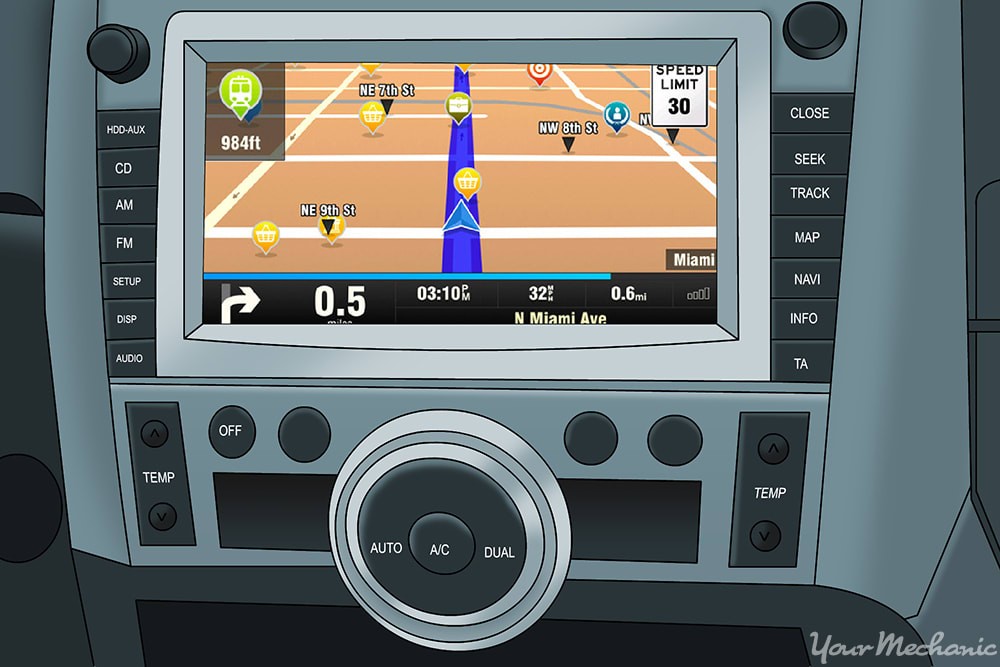
How to Change Alpine Navigation in Acura or Honda
Content
Modifying your Acura or Honda's original equipment manufacturer (OEM) navigation system with aftermarket software is an easy way to add additional customization features to an already installed system.
Using a simple third-party computer program and a DVD-ROM, the vehicle owner can easily upgrade the navigation system software to one that uses additional features, such as the ability to customize the background image of your navigation and media display, or the ability to set the welcome screen that plays when you turn it on. car.
In this step-by-step guide, we'll show you how to upgrade your Acura or other Honda car's stock navigation system to offer more features. This is a relatively simple procedure that does not require any manual tools, but does require some technical savvy and computer know-how.
Part 1 of 3: Verify navigation compatibility and determine which version to download
Necessary materials
- Blank DVD-ROM
- A copy of the Dumpnavi software
- Original navigation DVD-ROM
- PC or laptop with CD/DVD drive
Step 1: Make sure your system can be updated. Make sure your car has a navigation system that can be updated using the car's DVD-ROM drive.
Search online or contact your local dealer to determine if your vehicle has a navigation system that can be upgraded.
Step 2: Find your drive. If your car has such a navigation system, be sure to find a drive where the DVD-ROM will be inserted.
This is usually the same drive that plays regular music CDs and DVD movies.
On some vehicles, the drive may be located in the trunk. Other vehicles may use a conventional CD drive, manually accessible from the driver's seat or in the glove compartment.
Step 3: Download the Dumpnavi software and install it on your computer.. Download the Dumpnavi installer.
Download the .ZIP file and install the program on your computer.
Step 4: Get the version or name of the downloaded file. To update the navigation system, you must determine the boot version of the system.
To get the boot system number, insert the original navigation disc into the appropriate drive, turn on the navigation system and go to the main screen.
Once the main screen appears, press and hold the Map/Guide, Menu, and Function keys until the diagnostic screen appears.
On the diagnostic screen, select "Version" to display information about your navigation system.
Your upload file name will consist of an alphanumeric combination ending in ".BIN" next to a line labeled "Upload File Name". Write down this number.
Step 5: Remove the original navigation disc. After determining the version of the download file, turn off the car and remove the navigation disc from the drive.
Part 2 of 3: Changing Your Navigation System Files
Step 1: Insert the original navigation disc into your computer. In order to modify the respective files, you need to view them on your computer.
Insert the navigation disc into your computer's CD/DVD drive and open it to view the files.
Step 2: Copy the files from the navigation disc to your computer.. There must be nine .BIN files on the disk. Create a new folder on your computer and copy all nine files into it.
Step 3: Open Dumpnavi to modify your car's navigation system files.. Open Dumpnavi and click the Browse button next to Loader File to open a selection window. Navigate to the location of your newly copied .BIN files and select the .BIN file you identified as your vehicle's boot file.
After selecting the correct .BIN file, click the "Browse" button next to the "Bitmap:" label and select the image you want to use as the new screen background for your navigation system.
Make sure you select the correct file type (bitmap or .bmp) and that it meets the minimum resolution guidelines to ensure that the image is displayed correctly in your car.
After selecting both correct files, click on the Edit button to modify the system file.
Step 4: Burn the system files to a blank DVD-ROM.. Burn the file you just modified, as well as the other eight .BIN files, to a blank DVD-ROM.
This is the drive that will be used to launch new system features.
Part 3 of 3: Installing Your Navigation System's Recently Changed System Files
Step 1: Download the original navigation disc to prepare the system for the update.. Load the original unmodified navigation disc into your car's disc drive and boot up the navigation system as usual.
Go to the main screen, and then press and hold the Map/Guide, Menu, and Function keys until the diagnostic screen appears.
When the diagnostic screen appears, press the "Version" key.
Step 2: Install the files of the new navigation system. After selecting the version key, you are ready to install the new navigation system files.
With the navigation system still on the diagnostic screen, press the "Eject" button to eject the original navigation disc.
At this point, take the newly burned navigation disc and insert it into the drive. Then click download.
The navigation system will display an error message: "Error: Unable to read navigation DVD-ROM!" This is fine.
As soon as you get an error message, eject the disc you just burned and load the original navigation disc one last time.
Step 3: Restart your car and navigation system for the changes to take effect.. Turn off the car and then turn it on again.
Turn on the navigation system and make sure the new features are installed.
All things considered, modifying the software of an Acura stock navigation system is a relatively simple procedure. It does not require any hand tools, just a little technical skill. If you are not comfortable doing this modification yourself, a professional technician like AvtoTachki can quickly and easily take care of it for you.