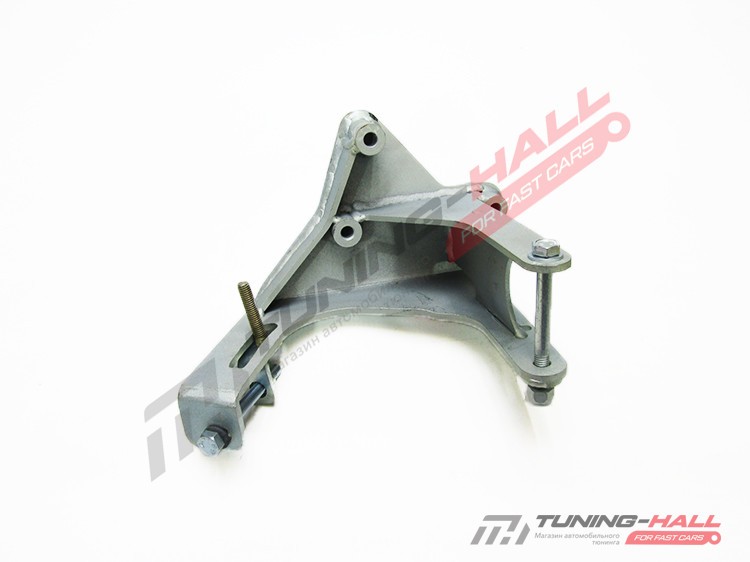
How to adjust the alternator bracket
Content
Replacing the alternator bracket usually means a complete alternator belt replacement in modern vehicles.
The alternator in modern vehicles is vital to its smooth operation and continuous use. This component is responsible for powering your vehicle's electrical system while the engine is running. It also helps to recharge the battery at the same time. Although the alternator will eventually require replacement, a broken alternator belt is a contributing factor to premature wear. The main cause of this problem is loose or damaged alternator bracket. The information below will help you learn how to adjust the alternator bracket yourself.
First of all, let's explain something very important. If you have a loose alternator bracket, it should be replaced, not just adjusted. What many people often look for with this term is understanding the correct steps to adjust the alternator belt itself. When the alternator bracket is loose, it causes the belt to come loose, causing too much heat and friction and eventually failure.
So, in order to provide some practical advice for the unexpected problem with a loose alternator bracket, here are 5 steps to fix a loose alternator bracket.
Step 1: Inspect the alternator belt for damage
One of the most common signs of a loose or damaged alternator belt is a rattling noise under the hood of a car when the engine is running. If you hear this noise and determine that the alternator bracket is loose, you should inspect the alternator belt first. In particular, check for at least one of the following three situations:
Is the alternator belt missing from the car?
Alternator belt loose?
Are there any scuffs, tears or glass marks on the belt?
If you can answer yes to any of these 3 questions, then proceed to the next steps listed below. If the answer is "no" to all questions, have a professional mechanic inspect the vehicle for additional sources of noise, or if the alternator bracket is loose, replace it, the alternator belt and related hardware.
Step 2 Remove the alternator belt and bracket.
When you have determined that the alternator bracket is loose, replacing the alternator bracket, alternator belt, and tensioner pulley is the correct action. For this step, refer to your vehicle's service manual as the exact steps are unique to each vehicle, year, make and model. The general steps to replace these parts will be listed below for your reference.
Step 3: Removing these parts
The general process for removing the alternator bracket, belt and tensioner is described in the following 5 steps:
1. Remove the battery terminals from the vehicle. Any time you make repairs under the hood and especially on electrical system components, you will need to disconnect the battery cables from the terminal(s).
2. Remove the alternator adjusting pulley. Once the power is off, you will proceed to remove the alternator adjustment pulley first. This will make it easier to remove the belt and alternator bracket.
3. Remove the alternator belt. When the pulley is removed, your belt will be loosened and it will be easier for you to remove the alternator and crankshaft pulley. It should just slide off without the tensioner installed.
4. Remove the generator. To replace the alternator bracket, the alternator must first be removed. Be sure to secure each electrical connection with tape so you know where each wire needs to be reinstalled.
5. Remove the generator bracket. This is the last step. Make sure you remove the shackle completely and clean the base plate with a degreaser before attempting to reinstall the new shackle.
Step 4: Install New Hardware
Installing a new alternator bracket will require at least a new bracket, belt, and tensioner pulley. You should also purchase new bolts for the generator bracket. Follow the instructions in your service manual to install these components as each step requires unique torque settings for all bolts.
Step 5: Check belt tension and adjust if necessary
The last step before reconnecting the battery cables is to check the belt tension before starting the vehicle. Again, your vehicle's service manual will provide you with the correct procedures for adjusting the alternator tensioner pulley and alternator belt. The tension should be strong and not allow the belt to be pushed in more than a quarter of an inch.
A loose alternator bracket can cause premature failure. So, if you hear a rumble under the hood of your car, notice that you have to jump start your car more often than usual, or just don't feel comfortable replacing the alternator bracket, belt, and idler, see a mechanic. who can replace the alternator bracket and related components for you.
