How to clean leather car seats
Leather upholstery can be an expensive option for a car and protecting it should be a priority. Leather seats will last the lifetime of your car if you clean and maintain them regularly. Unfortunately, dirt and even sebum can damage leather seats, and the longer seats are left uncleaned, the more damage they cause. To clean leather car seats, follow these steps:
How to clean leather car seats
Take a close look at your car seats — Look for holes, cuts, or any other damage. Mark any holes or cuts to prevent liquid from entering the seat. This can damage the core foam in the seats.
Gather the right materials - You will need the following: a bucket of water, a leather cleaner, a leather conditioner, a soft-bristled brush, a soft and clean microfiber cloth or sponge, and a vacuum cleaner.
Find the best leather cleaner You can buy leather cleaner at almost any hardware store or auto parts store. You should avoid vinyl cleaners or any oil or silicone based products as they will make the leather too shiny.
Functions: You can also make your own leather cleaning solution. Just mix one part vinegar with two parts linseed oil. This homemade version tends to be less abrasive and can help the leather wear better.
Pre-clean the seats - After you have carefully examined the seats, it's time to get to work. A little pre-cleaning before applying a leather cleaner will speed up the process and give better results.
Vacuum the seats - Before applying the leather cleaner, it is best to vacuum all large debris, as well as small crumbs. This is best done with a wet-dry vacuum cleaner or a conventional vacuum cleaner with a hose attachment.
Functions: Use the brush attachment to avoid damaging the leather when vacuuming.
Wipe the seats clean - It is recommended to wipe the leather with a clean, damp cloth before applying the leather cleaner to the seats. This will remove any grease, dust or dirt so that the leather cleaner can focus on any stubborn grime.
Run a Spot Test — Before soaping the entire front seat, it is recommended to do a spot check on a small area of skin that is out of sight. This ensures that the leather cleaner you choose won't damage or discolor your skin. If you're unhappy, this gives you the option to switch it up before putting on the whole skin.
Apply a skin cleansing solution - Spray the leather cleaning foam directly onto the leather seats. In most cases, only 3-4 syringes are required. If the seats are really dirty, additional cleaner may be needed. Before use, read the instructions and follow the manufacturer's directions.
Activate foam - Use a soft, damp cloth to wipe off the foam. The water will help activate the foam. Leave the foam on the seats for a few minutes, this should help break down all the dirt and grime.
A warning: Be sure to check the manufacturer's directions for exact instructions.
Use a brush for deep cleaning - The brush should be used for deep cleaning of the skin, especially in very dirty areas. Gently use the brush to remove dirt from the seats.
Wipe the seats - Wipe the seats using a dry cloth to wipe off the foam from the seats.
Functions: Microfiber cloth ensures that you remove all the foam. Hope your seats are clean now. If the stubborn stain persists, repeat the previous steps, scrub the stain lightly with the brush.
Regular cleaning schedule - Now that the seats are clean, set up a regular cleaning schedule so they keep their new look.
Functions: Clean the seats once a month or whenever something is spilled on them.
Air conditioning your seats
Once the seats are clean, it's time to air-condition them. Using a conditioner will help restore the skin's natural oils. When it comes to conditioners, it is best to use a high quality product. Cheap air conditioners tend to leave a greasy sheen on the seats.
Never use a conditioner containing silicone, wax or petroleum distillates. It is best to use a water-based conditioner with a neutral pH. Look for a conditioner with sun protection. This will help protect your skin from the sun's rays.
Run a test - Each time you apply the product to a leather seat, you should do a small patch test on a hidden area to make sure it does not stain or damage the leather.
Apply conditioner to a cloth or sponge. - Read the instructions before applying the product, but most conditioners should be rubbed into the skin with a sponge or microfiber cloth.
Use your air conditioner sparingly!
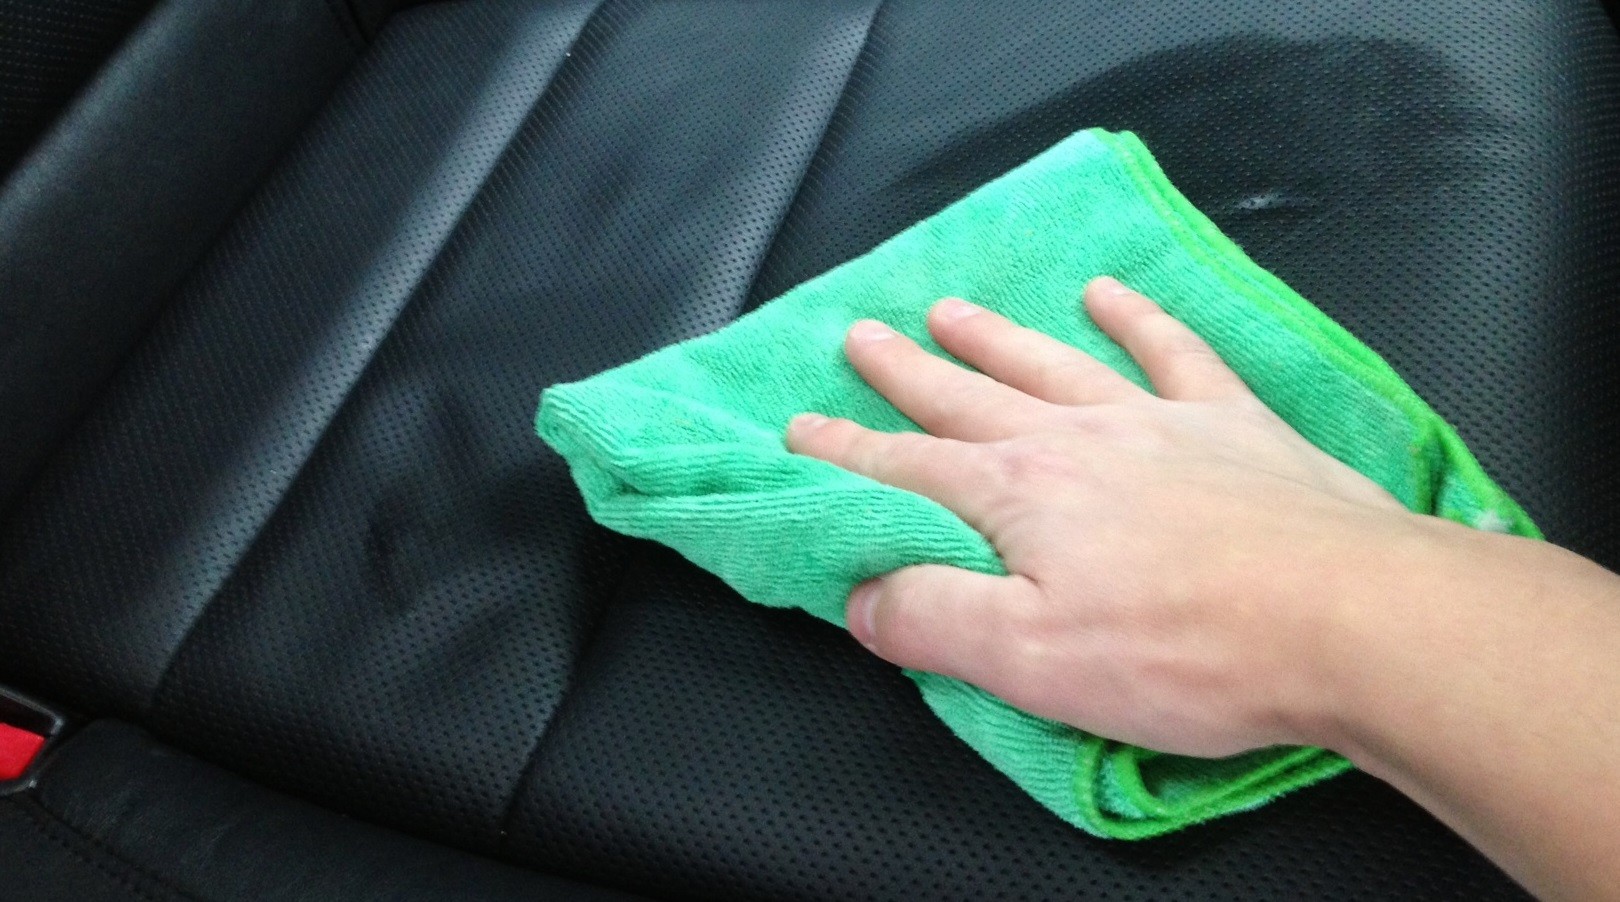
Apply conditioner to the seats - Rub the conditioner into the seats with a clean microfiber cloth. Rub it in thoroughly and wipe off any leftover conditioner that doesn't rub into the seats.
Leave the car in a shady place - The car must be parked in a garage or in the shade for the next 12 hours. This allows the conditioner to be absorbed without being exposed to harmful UV rays.
Seat buff -Let the conditioner soak in for at least 12 hours and then use a dry cloth to wipe them one last time. This will remove the leftover conditioner and give the seats a shine.
Repeat every few months - Leather seats should be cleaned and conditioned every few months, more often if they get dirty from children or pets.
Your seats should now be shiny, clean and conditioned. Most leather seats have a clear protective coating that makes cleaning easier. When cleaning leather seats, remove surface dirt, clean the leather, and then condition it.
Caring for leather seats is easy as long as you keep them clean and air-conditioned regularly. Are you interested in other services for your car? Click here to book a mechanic today.