How to clean a lambda probe?
Content
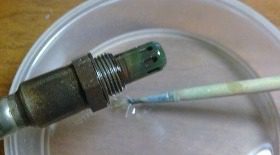
A defective lambda probe will disrupt the air / fuel mixture produced in the engine. As a result, this will increase emissions of pollutants, but also lead to excessive fuel consumption. Here we explain how easy it is to clean your lambda probe with gasoline!
Required material:
- gloves and glasses
- adjustable wrench
- jack
- container
- gasoline
Step 1. Access to the lambda probe
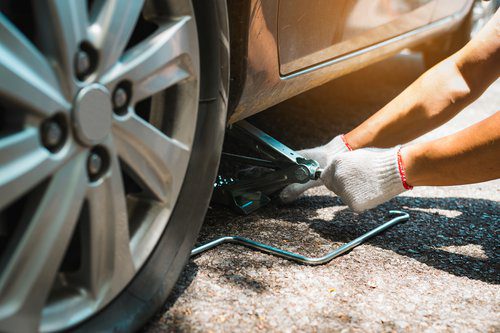
First of all, wear protective gloves and goggles to keep yourself safe from gasoline. Then you will need to jack up the car and find where the lambda probe is. For the exact location of your sensor, refer to your vehicle's service manual.
Step 2: Remove the lambda probe

Grease can be used to facilitate removal of the lambda probe. Spray it around the probe and wait about 15 minutes. Fill the bucket with gasoline at the same time. Once the lambda probe is properly lubricated, you can remove it. Use a wrench to loosen the probe and place it in a clean container while waiting to be cleaned.
Step 3: clean the lambda probe
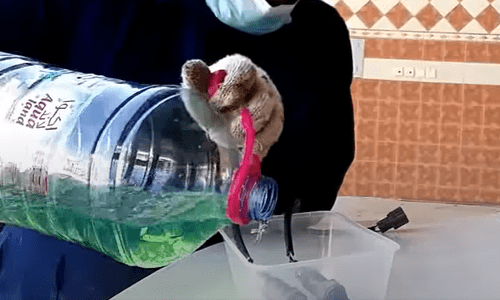
To clean the lambda probe, immerse it in the container of gasoline that you have prepared. The gasoline will eventually clear your probe. Then cover the bucket to prevent fire while the probe cleans itself. Wait at least 8 hours before checking the condition of the probe.
Step 4: dry the lambda probe
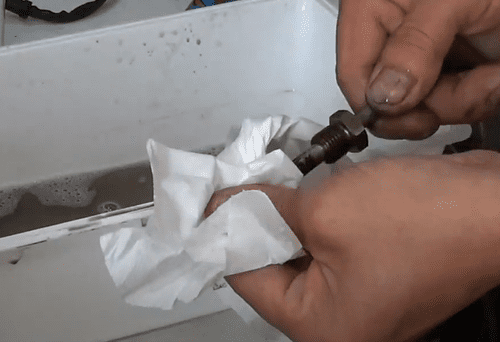
Once the probe is sufficiently saturated with liquid. The traces of contamination should disappear. Then wipe the probe with a clean cloth.
Step 5: Replace the lambda probe

When the probe is clean, replace it and tighten the fasteners. Use a jack to lower the car and check the engine to make sure everything is working.