
How to use an engineering square?
Content
Other equipment you may need: | |
Marking toolYou will need a marking tool, such as a marking knife, scriber, or pencil, to draw lines at right angles to the surface of the workpiece. | |
 | LightYou may need a light that illuminates the workpiece and the engineering square to highlight any gaps between the edges of the square and the workpiece. |
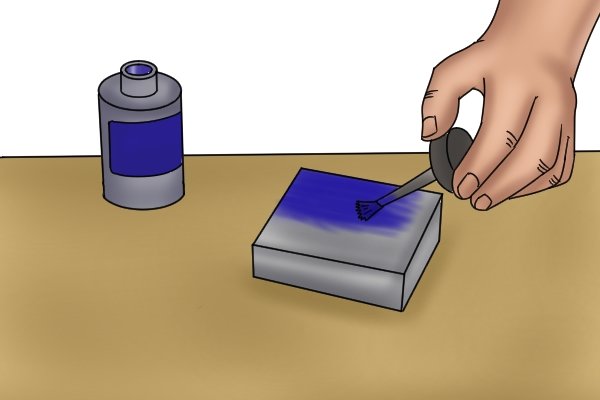 | Engineering marking inkEngineer marking ink is used on metal blanks to emphasize the contrast of the marking line. |
 | |
Get started | |
 | Step 1 - Apply Marking PaintApply the marking paint in a thin, even layer to the metal parts and allow to dry for a few minutes before marking. |
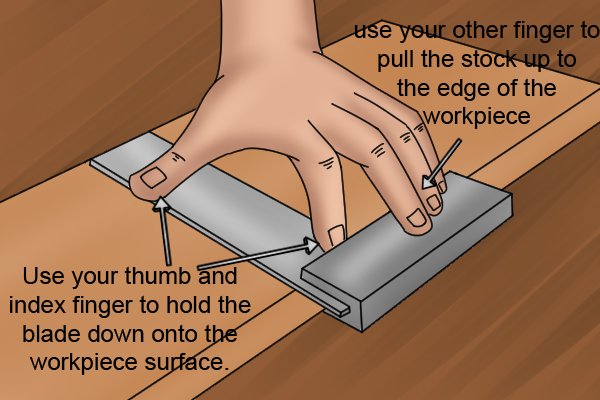 | Step 2 - Position perpendicular to the edge of the workpiece.To draw a line at right angles to the edge of the workpiece, the butt of the engineering square should be pressed against the edge of the workpiece and the blade pressed against the surface. Do this with your less dominant hand by placing your thumb and forefinger on the blade on the engineering square, and then use your other fingers to pull the butt firmly up to the edge. |
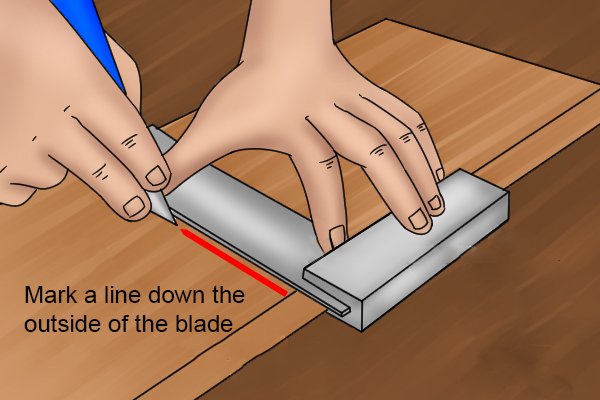
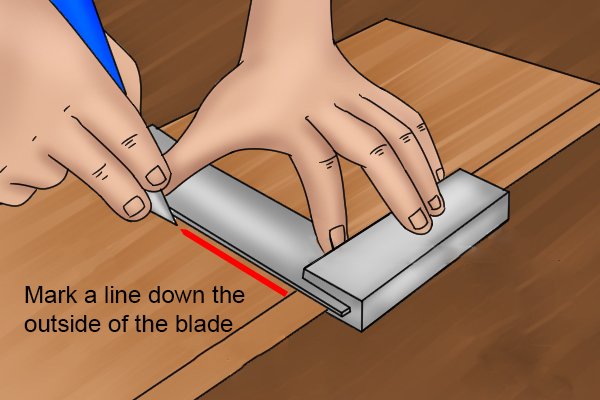 | Step 3 - Mark the LineOnce your engineer's square is firmly pressed against the edge of the workpiece (with your less dominant hand), take your marking tool (pencil, engineer's scriber, or marking knife) in your dominant hand and mark a line along the outer edge of the blade, starting at the end of the engineering square. . |
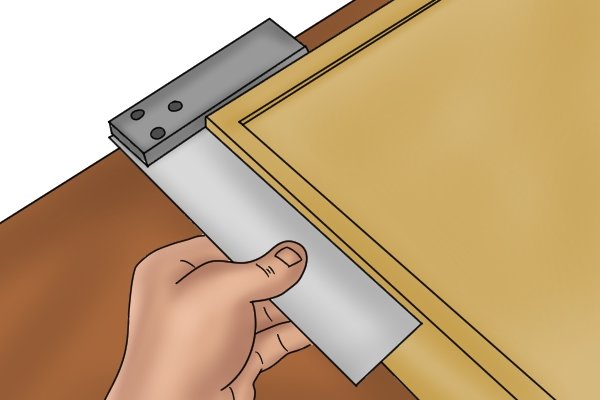
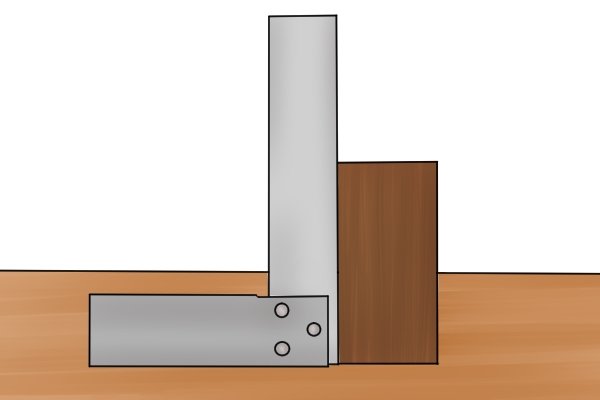 | Step 4 - Check the inside cornersYou can use the outside edges of an engineering square to check that the inside corners between the workpiece surfaces are right. Do this by pressing the outer edges of your engineer's square against the workpiece and see if light shines between the outer edges of the square and the inner edges of the workpiece. If the light is not visible, then the workpiece is square. You may find that placing the light source behind the workpiece and square makes this task easier. |
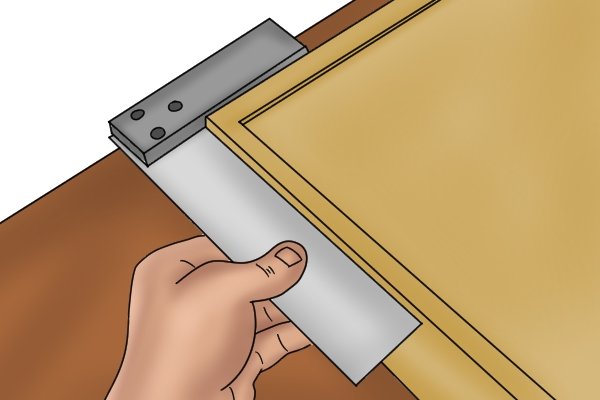 | Step 5 - Checking Outer SquarenessThe inside of an engineering square can also be used to check the outside squareness of a workpiece. To do this, attach the square to the edge of the workpiece so that the inner edge of the blade is located across the surface of the workpiece. |
 | Look down at the workpiece to see if there is any light visible between the inner edges of the engineering square and the workpiece. If the light is not visible, then the workpiece is square. You may find that placing the light source behind the workpiece and square makes this task easier. |

