How to change the exhaust gas recirculation valve?
Content
Is your exhaust gas recirculation valve defective and need to be replaced? This article details the steps for replacement of the exhaust gas recirculation valve !
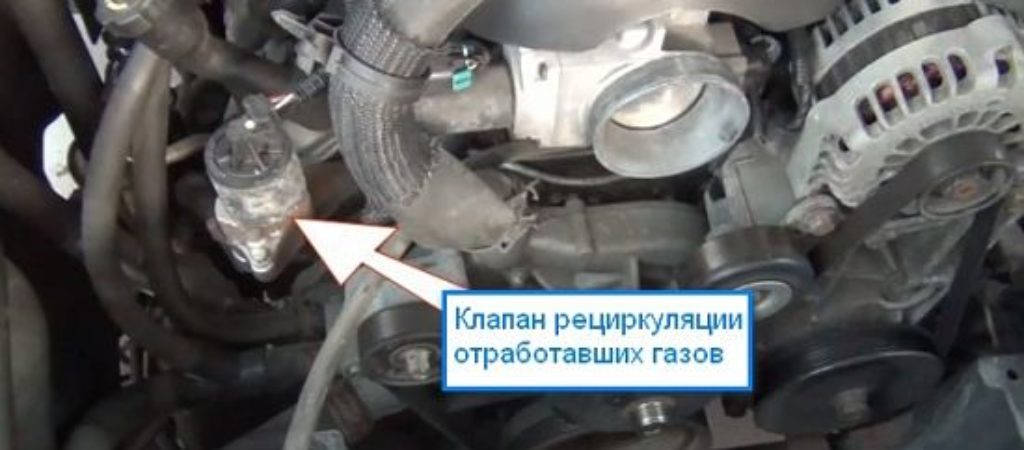
🔍 Where is the exhaust gas recirculation valve?
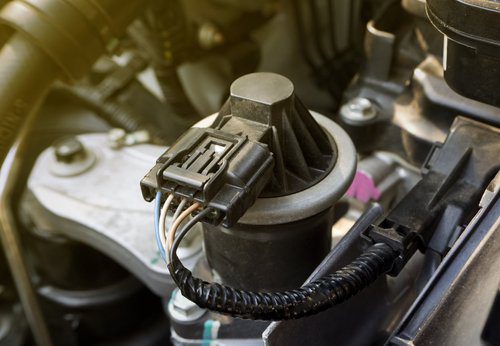
An exhaust gas recirculation valve is an auto part that removes toxic gas particles released during engine combustion. The location of the EGR valve can vary from vehicle to vehicle, but it is usually located between the exhaust manifold and the intake manifold. This is a motor control module that controls the opening and closing of the motor through an electrical connection. Thus, the EGR valve is usually accessible directly from the cover, which makes it much easier to replace it if necessary.
🚗 How do you know if the exhaust gas recirculation valve is out of order?

Before proceeding with its disassembly, it is advisable to check whether the exhaust gas recirculation valve is working properly. For this, there are several symptoms that can warn of a malfunction of the exhaust gas recirculation valve. Indeed, if you are experiencing engine stalling, irregular idling, loss of power, excessive smoke generation, or increased fuel consumption, your EGR valve may be defective or clogged. Some vehicles have an emission warning light that can come on and alert you if the EGR valve has failed.
If your EGR valve is stuck open, you will see strong black smoke coming out of the exhaust pipe with every acceleration because the engine runs out of air and therefore incomplete combustion, resulting in significant carbon dioxide emissions.
If your EGR valve is out of order, there is no need to completely replace it. Indeed, it can be cleaned by adding an additive or descaling to the gasoline. However, if the electrical control no longer works, you will have to replace the EGR valve as an add-on. To maintain the exhaust gas recirculation valve and avoid clogging, it is recommended to drive regularly on the motorway and increase engine speed to remove excess carbon.
🔧 How to disassemble the exhaust gas recirculation valve?
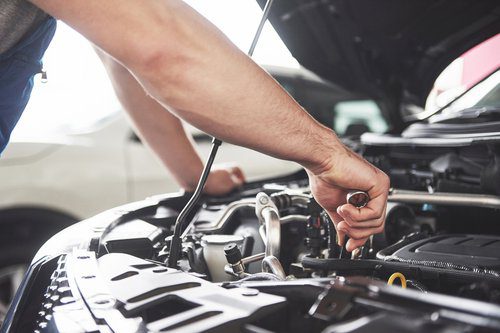
On some vehicles, the EGR valve can be difficult to reach if the exhaust manifold is located at the rear of the engine. Then you will need to disassemble several parts of the car in order to access them. We therefore advise you to go to the garage to replace the exhaust gas recirculation valve. In addition, in order to complete the reassembly of the EGR valve, you will have to start your vehicle with an auxiliary diagnostic tool (a machine that few individuals own). However, if you still want to replace the EGR valve yourself, here is a step-by-step guide that will allow you to do it yourself.
Required Tools:
- socket
- Wrenches (flat, socket, hex, Torx, etc.)
- Candle
- Penetrating
Step 1. Prepare to remove the EGR valve.
Start by locating the EGR valve on your car model. You can use your vehicle's technical survey to find out the position of the EGR valve. Then determine the type of valve and connection (electrical, pneumatic or hydraulic). You will probably need penetrating oil to remove the fasteners, since the EGR valve is usually located near the exhaust system. If necessary, use a jack and a jack under the vehicle to gain access to the exhaust gas recirculation valve.
Step 2: disconnect the battery
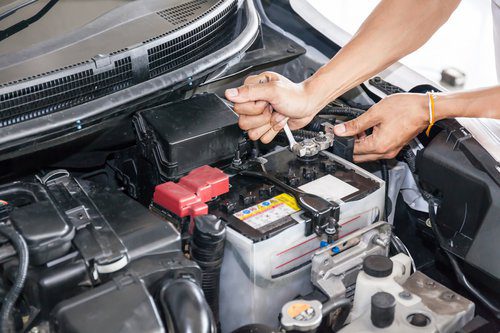
To safely replace the exhaust gas recirculation valve, the battery must be disconnected. In our blog, you will find articles on battery removal. Be careful, because when you replace the battery, you risk losing all stored information. Therefore, there are several ways to avoid this: all the tips can be found in our blog.
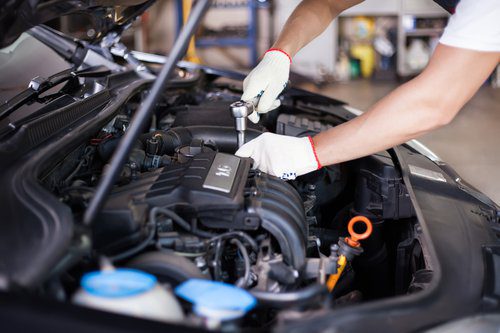
Step 3: Disconnect and remove the EGR valve.
After disconnecting the battery, you can finally disconnect the exhaust gas recirculation valve without risk. To do this, disconnect all electrical connectors from the valve. Some vehicles have a coolant pipe directly on the valve.
If this is the case for your car, then you will need to change the coolant. Use pliers to remove the metal sleeve from the tubing coming out of the inlet. Finally, the exhaust gas recirculation valve can be removed.
Be careful not to drop gaskets, screws, washers, or nuts into the engine, or it may break the next time you start.
Step 4. Assemble the EGR valve.
After cleaning, repairing or replacing the EGR valve, you can reassemble the new EGR valve by following the previous steps in reverse order. Be careful when replacing gaskets to ensure proper valve operation. If you had to change the coolant, be sure to top up and check the level. Reconnect all connections that you removed.
Step 5: Confirmation of the intervention
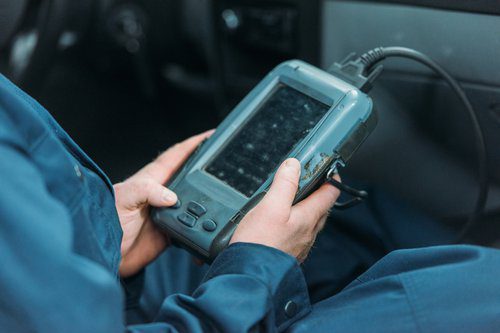
At this stage, the assistance of a professional mechanic may be required. In fact, for the EGR valve to function properly, an auxiliary diagnostic tool must be used so that the ECM correctly locates the EGR valve stops. In other words, he must know the position of the EGR valve (open or closed) in order to be able to operate it correctly. This accessory diagnostic tool excerpt is required! To do this, you need to connect the device to the diagnostic socket of your car. Once the connection is established, you should go to the "Reset" or "Advanced Functions" menu depending on the brand of the diagnostic tool used. Then follow the procedure described on the machine. Then go to Read or Clear Errors to erase the flagged issues. Take a test drive to ensure that the exhaust gas recirculation valve is working properly. Then check the problem on the machine again. If the tool shows no problem, then everything is in order and your EGR valve has been replaced.