
How to Test a Voltage Regulator (Guide)
Content
Voltage regulation is critical in any electrical system. Without voltage regulation or the presence of a voltage regulator, input voltage (high) overloads electrical systems. Voltage regulators work in the same way as linear regulators.
They ensure that the generator output regulates the charging voltage within the specified voltage range. Thus, they prevent power surges in the car's electrical system.
With this in mind, it is essential to frequently check the condition of your vehicle's voltage regulator.
In this guide, I will show you the whole process step by step. Please read it to the end and you will learn how to test the voltage regulator with a multimeter.
In general, to test your voltage regulator, set your multimeter to measure volts and connect it to the battery to check its voltage. Make sure your car is off when checking battery voltage. Pay attention to the multimeter reading, that is, the voltage of your battery - the voltage must exceed 12V, otherwise your battery will fail. Now turn on your car's engine. The voltage reading should rise above 13V. If it drops below 13V, then your vehicle's voltage regulator has a technical problem.
Automotive Voltage Regulator Test Tools
You will need the following tools to test your vehicle's voltage regulator:
- car battery
- Digital multimeter with probes
- Battery clamps
- Volunteer (1)
Method 1: Car Voltage Regulator Check
Now let's check the condition of your car's voltage regulator by testing it with a multimeter. To perform this action, you must first set up your multimeter.
Step 1: Set up your multimeter
- Turn the selection knob to adjust the voltage - this section is often labeled "∆V or V". The V label can have multiple lines at the top.
- Then set your multimeter to 20V. You could damage your voltage regulator if your multimeter is in the "Ohm Amp" setting.
- Insert the red lead into the port marked V and the black lead into the port marked COM.
- Now adjust your multimeter by checking the probe leads. The multimeter will beep if it is working properly.
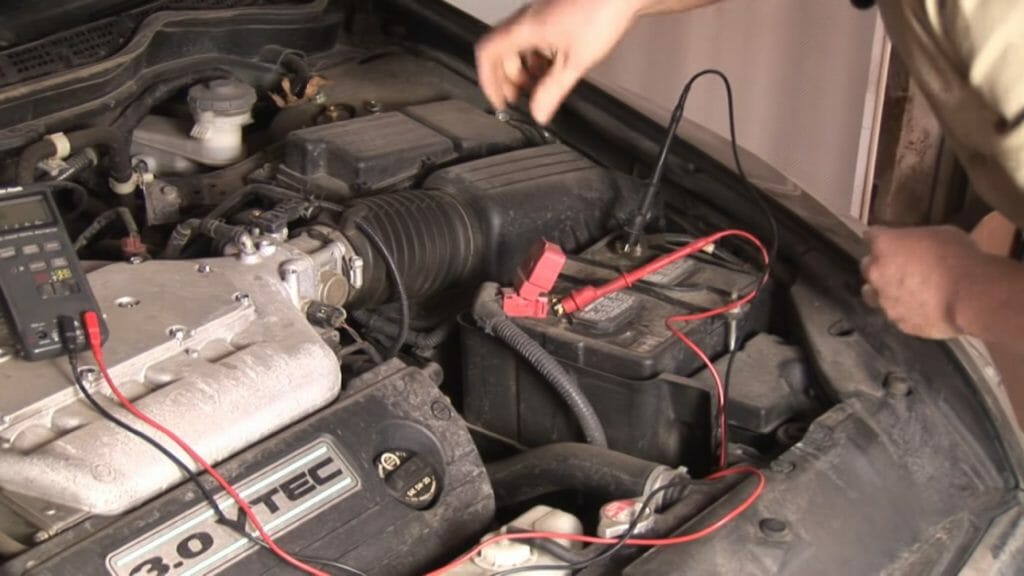
Step 2. Now connect the multimeter leads to the car battery.
Now turn off your car engine and connect the multimeter leads accordingly. The black probe connects to the black battery terminal and the red probe to the red terminal.
You need to get a reading of your battery voltage. It will let you know if your battery is failing or in optimal condition.
After connecting the probes, read the multimeter readings. The value obtained should conditionally exceed 12 V with the engine off. 12V means the battery is good. However, lower values mean your battery is bad. Replace it with a new or better battery.
Step 3: Turn on the engine
Place your vehicle in park or neutral. Apply the emergency brakes and start the car engine. In this case, the multimeter probes must remain attached to the car battery, for this you can use the battery clamps.
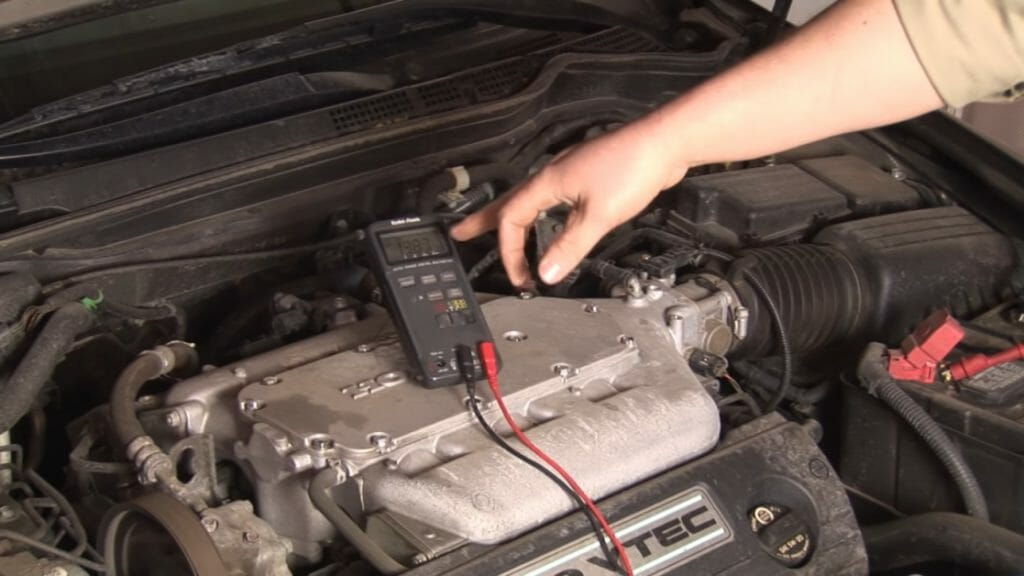
Now check the indication block of the multimeter. The voltage readings should rise from the marked voltage (when the car is off, the battery voltage) to about 13.8 volts. A value of about 13.8V is an indicator of the health of the generator voltage regulator. Any value well below 13.8 means your voltage regulator is not working properly.
Another thing to watch out for is a constant or fluctuating high or low output voltage. It also means that your voltage regulator is not working properly.
Step 4: RPM your car
You will need someone else to help you here. They will turn the engine while you follow the multimeter readings. Your partner should gradually increase the speed to 1,500-2,000 rpm.
Pay attention to the readings of the multimeter. A voltage regulator in good condition should have about 14.5 volts. And any reading above 14.5 volts means your voltage regulator is bad.
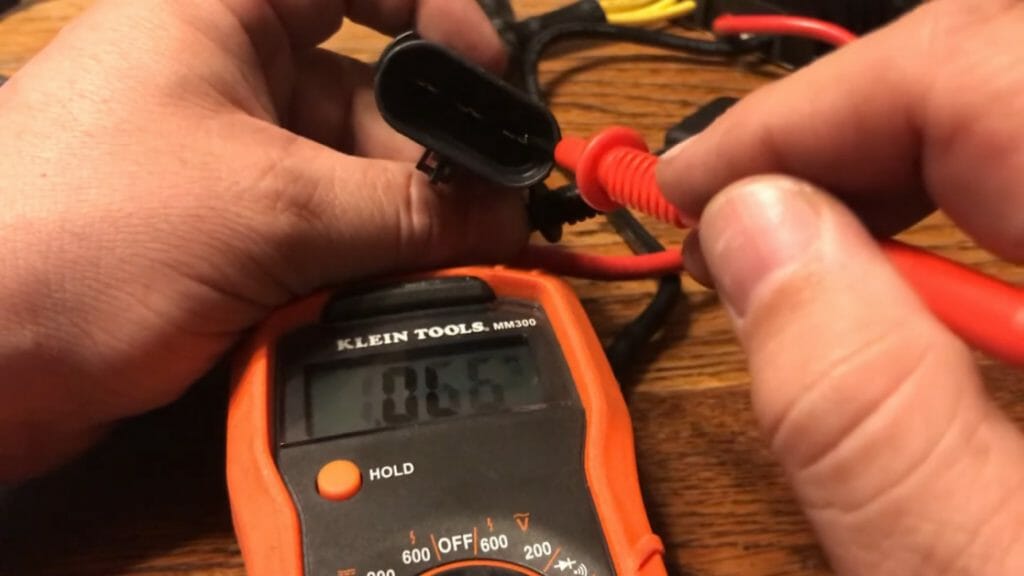
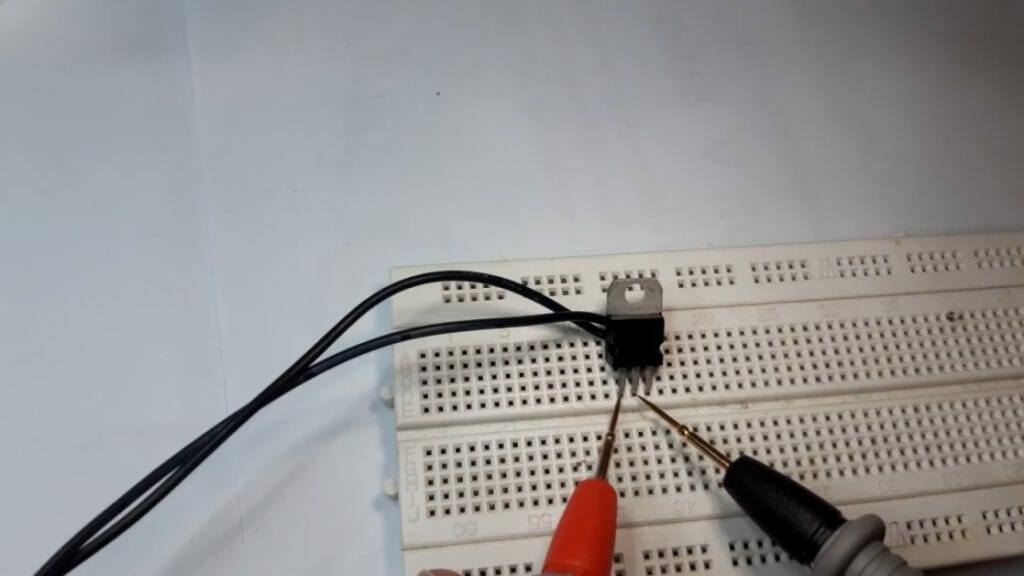
Method 2: Testing a 3-pin voltage regulator
The three-phase power supply works by charging the battery to replace the voltage drawn by the electrical system. It has input, common and output blocks. It converts alternating current to direct current, which is commonly found in motorcycles. Follow the steps below to check the three-phase rectifier voltage at the terminals.

- Make sure your multimeter is still set up.
- Now take your multimeter leads and measure the voltage of your three-phase voltage regulator.
- The three-phase regulator has 3 "legs", check each phase.
- Insert the probes into the legs as follows: measure 1st leg with 2nd one, 1st leg with 3rd, and finally 2nd leg with 3rd legs.
- Note the multimeter reading at each step. You should get the same reading for all three phases. However, if the difference in voltage readings is significant, go for a repair. This means that your three-phase voltage rectifier is not working properly.
- Now go ahead and test each phase to ground. At this point just make sure there is a read, no read means there is an open link. (2)
Take a look at some of our articles below.
- How to use a multimeter to check the voltage of live wires
- What should a 6-volt battery show on a multimeter
- How to measure DC voltage with a multimeter
Recommendations
(1) volunteer - https://www.helpguide.org/articles/healthy-living/volunteering-and-its-surprising-benefits.htm
(2) reading - https://www.healthline.com/health/benefits-of-reading-books
Video links


