
How to test trailer brakes with a multimeter
Content
As a trailer owner, you understand that your brakes must work properly.
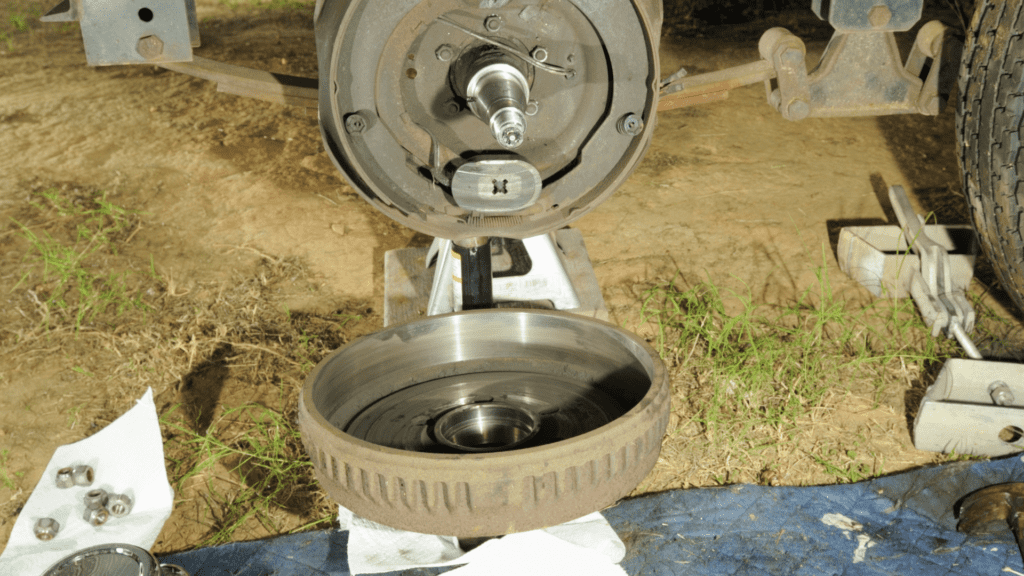
Electric trailer brakes are common in more modern medium duty trailers and have their own diagnostic problems.
Your problems are not limited to rust or buildup around the drum.
A malfunctioning electrical system also means that your brakes are not working properly.
However, not everyone knows how to diagnose the problem here.
In this article, you'll learn everything you need to know about testing trailer electric brakes, including how easy it is to diagnose electrical components with a multimeter.
Let's get started.
How to test trailer brakes with a multimeter
To test the trailer brakes, set the multimeter to ohms, place the negative probe on one of the brake magnet wires and the positive probe on the other magnet wire. If the multimeter reads below or above the specified resistance range for the brake magnet size, then the brake is defective and needs to be replaced..
This process is just one of the methods for testing individual brakes and these steps, as well as other methods, will be explained next.
There are three ways to check the brakes for problems:
- Checking resistance between brake wires
- Checking the current from the brake magnet
- Control current from electric brake controller
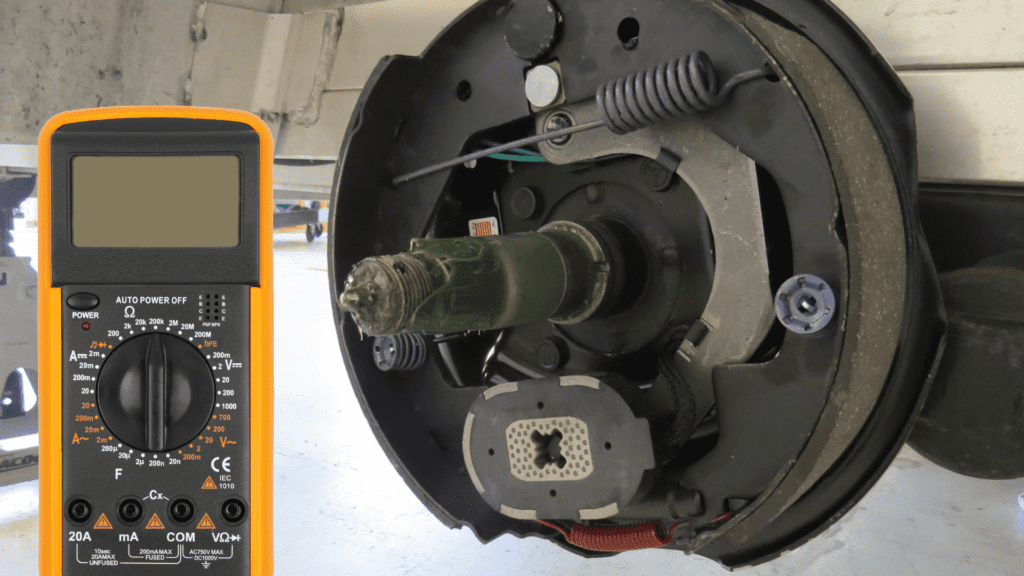
Resistance test between brake magnet wires
- Set multimeter to ohm setting
To measure resistance, you set the multimeter to ohms, which is usually denoted by the symbol Omega (Ohm).
- The position of the multimeter probes
There is no polarity between the brake magnet wires, so you can place your sensors anywhere.
Place the black probe on either of the brake magnet wires and place the red probe on the other wire. Check the multimeter reading.
- Rate results
There are certain characteristics in this test that you want to record.
For a 7" brake drum you would expect a reading in the 3.0-3.2 ohm range and for a 10"-12" brake drum you would expect a reading in the 3.8-4.0 ohm range.
If the multimeter reads outside of these limits because it refers to the size of your brake drum, then the magnet is defective and needs to be replaced.
For example, a multimeter labeled "OL" indicates a short in one of the wires and the magnet probably needs to be replaced.
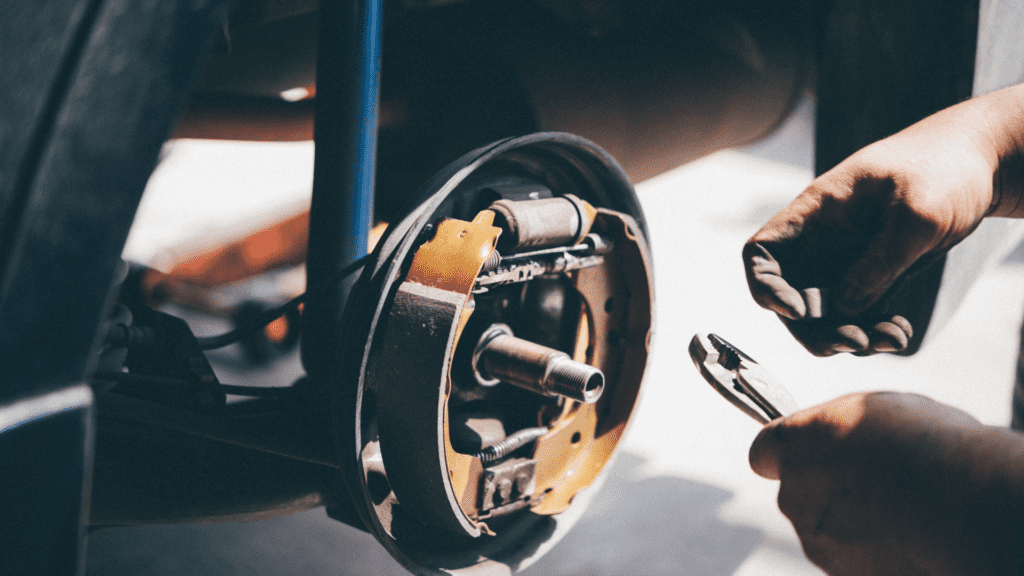
Checking the current from the brake magnet
- Install a multimeter to measure amperes
The first step is to set the multimeter to the ammeter setting. Here you want to measure if there is internal exposure or wire breaks.
- The position of the multimeter probes
Pay attention to these positions. Place the negative test lead on any of your wires and place the positive test lead on the positive battery terminal.
Then you place the brake magnet on the negative pole of the battery.
- Evaluation of results
If you get any multimeter readings in amps, then your brake magnet has an internal short and needs to be replaced.
If the magnet is OK, you won't get a multimeter reading.
If you're having a hard time finding the right wire, check out this guide.
Test current from electric brake controller
The electric brakes are controlled from the electric brake control panel.
This panel feeds the magnets with electrical current when the brake pedal is depressed and your car comes to a stop.
Now the problem with your brakes is if that electric brake controller isn't working properly or the current from it isn't reaching your brake solenoids properly.
There are four methods to test this device.
You can use a multimeter to test the trailer brake wiring between the brake controller and the brake magnet.
In routine testing of brakes for problems, there are a few things you need to pay attention to.
This is the number of brakes you have, your trailer's pin connector configuration, and the recommended current the mag wires should produce.
This recommended current is based on magnet size and here are the specifications to follow.
For 7″ Diameter Brake Drum
- Trailers with 2 brakes: 6.3–6.8 amps
- Trailers with 4 brakes: 12.6–13.7 amps
- Trailers with 6 brakes: 19.0–20.6 amps
For brake drum diameter 10″ – 12″
- Trailers with 2 brakes: 7.5–8.2 amps
- Trailers with 4 brakes: 15.0–16.3 amps
- Trailers with 6 brakes: 22.6–24.5 amps
Now do the following.
- Install a multimeter to measure amperes
Set the scale of the multimeter to the settings of the ammeter.
- The position of the multimeter probes
Connect one probe to the blue wire coming from the connector plug and the other probe to one of the brake magnet wires.
- Take a reading
With the car powered on, apply the brakes using the foot pedal or electric control panel (you can ask a friend to do this for you). Here you want to measure the amount of current flowing from the connector to the brake wires.
- Rate results
Using the specifications above, determine if you are getting the right current or not.
If the current is above or below the recommended specification, the controller or wires may be faulty and need to be replaced.
There are also other tests you can run to diagnose the current coming from your electric brake controller.
If you see smaller values when measuring current, see this text for how a milliamp looks on a multimeter.
Compass test
To run this test, simply apply electrical current to the brakes through the controller, place the compass next to the brakes, and see if it moves or not.
If the compass does not move, then there is no current being supplied to the magnets and there may be a problem with your controller or wiring.
Magnetic field test
When your electronic brakes are energized, a magnetic field is created and, as you would expect, metals will stick to it.
Find a metal tool like a wrench or screwdriver and let your friend energize the brakes through the controller.
If the metal does not stick, the problem may be in the controller or its wires.
Trailer connector tester
You can use a trailer connector tester to see if your various connector pins are working.
Of course, in this case you want to check that the brake connector pin is receiving current from the controller.
Simply plug the tester into the connector socket and check if the corresponding brake light comes on.
If this does not happen, then the problem is in the controller or its wires, and they need to be checked and replaced.
Here is a video on how to operate the trailer connector tester.
Conclusion
There are several ways to diagnose why the trailer brakes are not working. We hope to have helped you successfully with this guide.
We highly recommend that you read the Trailer Light Testing Guide.
F.A.Q.
How many volts should be on trailer brakes?
Trailer brakes are expected to produce 6.3 to 20.6 volts for a 7" magnet and 7.5 to 25.5 volts for a 10" to 12" magnet. These ranges also vary depending on the number of brakes you have.
How do I test the continuity of my trailer brakes?
Set your meter to ohms, place one probe on one of the brake magnet wires and the other probe on the other wire. The indication "OL" indicates a break in one of the wires.
How to test the brake magnets of an electric trailer?
To test the brake magnet, measure the resistance or amperage of the brake magnet wires. If you're getting an amp reading or OL resistance, that's a problem.
What can cause the trailer's electric brakes to not work?
The trailer brake may not work properly if the electrical connections are bad or the brake magnets are weak. Use a meter to check the resistance, voltage, and current inside the magnet and wires.
