How to make an autonomous heater in a car with your own hands, options for heating devices
Content
In almost every garage there is an IP65 junction box, two terminal blocks, a wire with a cross section of 2,5 mm2. Buy two small-sized axial fans, “borrow” a nichrome spiral from an old toaster or an unnecessary microwave oven - and it’s easy to build an autonomous heater in a car with your own hands. However, a spiral can be made from a ferronichrome filament with a cross section of 0,6 mm and a length of 18-20 cm. The heater will be powered from a standard cigarette lighter.
The engine and interior of the car during long periods of inactivity in winter cool down to ambient temperature. If the thermometer reads -20 °С, standard climate equipment warms up the car for a long time. The problem is solved by an autonomous heater in a car, which you can do yourself. Resourceful drivers have come up with many options for home-made additional heating devices.
How to make an autonomous 12 V heater with your own hands
For homemade, a case from an unnecessary computer power supply is ideal. You can make a car oven in an hour or two, having the necessary components:
- Source of power. The device will work from the accumulator and the generator of the car with a regular voltage of 12 volts.
- A heating element. Take a nichrome (nickel plus chromium) thread with a cross section of 0,6 mm and a length of 20 cm. A high-resistance material heats up strongly when a current passes through it - and serves as a heating element. For greater heat transfer, the wire must be rolled into a spiral.
- Fan. Remove the cooler from the same block.
- control mechanism. Its role will be performed by the button for turning on the power supply of the old computer.
- Fuse. Select the part according to the estimated current strength.
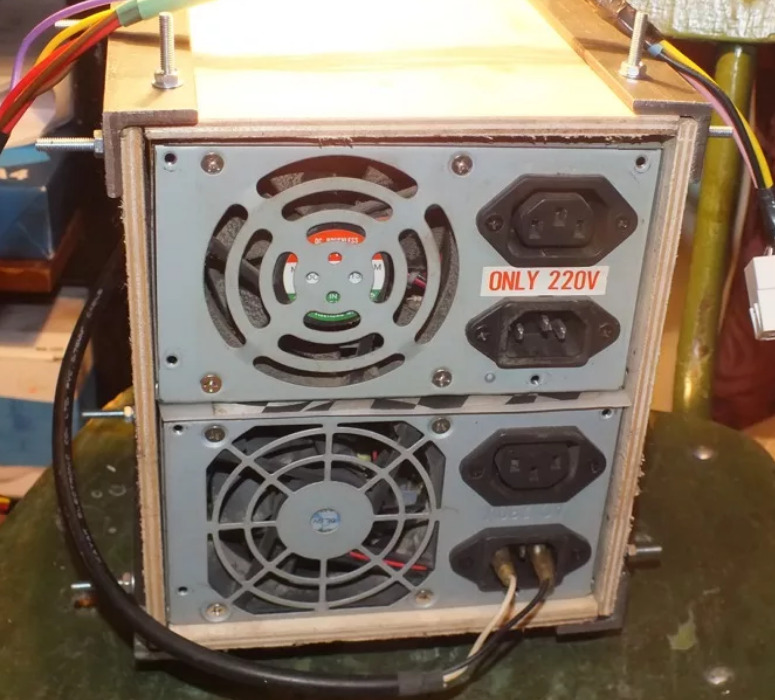
The stove from the system unit
Before assembling the heater, fasten the nichrome spiral with bolts and nuts to the ceramic tiles. Place the part in front of the case, place the fan behind the spiral. Install a breaker in the wiring closer to the battery.
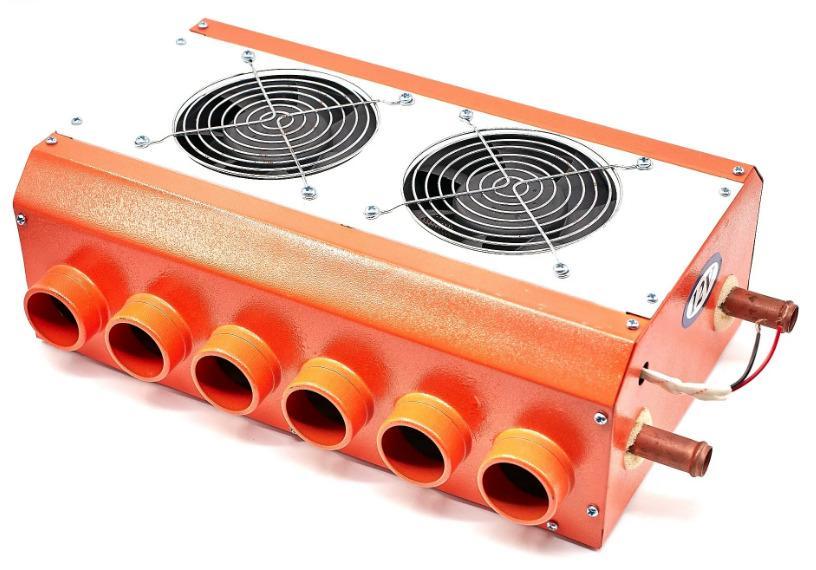
How to make a stove in a car from a cigarette lighter: instructions
Almost every garage has an IP65 junction box, two terminal blocks, 2,5 mm wire2. Buy two small-sized axial fans, “borrow” a nichrome spiral from an old toaster or an unnecessary microwave oven - and it’s easy to build an autonomous heater in a car with your own hands. However, a spiral can be made from a ferronichrome filament with a cross section of 0,6 mm and a length of 18-20 cm. The heater will be powered from a standard cigarette lighter.
Schedule:
- Make 5 spirals.
- Place two heating elements in series in one terminal block.
- In the other - three spirals with the same connection.
- Now combine these groups in parallel into a single heating element - using pieces of wire through the terminal holes.
- Glue together and attach fans to one end of the case. Place the block with two coils closer to the coolers.
- On the opposite side of the junction box, make a window through which warm air will flow.
- Connect the power wire to the "terminals". Set the power button.
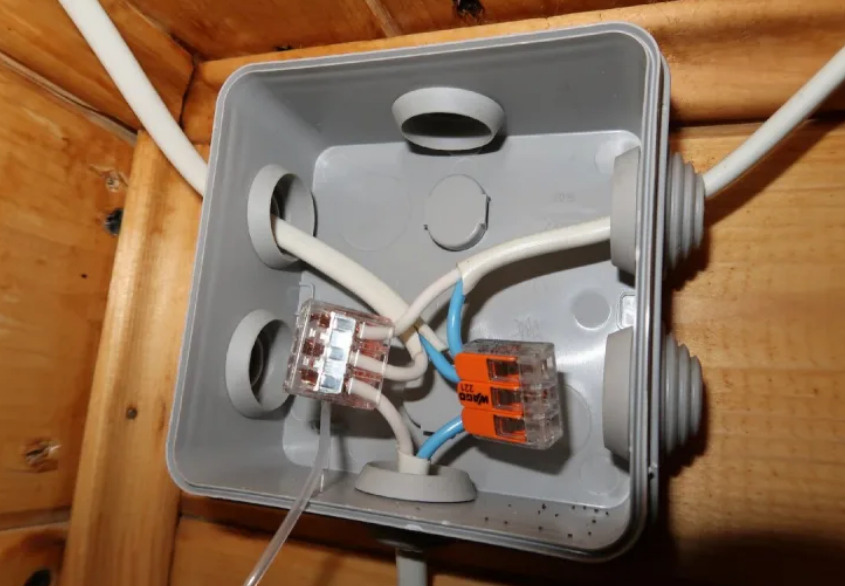
Junction box
The estimated power of the finished installation is 150 watts.

Do-it-yourself simple electric heater in a car
Construct electric heaters from a coffee can.
Proceed as planned:
- At the bottom of the future heater housing, draw a cross with a felt-tip pen.
- Make grinder cuts along the lines drawn on the tin, bend the resulting corners inward.
- Here (outside) install a 12-volt fan from the computer on the hot melt adhesive.
- In front of the jar, build legs for the stability of the product. To do this, drill two holes, insert and fasten long bolts into them. The latter should be approximately 45° in relation to the horizontal axis of the housing.
- You have marked the bottom and top of the heater. Drill a third hole in the middle of the bottom of the workpiece.
- Make a spiral from a piece of nichrome thread, attach it to one side of the terminal block.
- Fasten the wires on the other side of the terminal block.
- Place the block inside the jar. Lead the wires out through the third hole.
- Glue the block to the body with hot glue.
- Connect the wires in parallel to the fan. Screw it into the second block, which you glue on the outside of the can.
- Add a switch (preferably right next to the outer block) and a socket for connecting to the car's voltage.
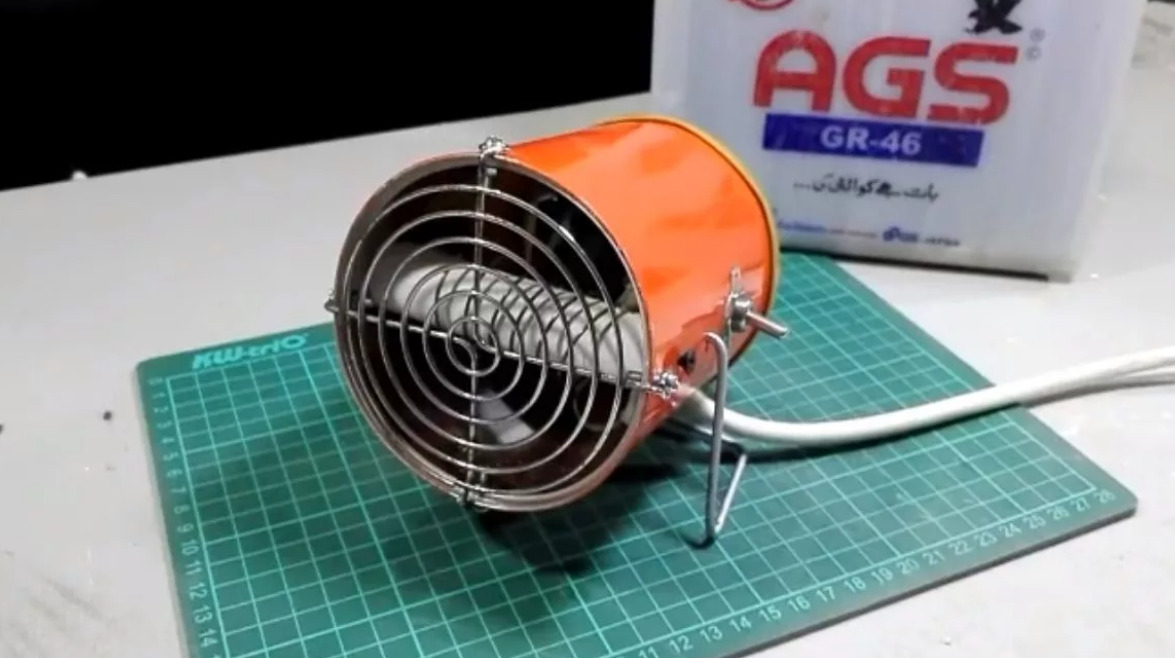
Stove with your own hands
Such a device will save you money and reduce the time to warm up the car in cold weather.