How to lubricate your car's steering and suspension parts
Content
Steering and suspension components are important to vehicle stability. By lubricating the ends of the tire bars and ball joints, you will get a smooth ride.
Steering and suspension components are vital to driving enjoyment. They are responsible for your driving comfort, directional stability, and also affect tire wear. Worn, loose, or misadjusted steering and suspension components can also shorten the life of your tires. Worn tires affect fuel consumption as well as vehicle grip in all conditions.
Tie rod ends, ball joints and center links are just some of the typical steering and suspension components that require regular inspection and maintenance. The tie rods connect the left and right wheels to the steering gear, and the ball joints allow the wheels to turn freely and stay as close to vertical as possible while moving up and down the road surface.
While many vehicles on the road today have "sealed" components that do not require lubrication but still require periodic inspection for damage or wear, many vehicles have "healthy" components, which means they require regular maintenance in kind of lubricant. Lubrication of steering and suspension components is quite simple. This article will show you how to properly lubricate your steering and suspension components.
Part 1 of 3: Raise your car
Necessary materials
- reptile
- Jack
- Lubricant cartridge
- Syringe
- Jack stands
- rags
- Vehicle operation manual
Wheel chocks
Attention: Be sure to use a jack with the correct capacity to raise the vehicle. Make sure the jack legs also have the correct capacity. If you're unsure of your vehicle's weight, check the VIN number label, usually found on the inside of the driver's door or on the door frame itself, to find out your vehicle's Gross Vehicle Weight (GVWR).
Functions: If you don't have a creeper, use a piece of wood or cardboard so you don't have to lie on the ground.
Step 1: Find your car's jacking points. Because most vehicles are low to the ground and have large pans or trays under the front of the vehicle, it's best to clean one side at a time.
Jack up the vehicle at the recommended points instead of trying to raise it by sliding the jack under the front of the vehicle.
- Attention: Some vehicles have clear markings or cutouts under the sides of the vehicle near each wheel to indicate the correct jacking point. If your vehicle does not have these guidelines, refer to your owner's manual to determine the correct location of the jack points.
Step 2: Fix the wheel. Place wheel chocks or blocks in front of and behind at least one or both rear wheels.
Raise the vehicle slowly until the tire is no longer in contact with the ground.
Once you get to this point, find the lowest point under the car where you can place the jack.
- Attention: Make sure each leg of the jack is in a strong place, such as under a cross member or chassis, to support the vehicle. Once installed, slowly lower the vehicle onto the stand using a floor jack. Do not lower the jack completely and keep it in the extended position.
Part 2 of 3: Lubricate Steering and Suspension Components
Step 1: Access the components under the car. Using Velcro or cardboard, slide under the car with a rag and grease gun handy.
Serviceable components such as tie rods, ball joints will have grease fittings. Inspect the steering and suspension components to make sure you spot them all.
Typically, on each side you will have: 1 upper and 1 lower ball joint, as well as an external tie rod end. Toward the middle of the car on the driver's side, you can also find a bipod arm connected to the steering gear and the center link (if any) that connects the left and right tie rods together. You can also find a tensioner arm on the passenger side that supports the center link from that side. You should be able to easily reach the driver side center link grease fitting during driver side service.
- Attention: Due to the offset design of some wheels, you may not be able to easily direct the grease gun to the upper and/or lower ball joint grease fittings without first removing the wheel and tire assembly. If so, follow the instructions in your owner's manual to properly remove and reinstall the wheel.
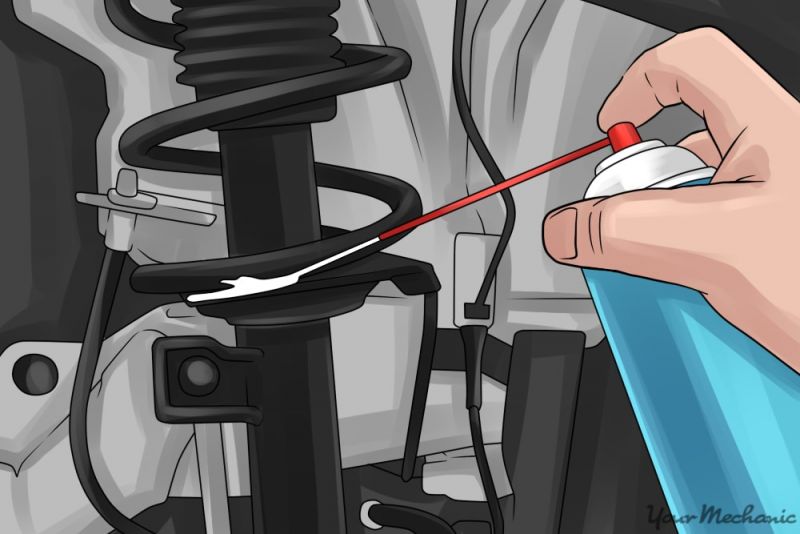
Step 2: Fill the components with grease. Each of these components may have a rubber boot. Once you attach a grease gun to them and pull the trigger to fill them with grease, keep an eye on these boots. Make sure you don't fill them up with lube to the point where they might burst.
However, some components are designed so that some lubricant will leak out when filled. If you see this happening, it indicates that the component is full.
It usually only takes a couple of hard pulls on the syringe trigger to apply as much lubricant to each component as needed. Repeat this process with each component.
Step 3: Remove Excess Grease. After you have lubricated each component, wipe off any excess grease that may have come out.
You can now jack the car back up, remove the stand and lower it back to the ground.
Follow the same procedure and precautions for lifting and lubricating the other side.
Part 3 of 3. Lubricate the rear suspension components (if applicable).
Not all vehicles have rear suspension components that require regular lubrication. Generally, a car with independent rear suspension can have these components, but not all of them. Check with your local auto parts specialists or use online sources to see if your vehicle has working rear components before unnecessarily lifting the rear of the vehicle. If your vehicle has these rear components, follow the same guidelines and precautions as for the front suspension when lifting and supporting the vehicle before lubricating any rear suspension components.
If you are not comfortable doing this process yourself, contact a certified specialist, such as from AvtoTachki, for steering and suspension lubrication.