How to reduce damage to a flooded car
Content
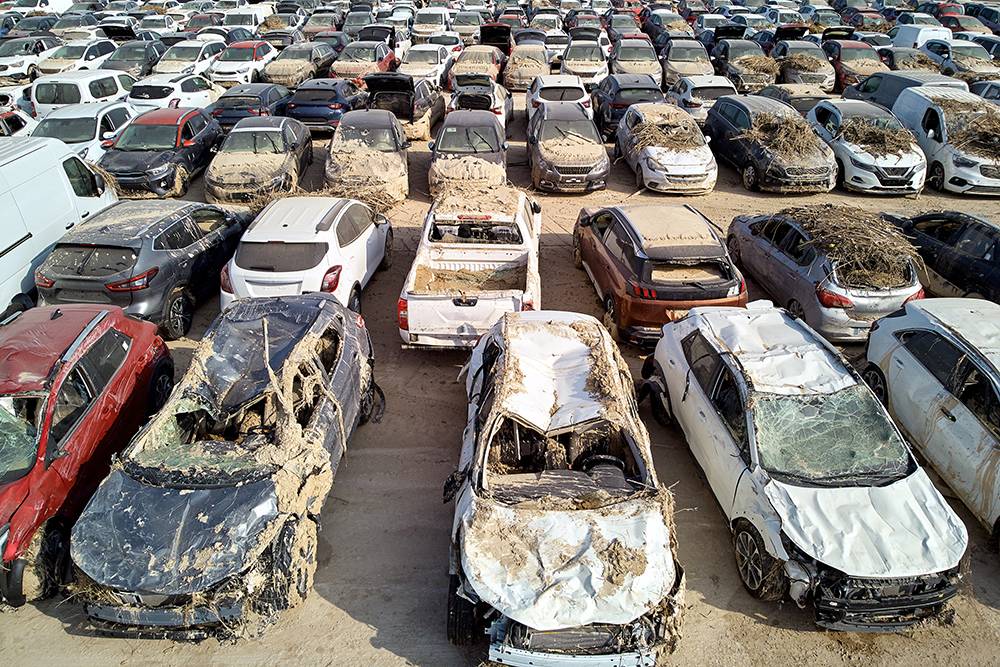
Flood damage can greatly affect the functionality and value of your vehicle. However, there are ways to save the car and minimize the damage.
Your vehicle is well protected from normal environmental elements such as sun and dust; but sometimes extreme circumstances like floods can cause massive damage to your vehicle.
Flash floods can occur when water has nowhere to go and cause water to pool in low-lying areas. If your car is parked in such a place, it may be flooded, causing damage to the interior and exterior.
At first, you may not think that water in your car is such a big deal, but flooding can cause the following problems:
- Electrical connections and wiring may be corroded or short circuited.
- Metal surfaces can rust prematurely
- Nuts and bolts can jam
- Mold, fungus and unpleasant odors can develop on the carpet and upholstery.
If your car is insured during a flood, most often it will be declared a total loss by the insurance company and written off. You will be paid the cost of the car so you can get another car.
If your car is not insured, or if your insurance doesn't include flood damage, you could be stuck with a car with water inside.
Here's how you can clean your car and minimize the effects of water damage to your car.
Part 1 of 4: Remove standing water from the car floor
If rainwater has flooded your car, all you have to do is remove the water.
If the water is from rising flood waters or undulating ground, the water that enters your vehicle will be dirty and can stain everything it touches. In any case, you need to clean it before you can check the working condition of your car.
- A warning: Before working on the vehicle, make sure the battery is disconnected.
Necessary materials
- Dry rags
- Set of ratchets and sockets
- Trimming Tools
- water
- Water hose or pressure washer
- Wet/dry vacuum
Step 1: Remove excess water. Use a wet/dry vacuum cleaner to pick up any remaining water from the floor. If there is more than an inch of standing water in your car, use a bucket or cup to bail it out before vacuuming.
- Functions: Remove the filter and bag from the wet/dry vacuum cleaner to prevent saturation.
Step 2: Remove and dry any loose items.. Hang the floor mats to dry in the basement or outside in the sun.
Step 3: Remove Console and Seats. If there was standing water on your carpets, it has probably seeped through and will need to be removed to keep the floor from rusting. Remove the carpet from the car to remove any remaining water.
First, you need to remove the console and seats using a ratchet and socket set. Disconnect all wiring connectors under the seats and in the console so that they can be completely removed from the vehicle.
Step 4: Use a decorative stick to remove the plastic trim before removing the rug.. Remove any trim attached to the edges of the carpet, such as door sills, door sills, and pillar trims.
Lift the carpet out of the car. It can be one large piece or several small sections. Lay it out to let it dry.
Step 5: Remove excess water. Use a wet/dry vacuum cleaner to pick up any water from the floor that you find when you remove the carpet.
Step 6: Wash Carpet and Rugs. If the water in your car was dirty, rinse the carpet and floor mats with clean water. Use a pressure washer if you have one, or a garden hose with a full flow of water.
If possible, hang up carpets to wash them and allow dirt to drain off easily. Wash carpets until water runs off the carpet.
Step 7: Remove Dirt. Wipe off any silt or dirt that remains inside your vehicle using a clean and dry cloth. Pick up as much dirt as possible from the bare metal floor - the dirt can act as an abrasive under the carpet and wear down the metal's protective coating, causing rust to form.
Part 2 of 4: Dry the car interior
If your car interior is cleaned, you will be able to dry it faster either by air drying or by using high power fans.
Necessary materials
- Air compressor with nozzle
- Large volume fans
Step 1: Set up the fans. Take a few fans and position them so that air is blowing into the interior of the car and the carpet and seats are off.
Start with a dry floor before putting the carpet back on; otherwise, any moisture under the carpet can promote corrosion and rust.
Leave all your car doors wide open to allow moist air to escape from your car.
Step 2 Use compressed air. Blow moisture or water out of hard to reach places with compressed air. If there are places where water accumulates or lingers, a jet of compressed air will remove it so that it does not rust in that place.
Step 3: Dry upholstery and carpets. Once removed from the vehicle and washed, dry all carpets, floor mats and fan seats.
Do not install carpets until they are completely dry to the touch, which can take a full day or more.
Step 4: Put it all back together. When everything is dry, put it back in the car. Make sure all connectors are reconnected when you assemble the interior.
Part 3 of 4: Deodorize your car
Even if only water gets into your car, it can allow mold or mildew to grow inside your car's upholstery and on the carpet, causing bad odors. Smells make your car unpleasant to drive and can even distract you from responsible driving.
Necessary materials
- Baking soda
- Environmental air sponge
- Paper towels
- Wet/dry vacuum
Step 1: Find the source of the smell. Usually the smell comes from a place that is not completely dry, such as under a seat or a floor mat.
Use your hand or paper towel to apply pressure to various spots until you find a wet area.
Step 2: Sprinkle baking soda on a damp spot.. Use plenty of baking soda to absorb moisture and neutralize odor.
Leave the baking soda on the stinky place overnight for it to work properly.
Step 3: Vacuum up the baking soda.. If the odor returns, reapply the baking soda or try another odor removal method.
Step 4: Neutralize odors. Use an odor-absorbing material or air sponge to neutralize odors. Items like air sponges remove odors from the air, leaving your car fresh and clean.
Part 4 of 4: Assess the degree of water damage
After you've removed all the water and made sure the air in your car is breathable, check your car to see if there's any damage from the flood.
Step 1. Check all controls that have been immersed in water.. Make sure the emergency brake is working and make sure all pedals move freely when pressed.
Make sure any manual seat adjustments move freely back and forth. Check that the fuel tank, trunk and hood latch are working properly.
Step 2: Check Your Electronic Systems. Check all power windows and door locks to make sure they are working. Make sure the radio functions and heater controls work.
If you have power seats, make sure they move in the correct direction when the button is pressed.
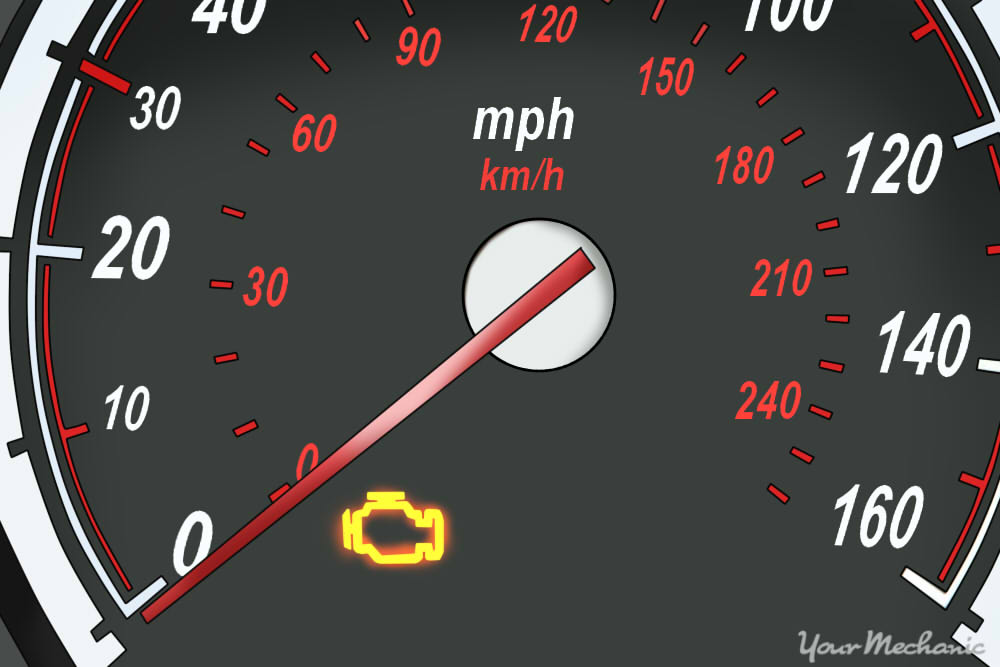
Step 3. Check all indicators on the dashboard.. Reconnect the battery, start the car and check for warning lights or indicators on the dashboard that were not lit before the flooding occurred.
Common issues with water damage include issues with the airbag module, as the module and other airbag control connectors are often located under the seats.
If there are mechanical or electrical problems as a result of flooding, contact a certified mechanic, for example, from AvtoTachki, to check the safety of your vehicle.