How to install the Campingaz regulator?
Content
Step 1 - Disconnect the Cylinder HandleRemove the carrying handle on the top of the cylinder by unscrewing it counterclockwise. | ||
| Step 2 - Make sure the regulator is offTurn the control knob on the front of the regulator clockwise to make sure it is off. | |
 | Step 3 - Remove the dust capTurn the regulator upside down and remove the protective cap from the bottom tip by turning it counterclockwise. | |
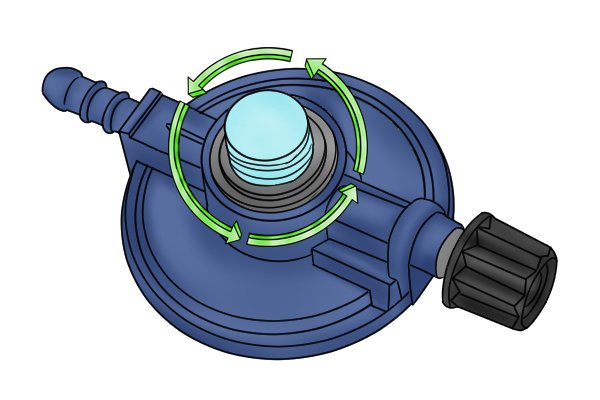
 | Step 4 - Attach the regulatorInsert the lower end of the regulator into the cylinder valve threads and turn the entire regulator clockwise until it feels tight. At this point, a small jet of gas may come out as the tip of the screw connects to the ball valve inside the cylinder, but this is nothing to worry about. | |
 | Step 5 - Turn on the gasTurn the control knob counterclockwise to turn on the gas supply. | |
How to remove the Campingaz regulator | ||
 | Step 1 - Turn off the gasTurn the control knob clockwise to turn off the gas, then turn the knob counterclockwise until it loosens. | |
 | Step 2 - Replace the dust capTo protect the tip of the adjuster screw, replace the protective plastic cap by turning it clockwise. | |

