How to install a tachometer in your car
Most modern cars are equipped with a tachometer. This is usually standard equipment, although many vehicles still do not have it. If your car does not have a tachometer, in most cases one can be easily installed. Whether you're installing it for performance, looks, or to control engine speed for fuel consumption reasons, knowing some simple instructions can allow you to install a tachometer yourself.
The purpose of a tachometer is to allow the driver to see engine RPM or RPM. This is how many times the engine's crankshaft makes one full revolution in one minute. Some people also use the tachometer to improve performance as it allows them to control the speed of the engine. This helps the driver know when the engine is running at the correct RPM for optimum power, and also lets the driver know if the engine speed is getting too high, which could lead to engine failure.
Some people install tachometers to help them achieve the best possible fuel consumption by monitoring engine speed. You may want to install a tachometer for any of these reasons or just for looks.
When buying a new tachometer, keep in mind that you will need different adapters depending on whether your car has a distributor or distributorless ignition system (DIS or coil on plug).
Part 1 of 1: Installing a New Tachometer
Necessary materials
- Fusible jumper wire with the same current rating as the new tachometer.
- Tachometer
- Tachometer adapter if vehicle is equipped with DIS
- Save memory
- Wire at least 20 feet to match the size on the tachometer
- Nippers / strippers
- Wiring connectors, assorted with butt connectors and tee lugs
- Wiring Diagram for your vehicle (Use repair manual or online source)
- Wrenches in various metric sizes
Step 1: Place the car. Park the vehicle on a level, level surface and apply the parking brake.
Step 2. Install the memory splash screen according to the manufacturer's instructions.. Using the memory saver feature will prevent your vehicle's computer from losing adaptive memory. This will save you from handling problems after disconnecting the battery.
Step 3: Disconnect the negative battery cable. Open the hood and locate the negative battery cable. Disconnect it and place it away from the battery so it doesn't accidentally touch it while installing the tachometer.
Step 4: Determine the position of the tachometer. Decide where you are going to install the tachometer so you know where to route the wiring.
- FunctionsA: Before deciding where you are going to mount your tachometer, you should read the manufacturer's installation instructions. Your tachometer will be attached with screws, tape, or a hose clamp, so be aware that this may limit your placement options.
Step 5: Connect the tachometer mount to the engine compartment.. Run two separate wires from the tachometer mounting location to the engine compartment. One will need to go to the battery and the other to the engine.
- FunctionsNote: In order to route the wire from the vehicle interior to the engine compartment, you need to route the wire through one of the seals in the firewall. You can usually push the wire through one of these seals where other wires already go. Make sure both wires are away from the exhaust pipe and any moving engine parts.
Step 6: Use a wire stripper to strip the wire. Remove 1/4 inch of insulation from the end of the wire to the battery and from both ends of the fuse link.
Step 7: Insert the Wire into the Butt Joint. Insert the wire going to the tachometer into one end of an appropriately sized butt connector and crimp the butt connector. Place the other end of the butt connector on one end of the fuse link and crimp it in place as well.
Step 8: Install the lug on the fusible link. Fit an appropriately sized lug to the other end of the fuse link and clamp it in place.
Step 9: Connect the ear to the battery. Loosen the crimp nut on the positive battery cable and place the lug on the bolt. Replace the nut and tighten it until it stops.
Step 10: Use a wire stripper to strip the wire. Remove 1/4 inch of insulation from the end of the wire going to the motor.
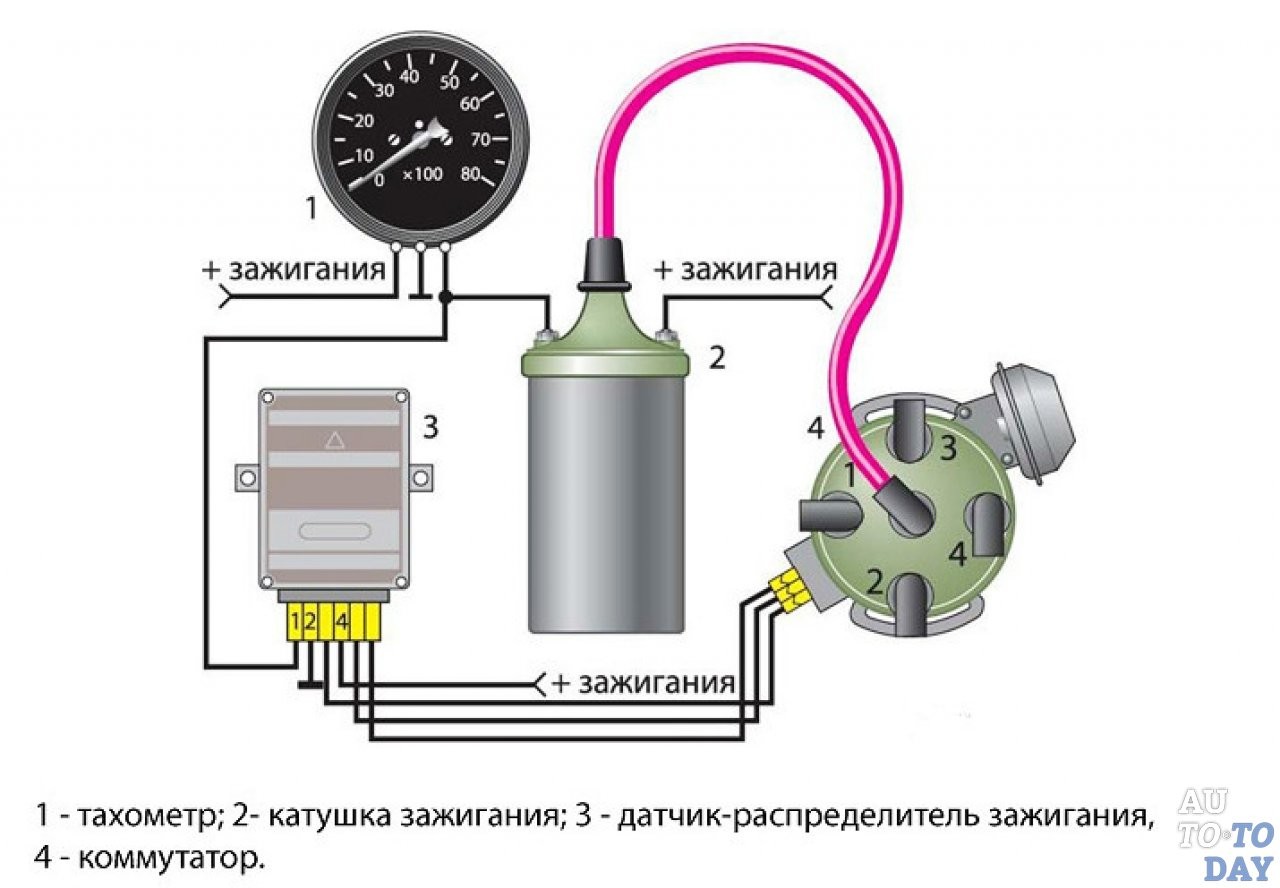
Step 11: Locate the RPM Signal Wire. If the engine has a distributor, use your wiring diagram to locate the RPM signal wire at the distributor connector.
This wire depends on the application. If the vehicle is equipped with a DIS (Distributorless Ignition System), you will need to install a DIS adapter according to the manufacturer's instructions.
Step 12: Use a wire stripper to strip the wire.. Remove 1/4 inch of insulation from the distributor signal wire.
Step 13: Connect the Wires with a Butt Connector. Using an appropriate butt connector, install the distributor signal wire and the wire to the engine into the connector and crimp them in place.
Step 14: Connect the tachometer mount to a good body ground.. Run a new wire from the tachometer mount to a good body ground located under the dash.
A good body ground usually has multiple wires attached to the body with a single bolt.
Step 15: Attach the eyelet to one end of the wire. Remove 1/4 inch of insulation from the end of the wire near the ground point and install the lug.
Step 16: Install the eyelet on a good body base. Remove the body ground bolt and install the lug in place with the other wires. Then tighten the bolt until it stops.
Step 17: Connect the tachometer mount to the lighting wire.. Locate the positive interior lighting power wire using your car's wiring diagram.
Lay a new wire from the tachometer attachment point to the lighting wire.
Step 18: Install the Three Way Connector. Place the three-prong connector around the lighting wire. Then place the new wire into the connector and crimp it in place.
Step 19: Use a wire stripper to strip the tach wires.. Remove 1/4 inch of insulation from each of the four wires located on the tachometer.
Step 20: Install butt connectors on each wire.. Install the appropriate butt connector on each of the wires and crimp them in place.
Step 21: Connect each butt connector to a wire on the tachometer.. Install each of the wire butt connectors onto one of the tachometer wires and crimp them in place.
Step 22: Fix the tachometer in place. Install the tachometer according to the manufacturer's instructions.
Step 23 Replace the negative battery cable.. Reinstall the negative battery cable and tighten the compression nut until snug.
Step 24Remove the memory saver. Remove the memory saver according to the manufacturer's instructions.
Step 25: Check the Tachometer. Start the engine and check that the tachometer is working and the indicator lights up along with the car headlights.
Following these steps will allow you to quickly and easily install a tachometer in your vehicle. If you are not comfortable doing this yourself, you can seek help from a certified mechanic, for example from AvtoTachki, who can come to you.