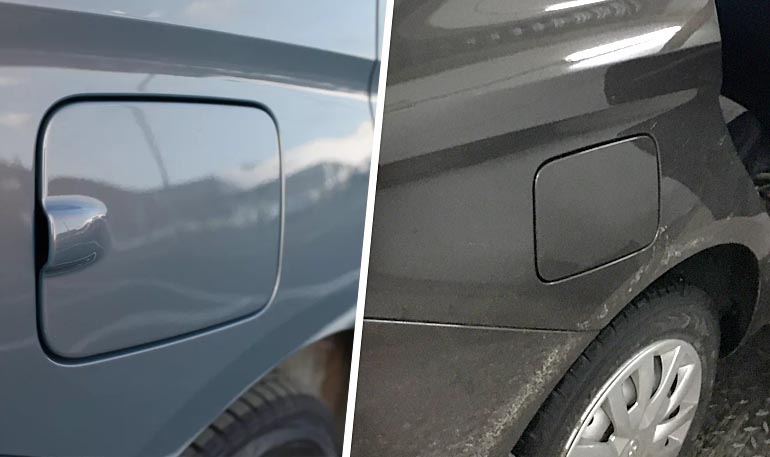
How to install a gas cap
Gas caps are necessary for the correct operation of the gas tank. Over time, the gas cap can fail if the threads are damaged or if the seal is leaking.
Gas caps can fail for a number of reasons. A leaking fuel cap can result in more than 2% of gasoline being lost through evaporation.
Gas caps are screwed down week after week, month after month and year after year. They leak around their seals, threads can be damaged, and ratchet mechanisms can fail, just to name a few of the more common problems. Most states have emission test standards that test the amount of vapor emitted from gas caps.
Severe gas cap leaks cause the fuel pump and engine to work harder than usual. The more intensively the engine works, the more exhaust gases enter the environment, causing additional damage.
Use one of the following procedures to replace a faulty or leaking gas cap on your vehicle.
Part 1 of 2: Install the gas cap
Required material
- locking cap
Step 1: Buy a gas cap. When upgrading or replacing the gas tank cap, purchase a locking cap for your vehicle. This type of fuel tank cap can be found in automotive stores or online.
Gas caps are necessary for the correct operation of the gas tank. If your vehicle's fuel tank cap is missing or broken, replace it immediately. Fuel efficiency may vary depending on the quality and seal on the gas cap.
Step 2: Attach the leash to the cap. Replacement caps often come with a "leash" or plastic ring that prevents the cap from being lost. Attach the leash with a hairpin to the leash on the side of the car.
Step 3: Replace the new cover. Press the new cap onto the threads of the fuel filler neck and turn it clockwise until it clicks into place. An audible click indicates that the lid is closed.
- AttentionA: Never install anything on your car by force. The new cap should easily screw into place without any major resistance.
Step 4: Insert the key into the gas cap. Insert the key into the gas tank cap and turn it clockwise to engage the locking mechanism.
- Attention: Always check the gas tank cap and make sure it is closed. Most caps turn and do not catch on threads when the cap is open.
Part 2 of 2: Install the non-locking gas cap
Necessary materials
- gas cap
Step 1: Buy a spare gas tank cap. Replacement gas caps can be found at automotive stores or online.
Step 2: Attach the leash to the cap. Replacement caps often come with a "leash" or plastic ring that prevents the cap from being lost. Attach the leash with a hairpin to the leash on the side of the car.
Step 3: Replace the new cover. Press the new cap onto the threads of the fuel filler neck and turn it clockwise until it clicks into place. An audible click indicates that the lid is closed.
- AttentionA: Never install anything on your car by force. The new cap should easily screw into place without any major resistance.
Gas bottle caps are an important part of your fuel system. If you need to replace the gas cap on your car, buy a replacement gas cap with a lock. Replacing it is as easy as plugging in and screwing on.
If you need help replacing the gas tank cap, contact a professional mechanic, such as AvtoTachki, who will do it for you at home or in the office.