How to Replace the Exhaust Gas Recirculation (EGR) Temperature Sensor
Content
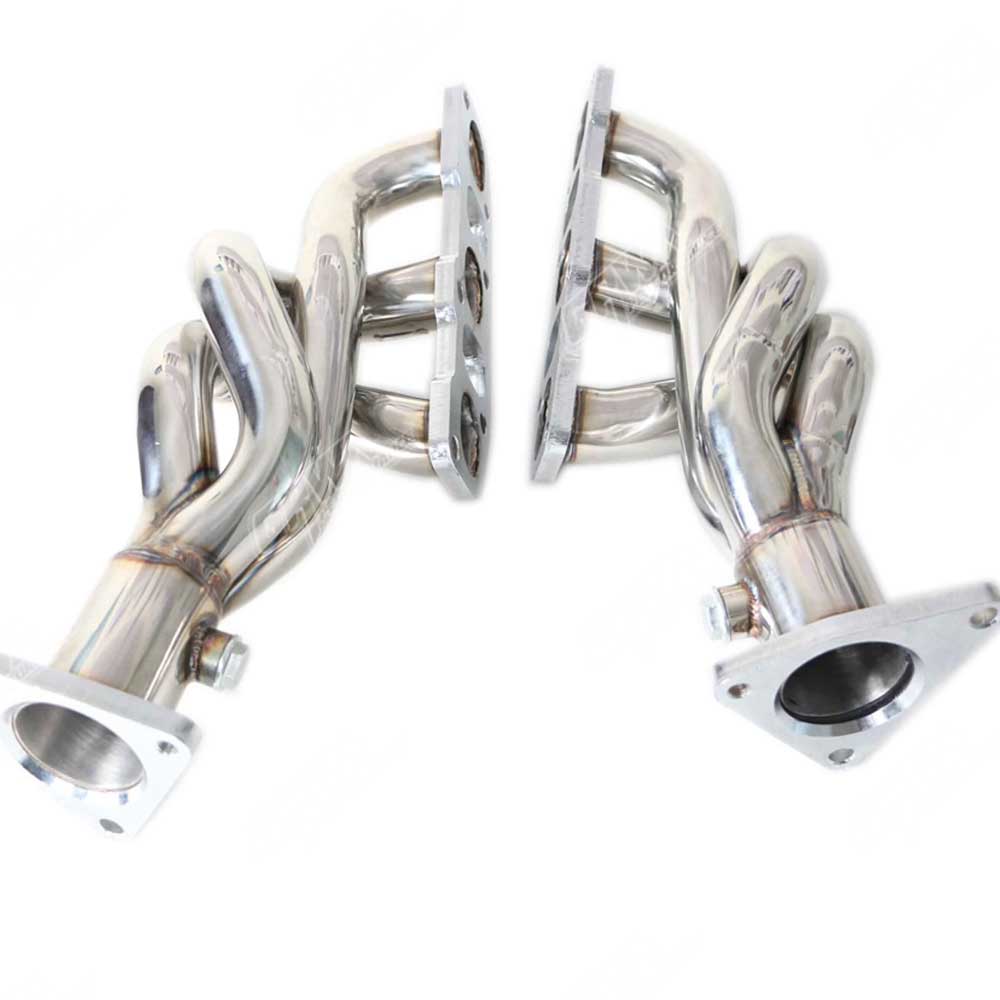
Exhaust gas recirculation (EGR) temperature sensors monitor the operation of the EGR cooler. One on the exhaust manifold, the other next to the EGR valve.
The Exhaust Gas Recirculation (EGR) system is designed to lower combustion temperatures and reduce nitrogen oxide (NOx) emissions. To do this, exhaust gases are introduced into the combustion chamber of the engine to cool the combustion flame. Some vehicles use an EGR temperature sensor to detect EGR operation. This information is used by the powertrain control module (PCM) to properly control the EGR.
Most modern diesel engines use an EGR cooler to cool the temperature of the exhaust gases before they enter the engine. The PCM relies on EGR temperature sensors to monitor coolant operation. Typically, one temperature sensor is located on the exhaust manifold and the other is near the EGR valve.
Typical symptoms of a bad EGR temperature sensor include pinging, increased emissions, and an illuminated Check Engine light.
Part 1 of 3. Locate the EGR temperature sensor.
To safely and effectively replace the EGR temperature sensor, you'll need a few basic tools:
Necessary materials
- Free Autozone Repair Manuals
- Protective gloves
- Repair manuals (optional) Chilton
- Safety glasses
Step 1: Locate the EGR temperature sensor.. The EGR temperature sensor is usually installed in the exhaust manifold or near the EGR valve.
Part 2 of 3: Remove the EGR Temperature Sensor
Step 1: Disconnect the negative battery cable. Disconnect the negative battery cable and set it aside.
Step 2 Disconnect the electrical connector. Remove the electrical connector by pressing the tab and sliding it.
Step 3: Unscrew the sensor. Unscrew the sensor using a ratchet or wrench.
Remove the sensor.
Part 3 of 3: Install the New EGR Temperature Sensor
Step 1: Install the new sensor. Install the new sensor in place.
Step 2: Screw in the new sensor. Screw in the new sensor by hand and then tighten it with a ratchet or wrench.
Step 3 Replace the electrical connector.. Connect the electrical connector by pushing it into place.
Step 4: Connect the negative battery cable.. Reconnect the negative battery cable and tighten it.
You should now have a new EGR temperature sensor installed! If you prefer to entrust this procedure to professionals, the AvtoTachki team offers a qualified replacement for the EGR temperature sensor.