How to replace a worn u-joint
Content
Your rear wheel drive vehicle uses a rotating driveshaft to transmit torque (rotation force) from the transmission to the rear axle. Since the driveshaft also needs to be able to move up and down as the vehicle travels over bumps in the road, universal joints are installed at each end to provide this flexibility.
The driveshafts rotate three times faster than the wheels most of the time, and as a result, the universal joints can wear out over time. Typical symptoms of universal joints in need of replacement include clanking when shifting gears from reverse to drive, vibration at high speeds, and a clicking sound when reversing slowly.
This article will cover the basic procedure used to inspect and replace a universal joint.
Part 1 of 5: Checking the gimbal
The universal joints should be checked whenever the vehicle is put on a lift for service, such as during an oil change. Most universal joints are permanently lubricated and cannot be lubricated, although some still have grease fittings. They are more commonly found on older cars and trucks.
Step 1: Grab the driveshaft and try to move it.. There should be no movement, as any movement indicates worn universal joints that need to be replaced.
Step 2: Inspect the drive shaft. Inspect it carefully for dents, impact damage, or anything stuck to it that could cause vibration due to imbalance.
Part 2 of 5: Removing the driveshaft
Necessary materials
- Pallet
- Floor jack and jack stands
- Marker
- Mechanic's gloves
- Ratchets and sockets
- Safety glasses
- Screwdrivers
- Shop rags
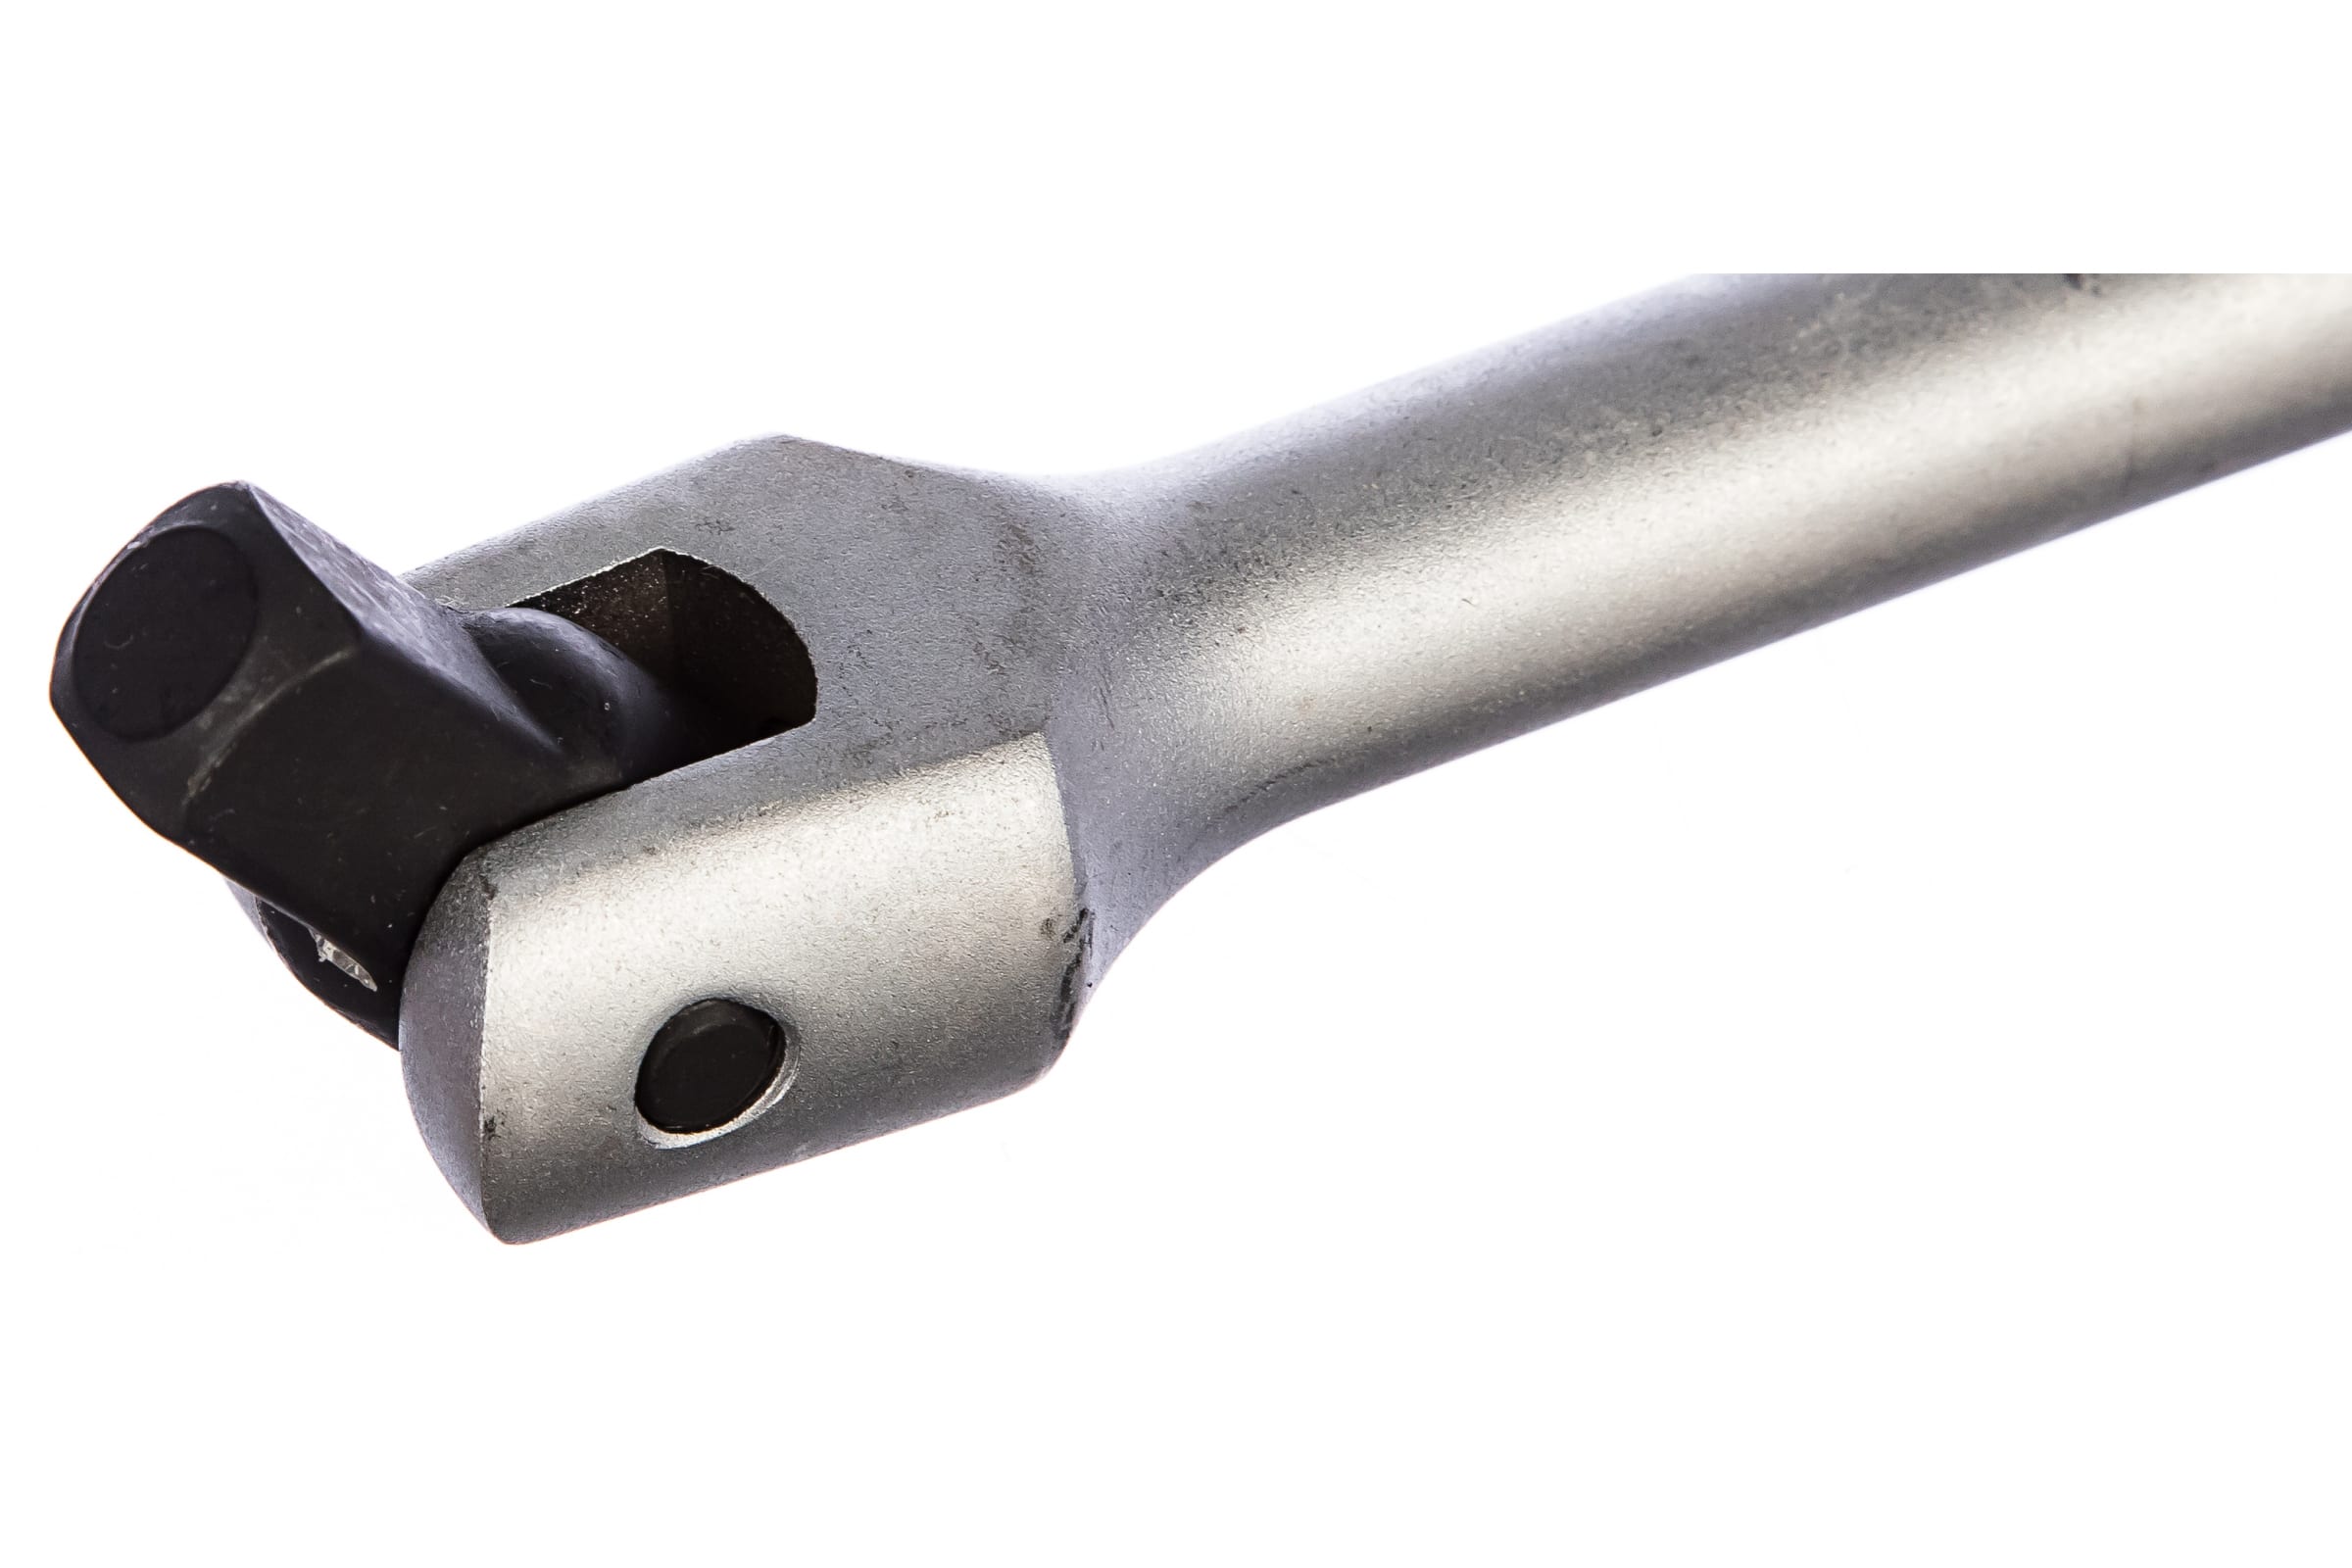
Set of wrenches
Functions: Retaining ring pliers can also be useful in some cases. It depends on the driveshaft used in your vehicle. Work can still be done if they are unavailable. Some vehicles use 12-point mounts to mount the driveshaft, which will require a 12-point socket or wrench.
Step 1: Jack up the car. To remove the driveshaft, the rear of the vehicle must be jacked up and placed securely on the jacks.
- A warning: Never work under a vehicle supported only by a jack. Always use jacks.
Step 2: Mark the driveshaft. Use a felt tip marker or whitewash to mark the drive shaft where it mates with the differential flange.
This ensures that you can set it back to its original position.
Step 3: Remove fasteners. There are usually 4 nuts or bolts at the back where the driveshaft attaches to the differential.
Take them further.
Step 4: Cut the drive shaft. With these fasteners removed, the driveshaft can be pushed forward, lowered, and then pulled out of the transmission.
- Attention: Prepare a saucepan and some rags so that gear oil does not drip.
Part 3 of 5: Inspection outside the vehicle
Step 1: Check the universal joints. After pulling out the driveshaft, try to fully move each joint in each direction.
They should move smoothly, without jamming in all directions. The bearing caps are pressed into the yoke and should not move. Any roughness, binding, or wear felt during this check indicates a need for replacement, as the universal joints cannot be repaired.
Part 4 of 5: Gimbal Replacement
Necessary materials
- Extensions
- Hammer
- Pliers
- Ratchets and sockets
- Screwdrivers
- Shop rags
- U-connections
- Vices
- Set of wrenches
Step 1: Remove the old gimbal. Retainers or circlips are used to secure the bearing cups and must be removed next time.
This requires the application of more force or heat. However, when you install new replacement gimbals, they come with circlips. Three common methods are used to remove press-fitted universal joint cups from the propeller shaft.
One method requires a gimbal removal tool, which is quite expensive unless you reuse it as a professional technician.
Another method requires the use of a large hammer and a strong blow to objects. While this can be fun, you can also damage the driveshaft with an inappropriate swing of a hammer.
Here we will look at the vise method. A vice is used to remove the universal joint by pressing out the bearing cups. A small seat is placed over one bearing cap (use a seat slightly smaller than the diameter of the bearing cap) and a larger seat is placed over the opposite bearing cap to receive the cap when it is pressed out of the yoke by tightening the vise.
Some needle bearings may fall out when the covers are removed, but don't worry about them as you will have new ones with your new universal joints.
Attention: Snap ring pliers will make this step easier, but it can also be done with a screwdriver, pliers, and a small hammer.
AttentionA: If your driveshaft uses molded plastic instead of retaining rings to hold the bearing cups, you can ask one of AvtoTachki technicians to replace it for you.
Step 2: Install the new gimbal. Compare the new U-joint with the old one to make sure it is exactly the same size.
If grease fittings are used on the new universal joint, position them so that the fitting is accessible with a grease gun. Thoroughly clean the drive shaft yoke and check it for burrs or other damage. Remove the caps from the new universal joint and insert it into the yoke.
Use vise and sockets to install new caps in place in the yoke.
- Attention: make sure that the needle bearings do not fall out
Step 3: Install retaining rings. Check free play and install circlips.
If a new gimbal feels tight, a few hammer blows will usually loosen it.
- A warning: You can hit the caps and fork, but not the propshaft tube itself.
Part 5 of 5: Reinstalling the driveshaft
Required material
- Shop rags
Step 1: Wipe the ends of the driveshaft clean.. Make sure the drive shaft is clean by wiping it with a rag.
Step 2: Reinstall it in the transmission. Lift the rear of the propeller shaft into place and align the marks made during removal.
Install hardware and tighten securely.
Step 3: Check the transmission fluid. After the vehicle is back on level ground, be sure to check the transmission fluid for leaks with the driveshaft removed.
Doing repairs to your car can be an enjoyable job, especially when you can really feel and hear the difference. While rust, high mileage, and poor vehicle maintenance sometimes exacerbate the problem, frog replacement is certainly achievable with some knowledge and patience. If you need help with your transmission fluid, be sure to invite one of the AvtoTachki technicians to your home or work.