How to replace a car air conditioning (AC) compressor
If the air conditioning compressor fails, it may cause the air conditioning system to not work. This article tells you how to find, remove and install the compressor.
The compressor is designed to pump the refrigerant through the air conditioning system and convert the low pressure vapor refrigerant into a high pressure vapor refrigerant. All modern compressors use a clutch and a drive pulley. The pulley is driven by the drive belt while the engine is running. When the A/C button is pressed, the clutch engages, locking the compressor on the pulley, causing it to spin.
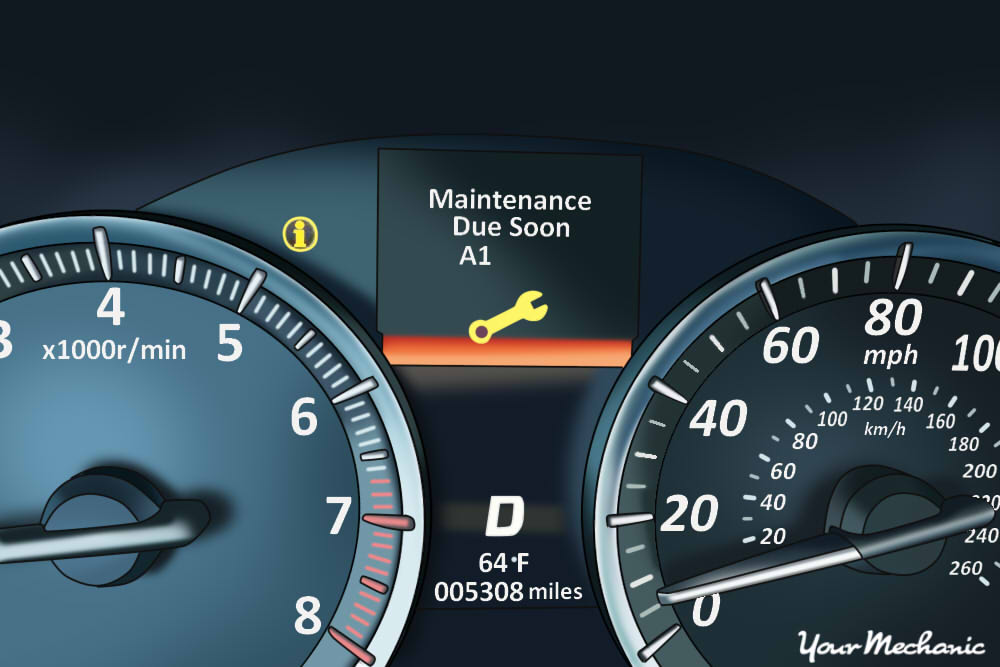
If the compressor fails, the air conditioning system will not work. A stuck compressor can also contaminate the rest of the A/C system with metal debris.
Part 1 of 2: Find the Compressor
Step 1: Find the A/C Compressor. The A/C compressor will be located at the front of the engine along with the rest of the belt driven accessories.
Step 2. Trust refrigerant recovery to a specialist.. Before servicing the air conditioning system, the refrigerant must be removed from the system.
This can only be done by a professional using a recovery vehicle.
Part 2 of 2: Remove the Compressor
- Jack and Jack stand
- Protective gloves
- Repair manuals
- Safety glasses
wrench
Attention: Be sure to wear protective gloves and goggles before handling.
Step 1 Locate the V-ribbed belt tensioner.. If you are having trouble finding the tensioner, refer to the belt routing diagram.
This can usually be found on a sticker posted somewhere in the engine bay or in a car repair manual.
Step 2: Turn the tensioner. Use a socket or wrench to slide the auto tensioner off the belt.
Clockwise or counterclockwise, depends on vehicle and belt direction.
- Attention: Some tensioners have a square hole for inserting a ratchet rather than a socket or wrench bolt head.
Step 3: Remove the belt from the pulleys. While holding the tensioner away from the belt, remove the belt from the pulleys.
Step 4: Disconnect the electrical connectors from the compressor.. They should slide out easily.
Step 5: Disconnect the pressure hoses from the compressor.. Using a ratchet or wrench, disconnect the pressure hoses from the compressor.
Plug them in to prevent contamination of the system.
Step 6: Remove the compressor mounting bolts.. Use a ratchet or wrench to loosen the compressor mounting bolts.
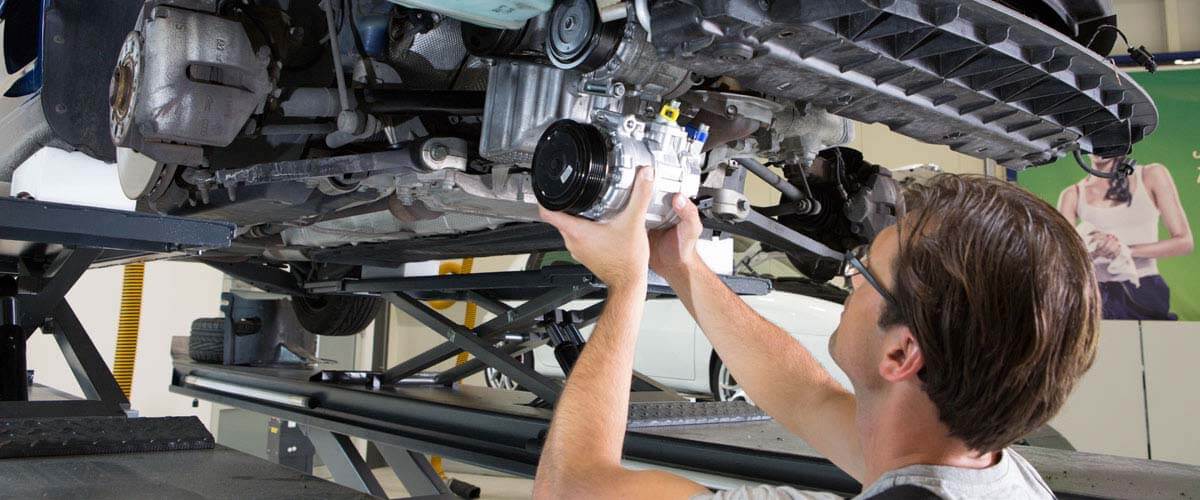
Step 7: Remove the compressor from the car. It should come out with a bit of a jerk, but be careful because it is often heavy.
Step 8: Prepare the New Compressor. Compare the new compressor with the old one to make sure they are the same.
Then remove the dust caps from the new compressor and add a small amount of the recommended lubricant to the new compressor (usually about ½ ounce). Most compressors use PAG oil, but some use polyol glycol, so it's important to determine which oil your vehicle uses.
In addition, some compressors are supplied with oil already installed; Read the instructions that came with your compressor.
Step 9: Replace pressure line O-rings. Use a small screwdriver or pick to remove the o-rings from the A/C pressure lines.
Some compressors come with replacement o-rings, or you can purchase one from your local auto parts store. Insert new o-rings into place.
Step 10: Lower the new compressor into the vehicle.. Lower the new compressor into the vehicle and align it with the mounting holes.
Step 11: Replace the Mounting Bolts. Reinstall the mounting bolts and tighten them.
Step 12: Reinstall the lines. Reinstall lines and tighten bolts.
Step 13 Reinstall the electrical connectors.. Reinstall the electrical connectors in their original position.
Step 14: Position the Belt on the Pulleys. Position the belt on the pulleys following the belt routing pattern to ensure the belt is routed correctly.
Step 15: Install the new belt. Press or pull the tensioner to a position that allows you to install the belt on the pulleys.
Once the belt is in place, you can release the tensioner and remove the tool.
Step 16: Hire a Professional to Recharge Your System. Trust the system recharge to a professional.
You should now have an icy conditioner - no more sweating through your clothes on a hot summer day. However, replacing a compressor is not an easy task, so if you would rather have a professional do the job for you, the AvtoTachki team offers a first-class compressor replacement.