How to replace a car's power window motor/window regulator assembly
Content
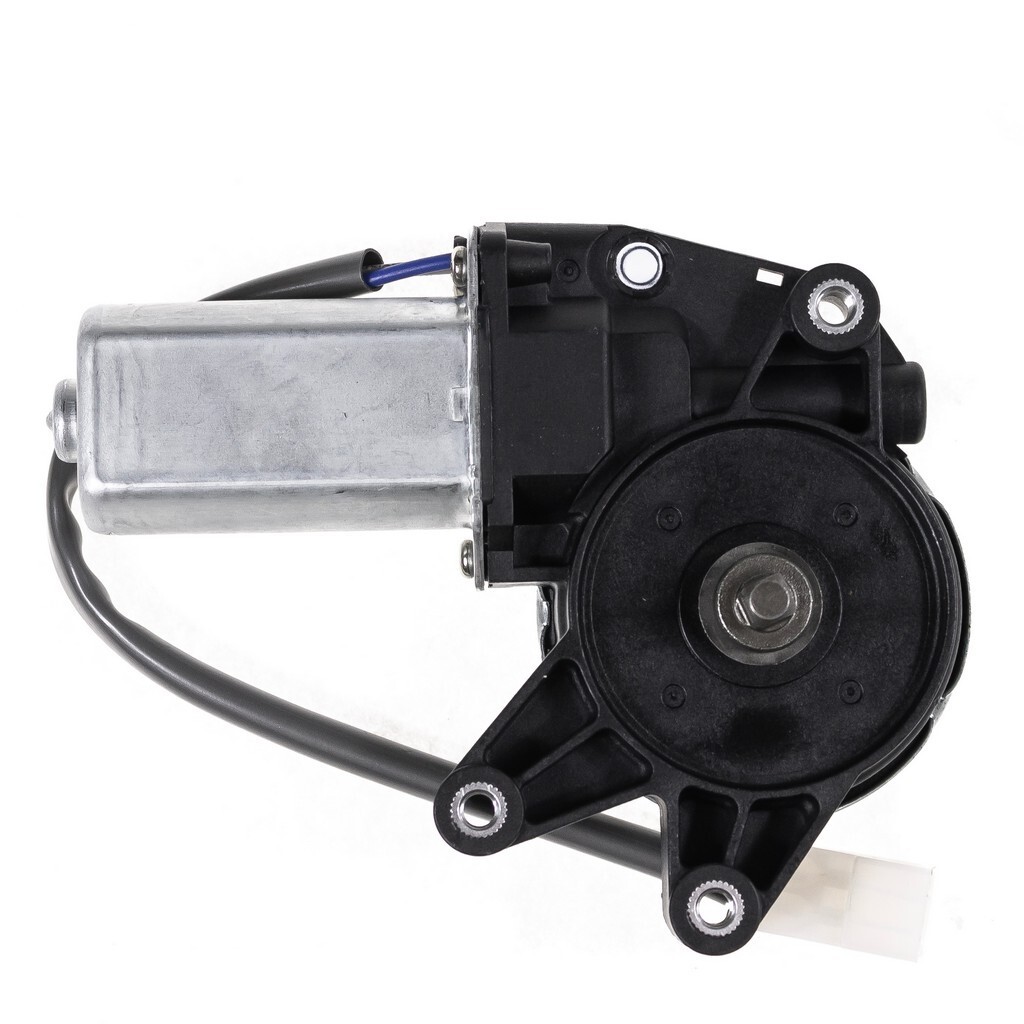
Automotive window motors and regulators raise and lower vehicle windows. If the vehicle's power window assembly fails, the window will automatically lower.
Vehicle power window motors and controls are designed to move windows up and down effortlessly using the power window handle. As vehicles become more complex, power windows are more common on vehicles today. There is a motor and a governor that is energized when the ignition key is in the "accessory" or "on" position. Most power window motors are not powered without a car key. This prevents the electric motor from being activated when no one is in the vehicle.
If the power window motor or regulator assembly fails, the window will not move up or down when you try to operate the switch. The window will automatically go down. If one window is closed, vehicle exhaust fumes, rain, hail, or debris can enter the vehicle and cause problems.
Necessary materials
- Hex key set
- socket wrenches
- crosshead screwdriver
- Electric cleaner
- needle nose pliers
- Saving a nine-volt battery
- Protective gloves
- Ratchet with metric and standard sockets
- Razor blade
- Safety glasses
- small hammer
- Test leads
- Screw bit Torx
- Wheel chocks
Part 1 of 2: Removing the Power Window/Regulator Assembly
Step 1: Park your vehicle on a level, firm surface.. Make sure the transmission is in park (for automatic transmission) or in first gear (for manual transmission).
Step 2: Install a nine-volt battery in the cigarette lighter.. This will keep your computer running and save the current settings in the car. If you don't have a nine-volt power saver, you can get the job done without it; it just makes it easier.
Step 3: Open the car hood and disconnect the battery.. Remove the ground cable from the negative battery terminal by disconnecting power to the ignition system, power window motor and regulator assembly.
- AttentionA: It is important to protect your hands. Be sure to wear protective gloves before removing any battery terminals.
Step 4: Remove the Window Switch Screws. Before removing the door panel, remove the screws holding the power window to the door panel. If the power window switch cannot be disconnected, you may be able to unplug the wiring harness connectors under the door panel when you remove it.
Step 5: Remove the door panel. Remove the door panel on the door with the failed power window motor and regulator. Also remove the clear plastic trim behind the door panel. You will need a razor blade to remove the plastic cover.
- Attention: plastic is needed to create a water barrier on the outside of the inner door panel, because on rainy days or when washing the car, some water always gets inside the door. Make sure the two drain holes on the bottom of the door are clean and that there is no accumulated debris on the bottom of the door.
Step 5: Remove assembly mounting bolts. Locate the power window and regulator inside the door. You will need to remove the four to six mounting bolts that secure the power window assembly to the door frame. You may need to remove the door speaker to gain access to the mounting bolts.
Step 6: Prevent the window from falling. If the power window motor and regulator are still running, connect the switch to the power window motor and raise the window fully.
If the power window motor is not working, you will need to use a pry bar to lift the adjuster base to raise the window. Use duct tape to attach the window to the door to prevent the window from falling off.
Step 7: Remove the top mounting bolts. Once the window is fully raised and secured, the upper mounting bolts on the power window will become visible. Remove the window lifter bolts.
Step 8: Remove the Assembly. Remove the power window motor and regulator assembly from the door. You will need to run the wiring harness attached to the power window motor through the door.
Step 9: Clean the harness with an electric cleaner. Remove all moisture and debris from the connector for a firm connection.
Part 2 of 2: Installing the Power Window/Regulator Assembly
Step 1: Install the new power window and regulator assembly into the door.. Pull the harness through the door. Install the mounting bolts to secure the power window to the window.
Step 2: Attach the Assembly to the Window. Remove the masking tape from the window. Slowly lower the window and power window assembly. Align the mounting hole with the power window and door frame.
Step 3: Replace the Mounting Bolts. Install four to six mounting bolts to secure the power window assembly to the door frame.
- AttentionA: If you had to remove the door speaker, make sure you install the speaker and reconnect any wires or harnesses to the speaker.
Step 4: Install the plastic cover back on the door.. If the plastic cover does not adhere to the door, you can apply a small layer of clear silicone to the plastic. This will hold the plastic in place and prevent moisture from getting in.
Step 5: Install the door panel back onto the door. Reinstall all plastic door panel latches. Replace all plastic tabs if they are broken.
Step 6: Attach the wiring harness to the power window switch.. Install the power window switch back to the door panel. Install screws into the switch to secure it to the door panel.
- AttentionNote: If the switch cannot be removed from the door panel, you will need to attach the wiring harness to the switch when installing the door panel on the door.
Step 7 Connect the battery. Open the car hood. Reconnect the ground cable to the negative battery terminal. Remove the nine-volt battery from the cigarette lighter if you have used one. Tighten the battery clamp to make sure the connection is secure.
- AttentionA: If you have not used a nine-volt battery, you will need to reset all of your vehicle's settings, such as the radio, power seats, and power mirrors.
Step 8: Check Your New Window Motor. Turn the key to the auxiliary or working position. Turn on the door window switch. Make sure the window is raised and lowered correctly.
If your window won't go up or down after replacing the power window motor and regulator assembly, the motor and window regulator assembly or door wiring may need to be checked further. If the problem persists, you can seek help from one of AvtoTachki's certified mechanics who will replace the power window motor and regulator assembly and diagnose any other problems.