How to replace an engine mount
Content
The engine mounts hold the engine in place. They must be replaced if there is excessive vibration, thump noise under the hood, or engine movement.
The engine mounts act as a vibration damper, protecting the surrounding steel of your vehicle's frame and/or subframe. The engine mount also acts as a stopper so that the engine doesn't come into contact with things like the surrounding engine bay and components surrounding the engine. The engine mount consists of a flexible yet strong rubber insulator connected by two metal attachment points.
Part 1 of 4: Insulating a Broken or Worn Engine Mount
Required material
- Shop light or flashlight
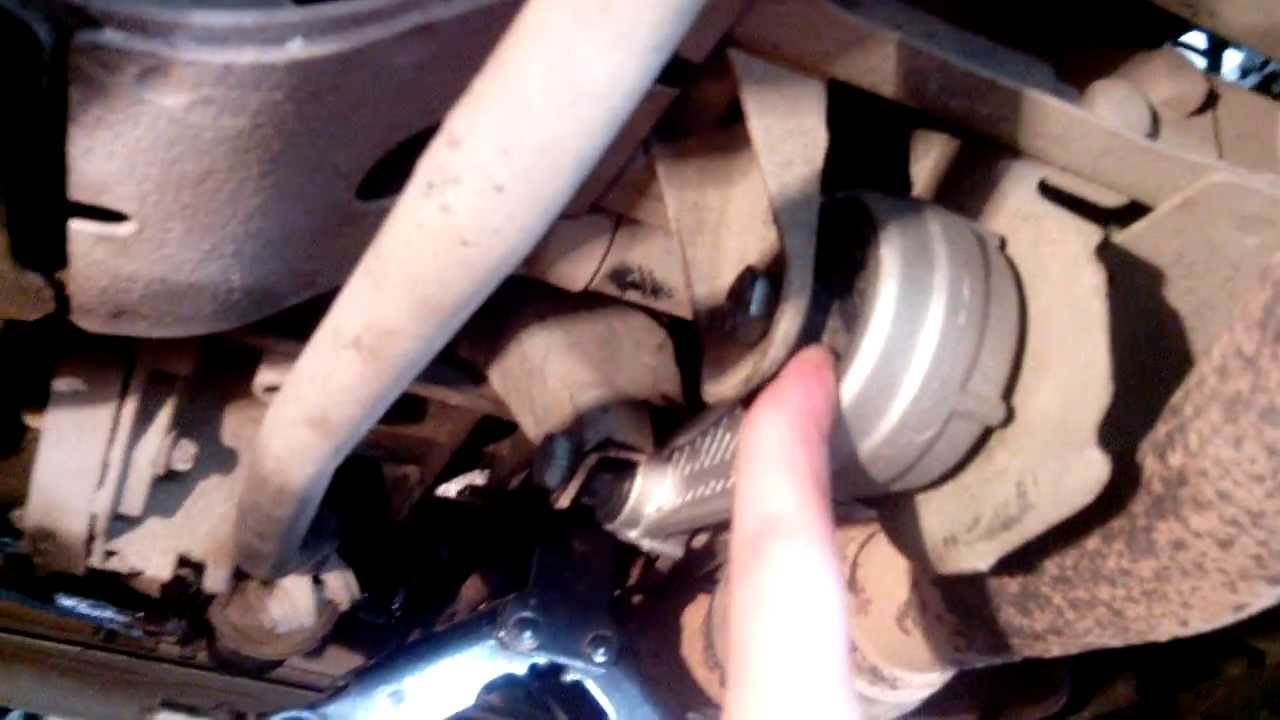
Step 1: Set the parking brake and inspect the engine mount.. Have a partner change gears while you look at all visible engine mounts for excessive movement and vibration.
Step 2: Turn off the engine ignition.. Make sure the parking brake is still on, use a flashlight or flashlight to check the engine mounts for cracks or breaks.
Part 2 of 4: Removing the Engine Mount
Necessary materials
- 2×4 piece of wood
- Set of sockets and keys
- Switch
- Long pry bar or long flathead screwdriver
- Nitrile or rubber gloves.
- Penetrating aerosol lubricant
- Jack
- Extension sockets in various sizes and lengths
Step 1: Accessing the Broken Engine Mount. Raise the vehicle with a floor jack just enough to gain access to the broken engine mount and secure it with secure jack stands.
Step 2: Support the engine. Support the engine from under the engine oil pan with a 2×4 piece of wood between the jack and the engine oil pan.
Raise the engine just enough to provide support and take weight off the engine mounts.
Step 3: Spray lubricant onto the motor mount.. Apply a penetrating spray lubricant to all nuts and bolts securing the engine mount to the engine and frame and/or subframe.
Let soak for a few minutes.
Step 4: Remove engine mount, nuts and bolts.. Find the right size socket or wrench to loosen the nuts and bolts.
Nuts and bolts can be very tight and may require the use of a crowbar to loosen them. Remove engine mount.
Part 3 of 4: Installing the engine mount
Required material
- Wrench
Step 1: Compare old and new engine mounts. Compare old and new engine mounts to make sure the mounting holes and mounting bolts are correct.
Step 2: Make sure the engine mount fits. Loosely mount the engine mount at the attachment points and check the accuracy of the attachment points.
Step 3: Tighten the mounting nuts and bolts. Consult your service manual for the correct torque specifications for your specific vehicle.
With a torque wrench set to the correct specification, tighten the nuts and bolts until the torque wrench clicks.
Part 4 of 4: Repair Check
Step 1: Lower and remove the floor jack. Carefully lower and remove the floor jack and 2×4 wood block from under the vehicle.
Step 2: Remove the car from the jack. Carefully remove the jacks from under the vehicle and lower the vehicle to the ground.
Step 3. Ask an assistant to run through the gears.. Engage the emergency parking brake and shift gears to check for excessive engine movement and vibration.
Replacing a worn or broken engine mount is a relatively simple repair with the right guidance and tools. However, problems can arise with any car repair, so if you can't fix the problem properly, contact one of AvtoTachki's certified mechanics who will replace your engine mount.