How to replace an immersion heating element?
Content
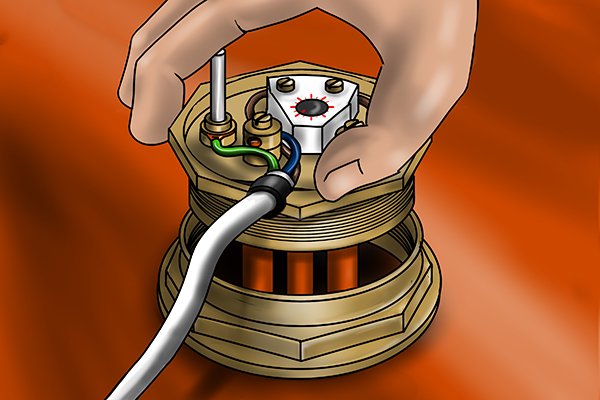
Step 1 - Attach the fabric sealYour new immersion heating element will have a separate fiber washer, also called a fabric seal or fabric spacer. Slide it down around the coil of the element and make sure it fits snugly against the base of the inside of the heating element. If the washer is damaged, do not use it, replace it with a new one. Never reuse fiber washers. | |
 | The washers should be enough to make sure there are no leaks, but although this is not recommended, it can be smeared with putty. Wrap 2 or 3 turns of Teflon tape tightly around the threads in a counterclockwise direction if the element is pointing down. This will help prevent thread sticking and provide a tighter fit. Keep the PTFE tape away from the fiber washer and sealing surface. |
 | |
 | Step 2 - Clean the copper bushingRemove limescale from the top of the copper bushing with an abrasive material such as a file or dishwashing sponge. If the top of the boss is uneven, it may cause leaks when installing a new immersion heater element. |
 | Step 3 - Insert the New Immersion Heating ElementCarefully insert the element coil into the cylinder and screw the element base clockwise into the copper bushing. If you encounter unexpected difficulty tightening the heating element, you may have mixed up the threads. Unscrew the element until it clicks, and then try to tighten it again. |
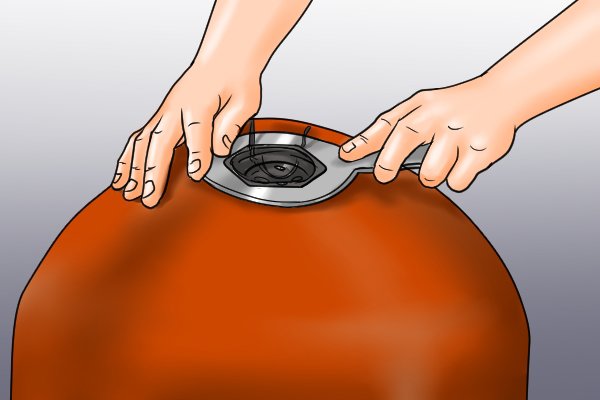
 | Step 4 - Tighten the immersion heating elementUsing an immersion heater wrench, screw in the new element well and tightly. This will provide a good seal against the hot water cylinder. |
 | Step 5 - Leak CheckMake sure the drain valve is closed and turn on the water at the stopcock again. At this point, your trusty hot water taps should still be open and they will again let you know what's going on inside your aquarium. As soon as the water begins to flow out of them again in a steady stream, your tank will be full. Now you can check for leaks. If water is leaking from your tank, your immersion heater needs some extra tightening, so crack your immersion heater wrench again! |
 | Step 6 - Reconnect the powerOnce a qualified technician has wired the new immersion heater element, you can turn the power back on at the fuse box. |
 | Now that your new immersion heater is installed, it's only a matter of time before you can enjoy a relaxing hot tub! |
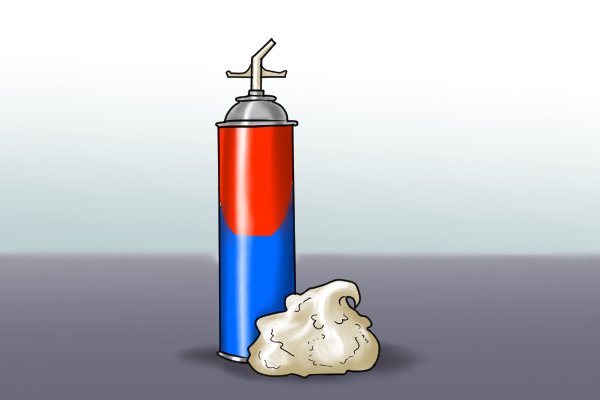
 | If you've had to make any holes in your tank's insulation to access or heat the immersion heater, you can now make repairs with expandable foam. Just follow the instructions on the bank! Remember, the clue is in the name. The foam expands, so use it sparingly to begin with. Foam does not always expand immediately and will continue to expand for a while. |

