How to replace the cabin air filter behind the glove box
Cabin air filters are a new feature found on many recent cars. These filters are responsible for filtering the air entering the vehicle when heating and air conditioning (AC) systems are used. They prevent any...
Cabin air filters are a new feature found on many recent cars. These filters are responsible for filtering the air entering the vehicle when heating and air conditioning (AC) systems are used. They prevent any debris, such as dust and leaves, from entering the car's ventilation system, and also help to get rid of the smell in the cabin and provide passenger comfort.
Over time, like an engine air filter, cabin filters accumulate dirt and debris, reducing their ability to filter airflow and need to be replaced. Common signs that you need to replace your cabin air filter include:
Increased noise with reduced air flow when using heating or air conditioning systems.
There is a slight smell from the vents (due to a dirty, oversaturated filter)
This article explains how to change the cabin air filter on vehicles that require the glove box to be removed to change the filter, such as some Toyota, Audi, and Volkswagen models. This is a relatively simple procedure and is very similar to a wide range of models.
Necessary materials
- Cabin air filter
- Basic set of hand tools
- flashlight
Step 1: Clean out the glove box. The cabin air filter is located in the dashboard, behind the car's glove box.
The glovebox will need to be removed to access the cabin air filter, so take everything out of it first.
Open the car's glove box and remove any documents or items that may be there to prevent it from falling out when the glove box is removed.
Step 2: Loosen the glove compartment screws.. After all items have been removed, unfasten the glove box from the car.
This step may require the use of hand tools and may vary slightly from model to model. However, this is usually a very simple task.
Attention: In many cars, the glove box is held on by a single screw or simply by plastic latches that can be unfastened. Use a flashlight to carefully inspect the bottom and sides of the glove box, or refer to your vehicle's owner's manual for the correct glove box removal method.
Step 3: Remove the cabin filter.. After the glove box is removed, the cabin air filter cover should be visible. it is a thin black plastic cover with tabs on both sides.
Remove it by pressing the plastic tabs to release it and expose the cabin air filter.
Attention: Some models use screws to secure the plastic cover. In these models, it is enough to unscrew the screws with a screwdriver to gain access to the cabin filter.
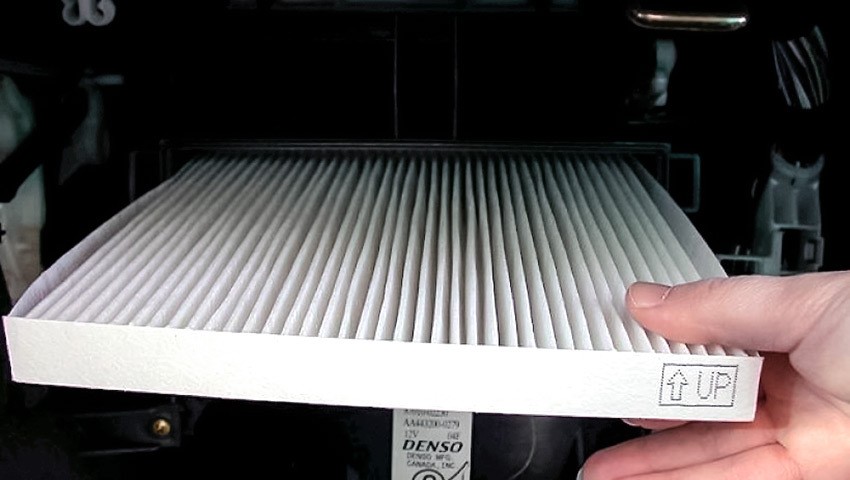
Step 4: Replace the cabin air filter. Remove the cabin air filter by pulling it straight out and replace it with a new one.
Functions: When removing the old cabin filter, be careful not to shake off any debris such as leaves or dirt that may come loose from the filter.
When removing the cabin filter, please note that on some models the cabin filter also fits in the black plastic square housing. In these cases, you only need to pull out the entire plastic sleeve and then remove the cabin filter from it. It pulls out just like models that do not use a plastic sleeve.
Step 5: Put on the plastic cover and glove box. After installing the new cabin filter, reinstall the plastic cover and glovebox in the reverse order you removed them as shown in steps 1-3 and enjoy the fresh air and flow of your new cabin filter.
Replacing the cabin air filter in most vehicles is usually a simple task. However, if you are not comfortable taking on such a task, your filter can be replaced by a professional wizard, for example, from AvtoTachki.