How to replace the PCV valve hose
Defective PCV valve hose
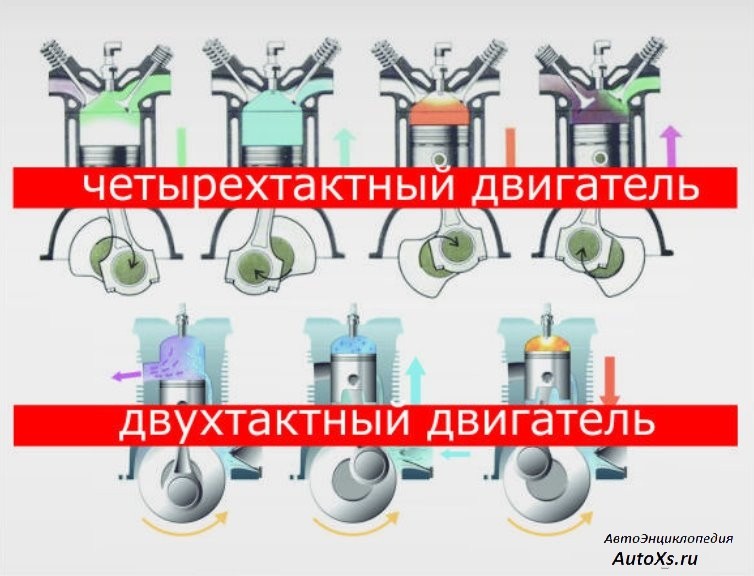
The Positive Crankcase Ventilation (PCV) hose is the hose that runs from the engine valve cover to the air intake box or intake manifold. The PCV valve is activated when the crankcase pressure rises during operation. These gases increase emissions, so to reduce emissions, the PCV valve directs these excess gases through the PCV valve hose to the air intake plenum or intake manifold. The engine re-burns these gases, which reduces emissions and keeps the engine running cleaner. A malfunctioning PCV valve hose can result in poor fuel economy, illuminate the Check Engine light, and cause the engine to run rough.
Part 1 of 1: Replacing the PCV Valve Hose
Necessary materials
- ¼" driver
- ¼" socket (metric and standard)
- Pliers
- PCV valve hose replacement
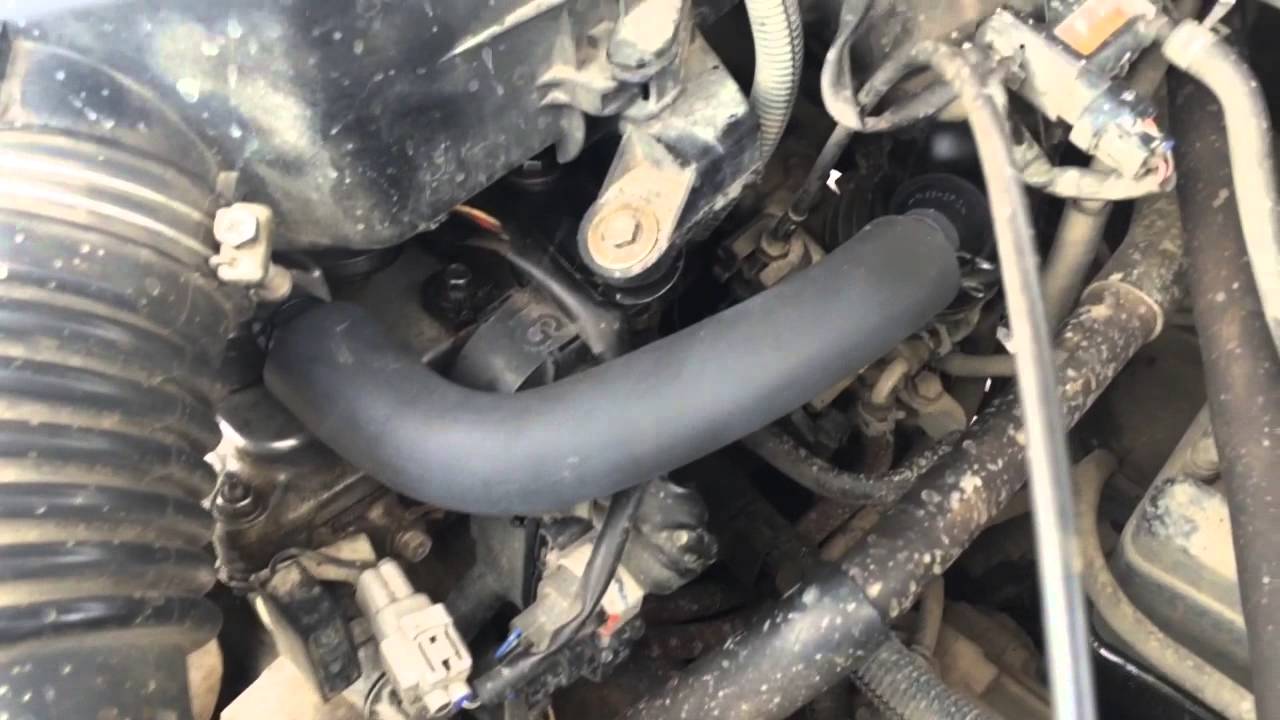
Step 1: Find the PCV Valve. The PCV valve is located on the valve cover, which is located in different places on the valve cover depending on the brand.
The picture above shows a PCV valve (1) and a PCV valve hose (2).
Step 2: Remove the engine covers. If there is an engine cover in the path of the PCV valve hose, it must be removed.
It is either held on with nuts and bolts or simply locked in place with rubber insulators.
Step 3: Locate and Remove the PCV Hose. Once you find the PCV valve, you will see how the PCV valve hose is attached to the PCV valve and inlet.
Your vehicle may use quick couplings, spring clamps, or toothed clamps.
Toothed clamps are removed using a ¼" or 5/16" socket to loosen the hose clamp and remove it from the hose ends.
Spring clamps are removed using pliers to compress and slide the clamp off the end of the hose.
Quick couplings are removed by releasing and pulling lightly. To do this, you must first learn how a quick disconnect works.
Once you have identified and removed the connector, remove the PCV valve hose by gently twisting and pulling the hose out of the fitting.
Step 4: Install the New PCV Valve Hose. Install the clamp on the PCV valve hose. The hose is usually pushed directly onto the fitting during installation.
If necessary, you can apply a very thin layer of lubricant to make it easier to slide over the PCV valve or inlet fitting.
Step 5: Pinch the PCV Valve Hose. Clamp the hose with the supplied clamps or old clamps.
Step 6: Attach Clips. Be sure to secure the ends of the hose with clamps of the type for which it is intended.
Step 7: Replace any removed covers. Reinstall the removed engine covers or plastic covers.
Keeping your vehicle's PCV valve hose in good working order will help your engine run cleaner and more efficiently. If you would prefer to entrust the replacement of the PCV valve hose to a professional, entrust the replacement to one of AvtoTachki certified specialists.