How to replace the power antenna
Content
Car antennas are unfortunately exposed to the elements while driving and as a result can be damaged at some point in time. To prevent this damage, manufacturers have started using retractable antennas that will hide when…
Car antennas are unfortunately exposed to the elements while driving and as a result can be damaged at some point in time. To prevent this damage, manufacturers have begun using retractable antennas that hide when not in use. Nothing is perfect, however, and these devices can fail too.
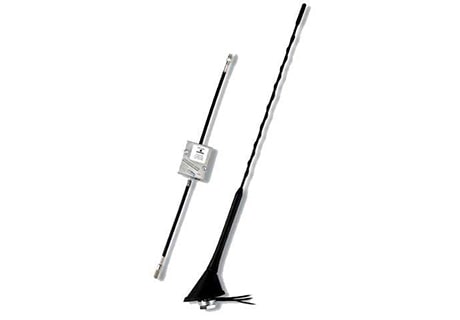
Inside the antenna is a nylon thread that can pull and push the antenna up and down. If the antenna won't go up and down but you can hear the engine running, try replacing just the mast first - they're cheaper than the whole engine. If nothing is heard when turning the radio on and off, then the entire unit should be replaced.
Part 1 of 2: Removing the engine block of the old antenna
Materials
- needle nose pliers
- ratchet
Ceiling rosette
Attention: You will need a battery socket and a socket for the nuts/bolts that secure the engine block to the vehicle. Common battery size 10mm; the nuts/bolts holding the motor may vary, but should also be around 10mm.
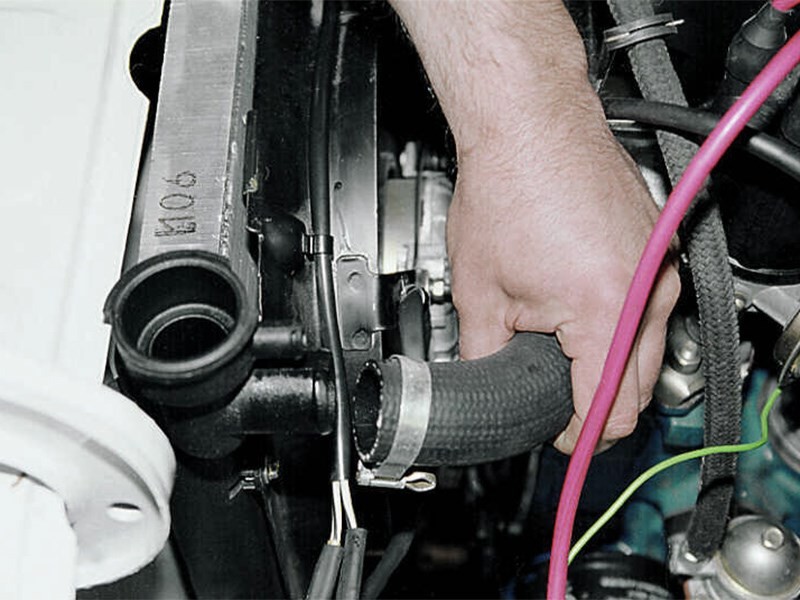
Step 1: Disconnect the negative battery cable. You are not working with high currents, but it is better to play it safe and turn off the power so that nothing shorts out when installing a new motor.
Remove the cable so that it does not touch the terminal on the battery.
Step 2: Access the Antenna Motor. This step depends on where the antenna is located in the vehicle.
If your antenna is near the trunk, you will need to pull back the trunk trim to gain access to the engine. The lining is usually held on with plastic clips. Pull out the center part of the clip, then remove the entire clip.
If your antenna is installed near the engine, the common hotspot is through the wheel arch. You will need to remove the plastic panel and then you will be able to see the antenna.
Step 3: Remove the top fixing nut. At the top of the antenna assembly is a special nut with small notches at the top.
Use fine nose pliers to loosen the nut, then you can unscrew the rest by hand.
Functions: Apply tape to the end of the pliers to avoid scratching the top of the nut. Make sure you have a firm grip on the pliers so they don't slip off and damage anything.
Attention: special tools are inserted into the grooves; getting these tools can be tricky as they are model dependent.
Step 4: Remove the rubber bushing. This detail ensures that water does not get inside the car. Just grab the sleeve and slide it up and down.
Step 5: Unscrew the engine from the car frame.. Before removing the last nut/bolt, hold the motor with one hand to prevent it from falling. Pull it out to access the plugs.
Step 6 Turn off the antenna motor.. There will be two cables to disconnect; one for powering the engine and a signal wire going to the radio.
You are now ready to install the new motor on the car.
Part 2 of 2: Installing the New Antenna Assembly
Step 1 Connect the new antenna motor.. Reconnect the two cables you removed.
If the connectors don't work together, it might be the wrong part.
If you wish, you can test the engine to make sure it works before fully installing it on the car. This will save you from having to take everything apart in case the new one turns out to be defective.
If you reconnect the battery to check the engine, you can leave the battery connected until the end of the job since you no longer have to fiddle with the electrical connections.
Step 2: Place the new motor into the mount. Make sure the top of the assembly comes out of the antenna hole, and then align the bottom screw holes.
Step 3: Screw on the bottom nuts and bolts. Just run them manually so the device doesn't fall over. You don't need to overtighten them just yet.
Step 4: Replace the rubber bushing and tighten the top nut.. Hand-tightening it should be enough, but you can use pliers again if you like.
Step 5: Tighten the bottom nuts and bolts. Use a ratchet and tighten them with one hand to avoid overstretching.
Step 6: Reconnect the battery if you haven't already.. Check it again while it's mounted to make sure everything is in order. If everything works as intended, reinstall any panels or cladding you removed earlier.
After replacing the antenna, you will be able to listen to radio waves again to receive traffic and news. Should you run into any issues with this job, our certified AvtoTachki technicians are on hand to help you identify any issues with your car antenna or radio.