How to replace the fuel filter
Replacing a fuel filter can be a tricky task, as you may need tools specifically designed for your car's fuel line fittings.
When people talk about routine maintenance that greatly extends the life of a car, they usually mean simple services like changing the fuel filter and changing the oil regularly. Fuel is essential to running the engine, so a fresh fuel filter is required to keep the fuel injectors, fuel pump, and fuel lines clean.
Most modern filling stations have very clean fuel, and the filter around the fuel pump filters it out a bit. Despite this, very fine impurities can pass. Because fuel injectors have such tiny openings, a fuel filter is used to remove even the smallest of contaminants. The fuel filter will last about 2 years or 30,000 miles before it needs to be replaced.
Necessary materials
- Ring wrench of appropriate size
- Fuel line disconnect tool
- Pliers
- Protective gloves
- Safety glasses
- Screwdriver
- Wrench of the right size
Part 1 of 2: Remove the fuel filter
Step 1: Find the fuel filter. Typically, the fuel filter is located under the vehicle on a frame side member or in the engine compartment near the firewall.
Step 2: Remove the gas cap. Remove the gas tank cap to relieve pressure in the fuel system.
Step 3: Disconnect the fuel lines. Using two wrenches, disconnect the fuel lines from the filter. Place an open end wrench on the fuel filter fitting and a spanner on the fuel line fitting. Turn the fuel line fitting counterclockwise while holding the filter with another wrench.
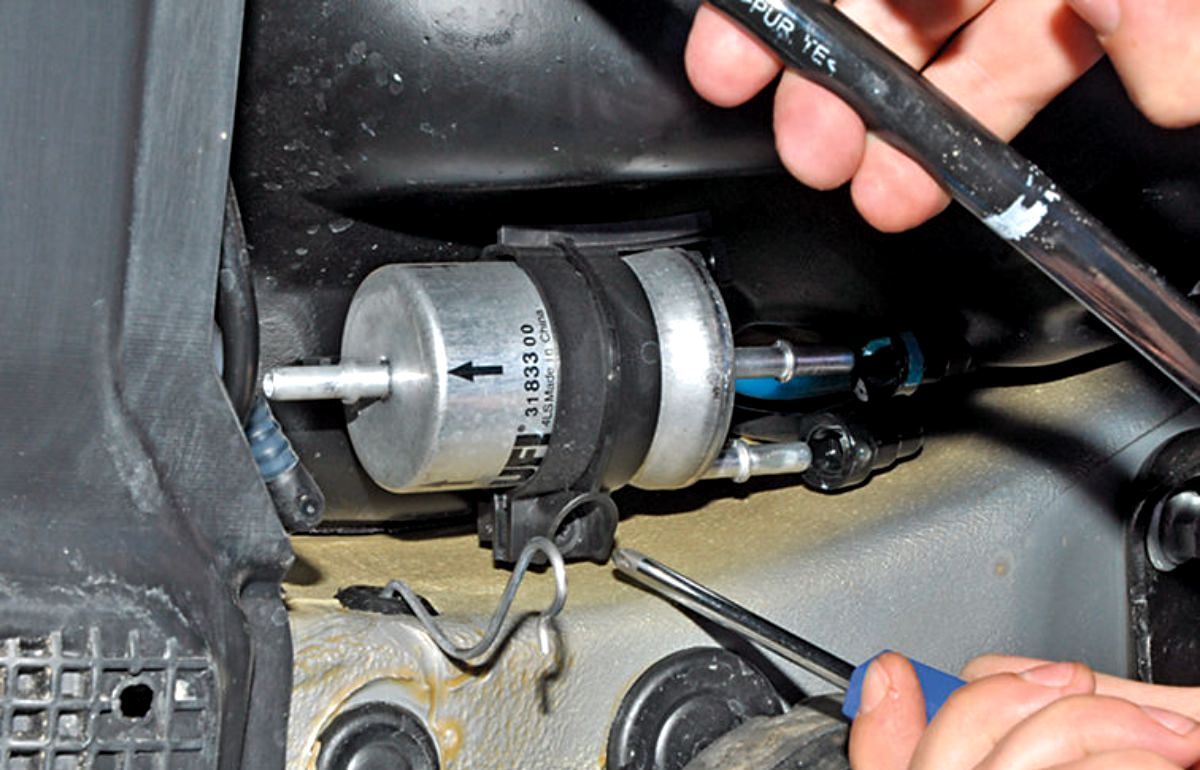
- Attention: The method of disconnecting the fuel lines depends on the vehicle. Some vehicles have quick disconnect fittings that must be removed with a special disconnect tool. Some have banjo fittings that come off with a ratchet or wrench, and some have yokes that come off with pliers or a screwdriver.
Step 4: Remove the fuel filter bracket fasteners.. Loosen and remove the fuel filter bracket fasteners using a ratchet and socket of the correct size.
Step 5: Remove the fuel filter. After removing the fasteners and loosening the mounting bracket, slide the fuel filter out of the bracket. Throw away the old filter.
Part 2 of 2: Install the new fuel filter
Step 1: Install a New Fuel Filter. Insert the new filter into the mounting bracket.
Step 2 Install the fuel filter bracket hardware.. Loosely install the bracket mounting fasteners by hand. Tighten them to a snug fit using a ratchet and socket of the appropriate size.
Step 3: Reinstall Fuel Lines. Screw in the fuel lines by hand. Place an open end wrench on the fuel filter fitting and a spanner on the fuel line fitting. Turn the fuel line fitting clockwise until snug while holding the filter with another wrench.
Step 4: Replace the gas cap. Replace it now so you don't forget to do it before driving.
Step 5: Check the car. Start the car and check for leaks. If you find any, recheck the fuel filter, fuel lines, and all fittings to make sure everything is secure.
Here's what you need to change the fuel filter. If it seems to you that this is a job that you would rather entrust to a professional, the AvtoTachki team offers a professional fuel filter replacement at any location of your choice.