How to Replace Pitman Lever Shaft Seal
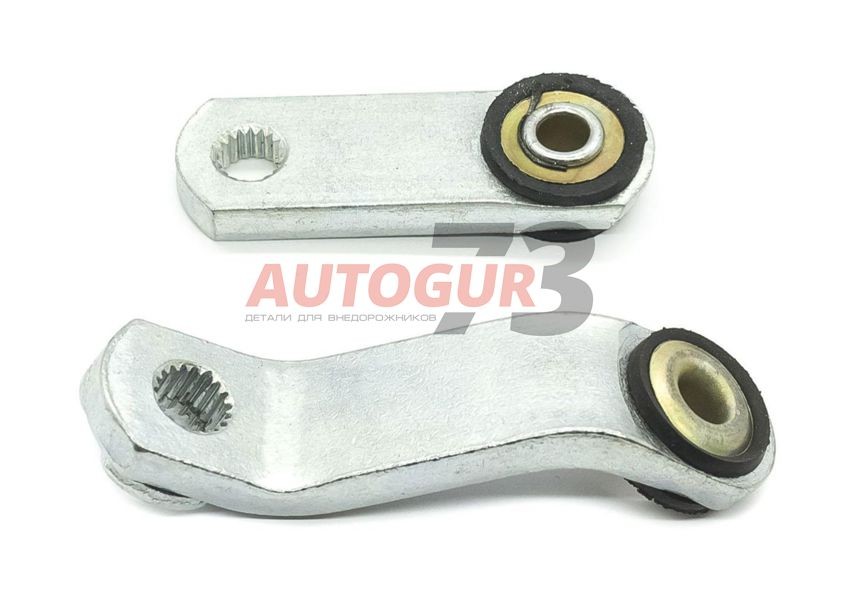
The bipod lever is attached to the steering mechanism through the shaft. A shaft seal is used on this shaft to prevent leakage and control problems.
In most vehicles, steering boxes are equipped with a shaft that connects to the coulter. This shaft is responsible for transmitting all power and direction from the steering gear to the connecting rod and steering components. Fluid in the steering gear must remain inside the block, even though the shaft is a potential source of leakage. For this, a bipod shaft seal is used. The seal also helps prevent road grime, mud and moisture from entering the steering gear.
Signs of seal failure include power steering noises and leaks. If you ever need to replace this part, you can follow the steps in this guide.
Part 1 of 1: Replacing the Bipod Shaft Seal
Necessary materials
- outlet 1-5/16
- Switch
- socket
- Jack stands
- Beater
- Marker paints
- Power steering fluid
- Replacing the bipod shaft seal
- Circlip Pliers (Circlip Pliers)
- Screwdriver or small pick
- Socket set and ratchet
- Wrench
Step 1: Raise and secure the car. Park your car on a level surface. Locate the tire near the steering box (front left) and loosen the lug nuts on that tire.
- Functions: This should be done before you lift the vehicle. Attempting to loosen the lug nuts while the vehicle is in the air allows the tire to rotate and does not create resistance to break the torque applied to the lug nuts.
Using your vehicle's owner's manual, locate the lifting points on the vehicle where you will place the jack. Keep a jack nearby.
Raise the vehicle. When you have raised the car just above the desired height, place the jacks under the frame. Slowly release the jack and lower the vehicle onto the stands.
Remove the lug nuts and tire next to the steering gear.
- Functions: It is safe to place another object (such as a removed tire) under the vehicle in case the outriggers fail and the vehicle falls. Then, if someone is under the car when this happens, there will be less chance of injury.
Step 2: Find the steering gear. Looking under the car, find the tie rod and take a closer look at the steering mechanism.
Locate the articulation connection to the steering gear (i.e. steering gear) and plan for the best angle at which you can access the stop bolt.
Step 3: Remove the stop bolt from the bipod.. To access the bipod shaft seal, you must remove the bipod arm from the steering gear.
First you need to unscrew the large bolt connecting the connecting rod to the steering gear.
The bolt is usually 1-5/16" but may vary in size. It will curl up and most likely need to be removed with a crowbar. Using the appropriate tools, remove this bolt. After removing the bolt, it is necessary to note the position of the lever relative to the slot from which it will be removed. This ensures that the steering will be centered when installed.
Step 4: Remove the bipod arm from the steering gear.. Insert the bipod removal tool into the gap between the steering gear and the stop bolt. Using a ratchet, turn the center screw of the tool until the bipod lever is free.
Functions: You can use a hammer to help remove this end of the bipod arm if needed. Gently tap on the hand or tool to release it.
Attention: If you want to clean the area after you have removed the bipod arm, you can use brake cleaner or regular car cleaner here.
Step 5: Remove the retaining ring. With the shaft open, locate the circlip or circlip holding the shaft seal in place. Insert the tips of the circlip pliers into the holes in the circlip and carefully remove it.
Step 6: Remove the old seal. Use a screwdriver or small pick to grab and remove the shaft seal from the shaft.
The kit may include a washer or gasket, or it may be one piece.
Step 7: Install the new seal. Insert a new bipod shaft seal around the shaft. If necessary, take an old seal or a large sleeve and attach it to the new seal. Gently tap the old seal or socket with a hammer to push the new seal into place. Then remove the old seal or socket.
If necessary, install any spacers in the order in which they were removed.
Step 8: Install the Retaining Ring. Using circlip pliers or circlip pliers, close the ring and push it into place.
There will be a small notch in the steering gear where the ring sits. Make sure the ring is properly installed.
Step 9: Prepare to Install the Bipod. Lubricate the area around the shaft where the bipod attaches to the steering gear. Apply grease down and around the steering gear.
This will help protect against dirt, grime, and water that could prevent the tie rod from working properly. Apply liberally to area, but wipe off excess.
Step 10: Attach the link to the steering gear.. Install the bipod arm to the steering gear by tightening the locking bolt removed in step 3.
Align the notches on the handle with the notches on the steering gear as you move them together. Find and align flat marks on both devices.
Make sure all washers are in good condition or new when you install them and that they remain in the same order they were removed. Hand tighten the bolt and tighten it with a torque wrench to your vehicle's recommended pressure.
- Attention: If power steering fluid leaked before or during repair, check the fluid level and adjust if necessary before a test drive.
Step 11: Change the tire and lower the car. Once the seal replacement is complete, you can replace the previously removed tire.
First, use the jack at the appropriate lifting points to raise the vehicle slightly off the jack stands, and then pull the stands out from under the vehicle.
Reinstall the bar and hand tighten the lug nuts. Then use the jack to lower the car to the ground. At this point, the tire should be resting on the ground, but not yet carrying the entire weight of the vehicle.
Use a wrench to tighten the clamp nuts as far as possible. Then lower the car completely and remove the jack. Use the wrench again to tighten the lug nuts if you can, to make sure they are as tight as possible.
Step 12: Test drive the car. Turn on the car and keep it in park. Turn the steering wheel clockwise (all the way to the right and all the way to the left). If the wheels respond correctly, the linkage and steering are good.
After confirming that the steering is working, drive the vehicle at a slower speed and then at a higher speed to test the handling and steering under normal driving conditions.
Something as simple as a seal can cause steering problems and leaks that can lead to even more problems. Coulter shaft seal replacement can be done in less than a day and will likely need to be done at least once in the life of the vehicle. By following the steps in this guide, you can do this job yourself. However, if you prefer to have this repair done by a professional, you can always contact one of AvtoTachki's certified technicians to replace the shaft seal for you at home or in the office.