Prepare and clean the motorcycle fairing
Content
Preparation: an important step before moving on to the drawing phase
Saga of restoration of the sports car Kawasaki ZX6R 636 model 2002: 20nd series
I received all the parts for my Kawazaki zx6r adaptable fairing as well as the screws. Before painting parts, it's important to prepare them well and make sure everything fits perfectly, even if that means cutting certain parts. If you skip this preparatory step, any touch-ups will be visible that will require going through the paint / perging box. If we can avoid ...
Wrap preparation - sandpaper
For sandpaper, I choose a fine grain, around 1000, but especially 400, otherwise it digs too hard! Various floats, precision cutters and sanding wedge are ready! In total, it took me half a day to make the wrappers presentable and get them ready for the painting.
To do this, I sanded the sides and edges with 400 to 500 grit sandpaper. Not to mention every nook and cranny. The primer has to stick and if I forget the result will be folkloric. Well, anyway, it could be. But I'm a gambler, otherwise I wouldn't be a biker.
Tools: Allen keys (6 panels), sanding wedge, sandpaper, files, floats and rat tails, spray bottle with a little soapy water, cutter
Accessories: € 230 full adaptable fairing purchased online
Time to spend: 1 day to do well, 1/2 day if everything goes well
Empty fairing assembly
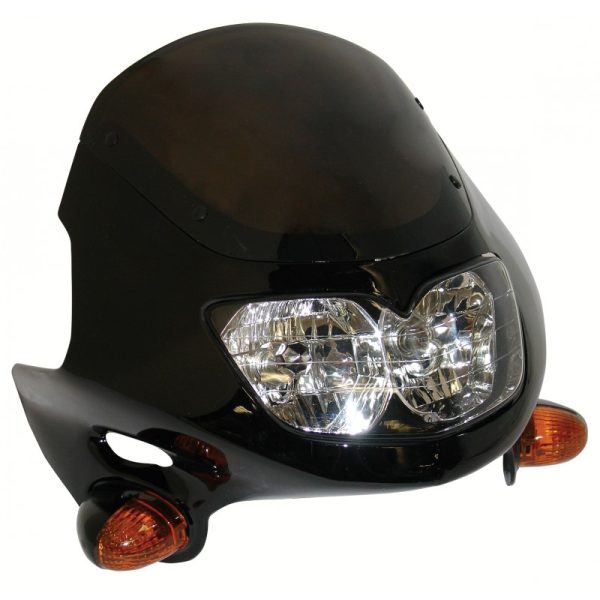
An “empty” fairing assembly is also required to check if parts need to be adjusted. Also, you need a complete set of screws to do this, as well as the optics. Purpose of blank edit? If necessary, cut the parts as needed for the main air intake of our body kit. The work is "accurate".
In the end, everything fits perfectly ... with a motorcycle. Finally after I cut the front air intake with a cutter that couldn't / didn't want to match at all.
To be able to fix the wraparounds, you must have real screws! And for that, I spent time online ordering Chinese screws for the first time, before finding my luck with Pro Bolt screw kit, an English manufacturer of high quality screws, as explained in a previous article on finding lost screws (link at the bottom of this article).
The assembly of the fairing with screws gives a beautiful result, durable and useful. Even inside the fairing.
I take the opportunity to install the bubble with the other screws. As a result, the kit is at the top.
It's very nice when everything works ... After so many difficulties, I still expect another one to come. But there everything fits perfectly, and the fairing takes shape.
I can paint all parts of the fairing and tank. Painting, a whole story! To be continued in the next episode ...
Remember
- If ordering online, prefer shipping from Europe if available.
- Feel free to inform the seller of any flaws.
- An adaptable unpainted fairing will never come with burrs unless specified and specified and special prices.
- A blank mounting is required to check the correctness and fit of everything. The first is without a motorcycle, the second is on a motorcycle. If you're lucky enough to be a good supplier, there will be very little change. If not? Take out the cutter and files ...
Not to do
- In case of empty assembly, not fastening the assembly means the risk of its breakage. Especially if it's not of the highest quality.
- Consider using different wedges or wooden cleats, for example, to make things difficult. When.