DIY repair and disassembly of a starter on a VAZ 2107
Content
Yesterday I decided to disassemble my used starter completely in order to show by an illustrative example how it is disassembled and the subsequent repair of the device. I will also describe the retractor relay, which is often the reason for the inoperability of the starter itself. Perhaps it's worth starting with this.
Cleaning pennies from carbon deposits on the solenoid relay
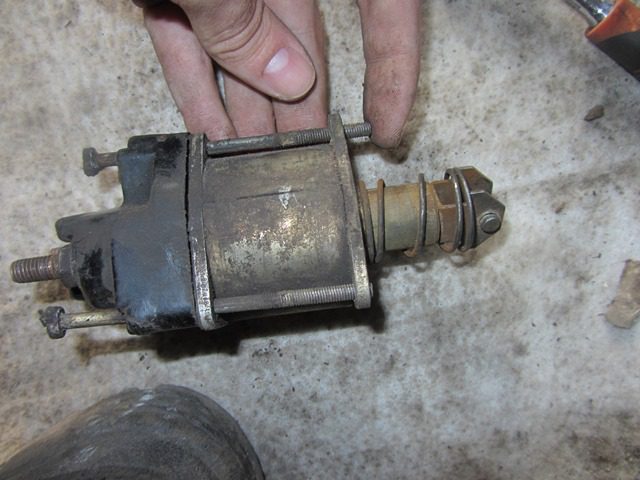
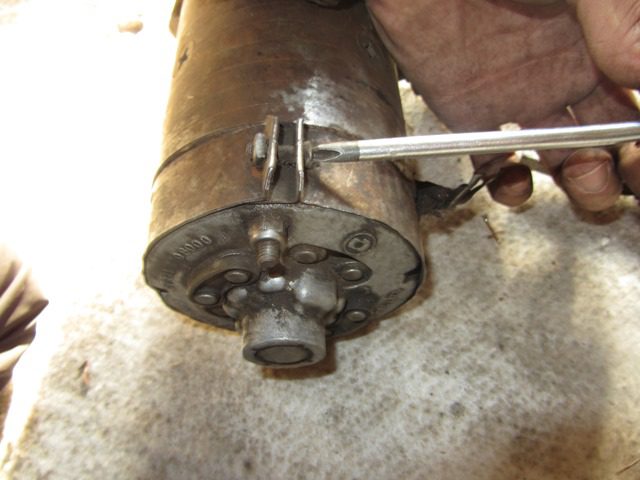
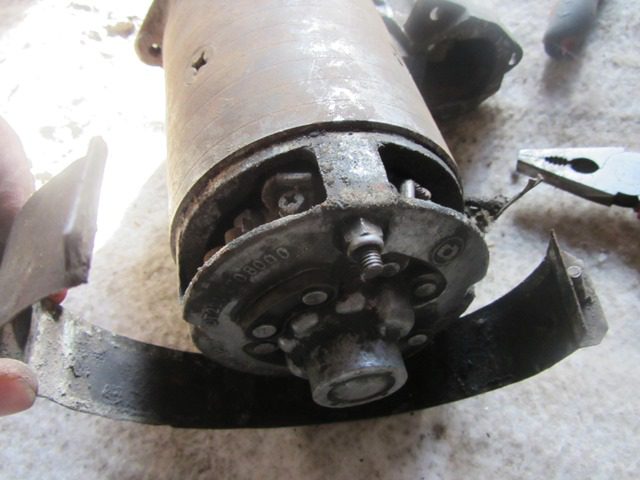
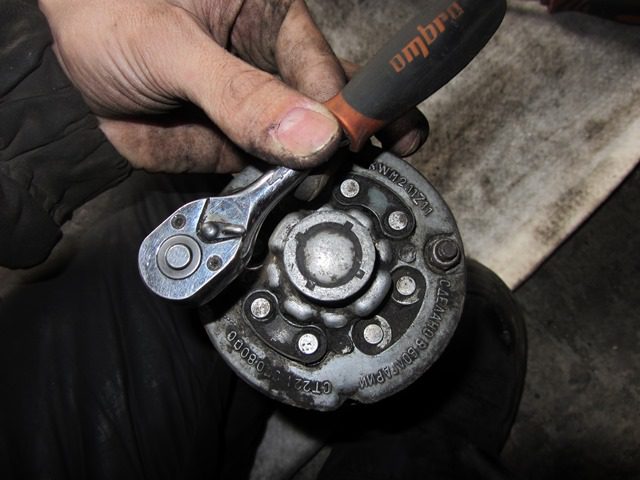
All this is best done on the removed part, which can be read about here... After that, using a deep head and a wrench, unscrew the three nuts securing the cover to the body, as is clearly shown in the photo below:
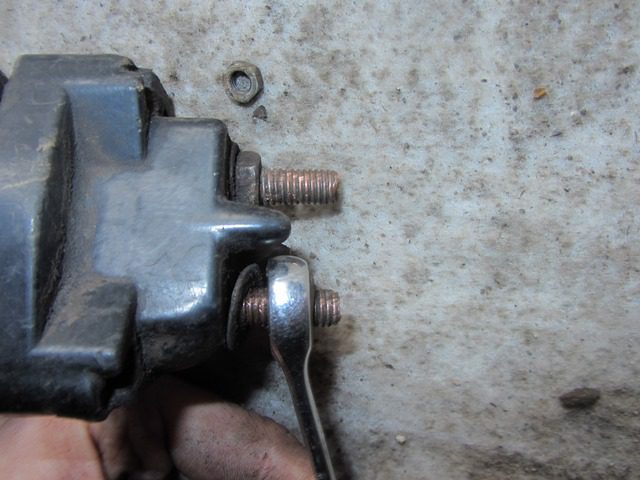
When all the nuts are unscrewed, it is necessary to press on all the bolts from the same side, and pull them out from the back side:
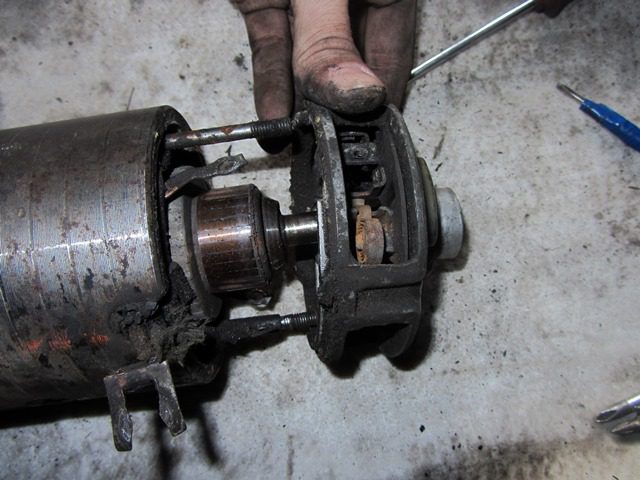
Now carefully fold the relay cover, but not completely, as the wire will interfere:
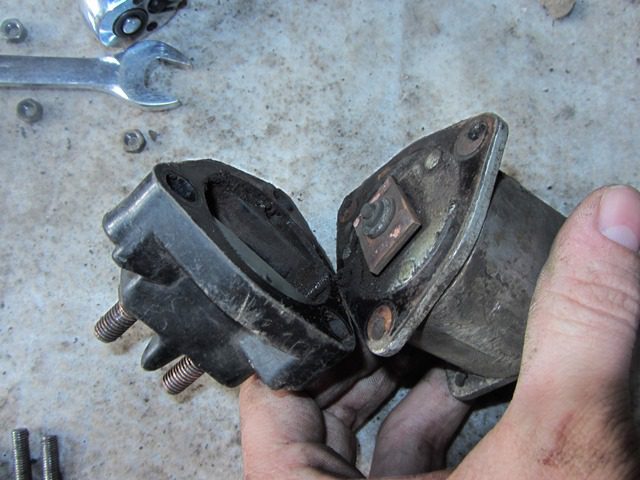
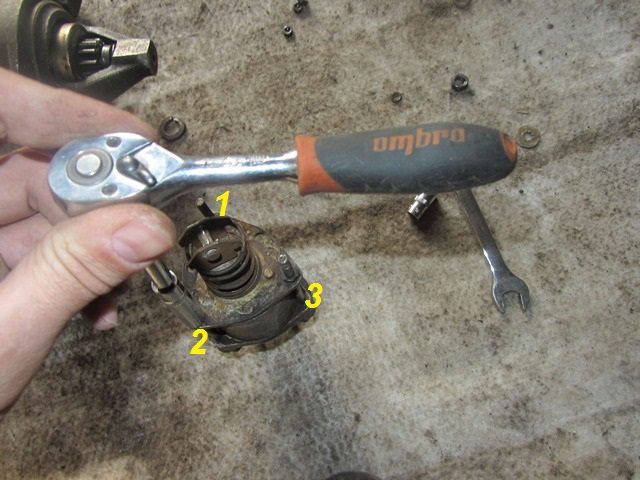
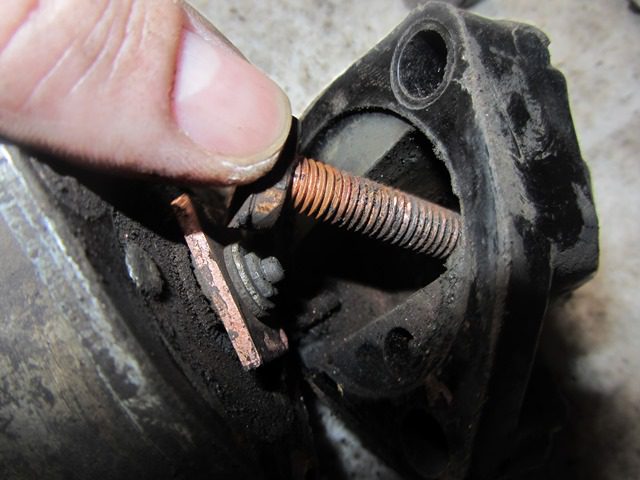
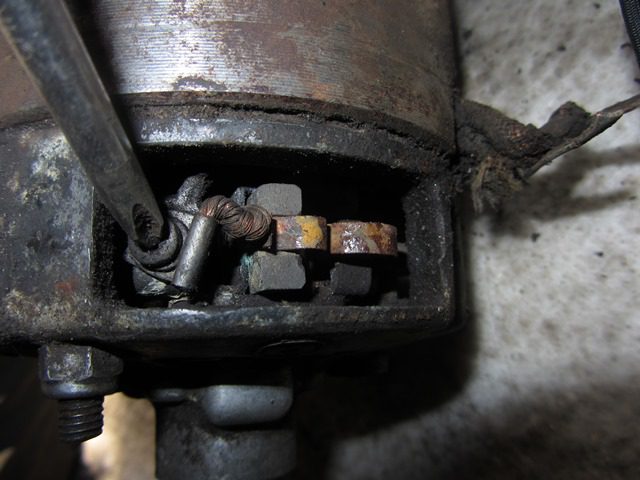
Pay attention to the central copper plate: it will definitely need to be cleaned of plaque and carbon deposits, if any. Also, it is necessary to unscrew the pennies themselves (only two pieces) by unscrewing two nuts on the outside of the lid:
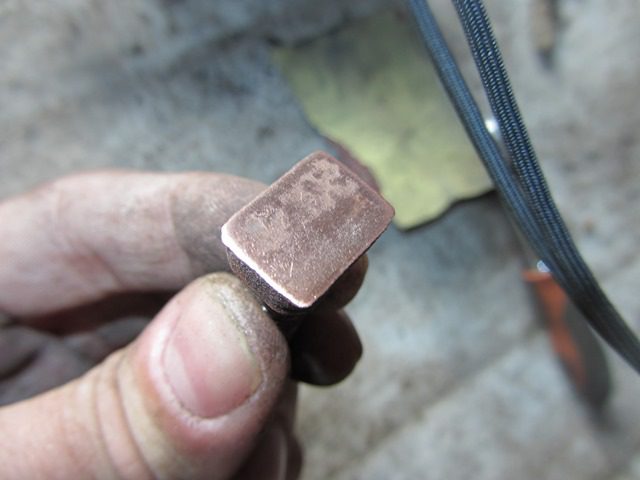
And then you can take them out with your hands, from the back side:
Also clean them thoroughly with fine sandpaper to a shine:
After completing this simple procedure, you can reinstall everything in the reverse order. If the problem was precisely in burnt pennies, then it will definitely disappear!
How to replace the starter brushes on a VAZ 2107
The brushes on the starter can also wear out and cause the unit to fail. In this case, they must be replaced. On cars of the “classic” family, starters are slightly different from each other. But there won't be much difference in replacing the brushes. It will be necessary either to remove the back cover under which they are located, after unscrewing a couple of bolts. Or, unscrew just one bolt, which tightens the protective bracket, under which the brushes are located:
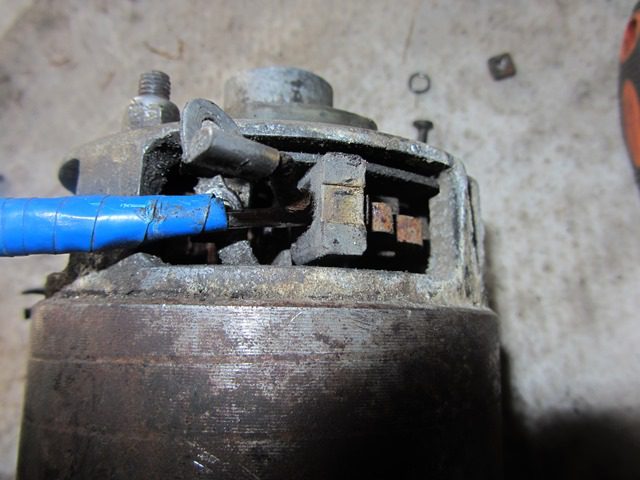
And this is how everything looks after:
There are 4 brushes in total, each of which is available for removal through a separate window. It is enough just to unscrew one bolt of its fastening:
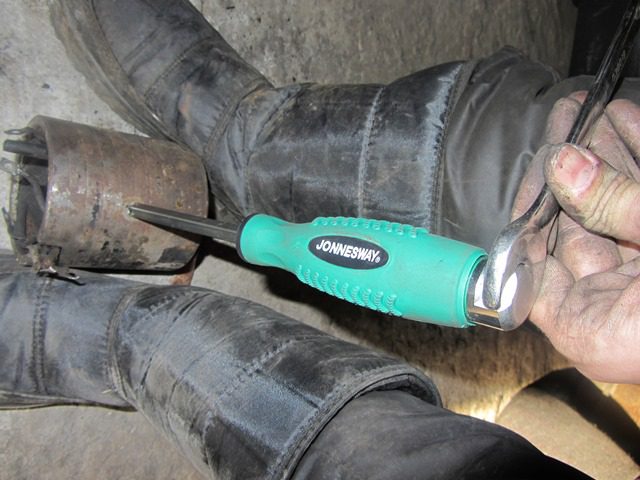
And then pressing the spring clip, pry it off with a screwdriver, and it can be easily removed:
All the others are taken out in the same way, and you need to change them all at once. Installation is carried out in reverse order.
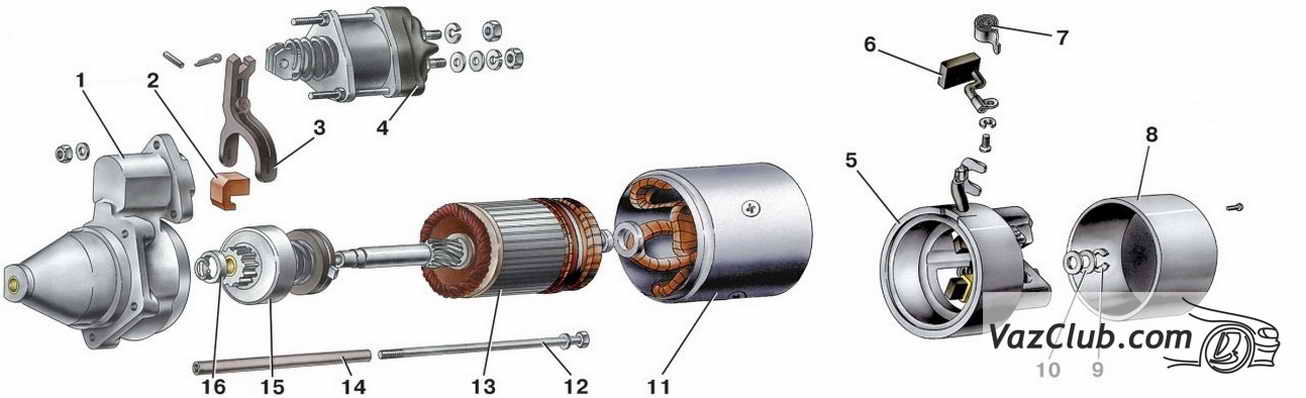
Dismantling the VAZ 2107 starter and replacing the main components
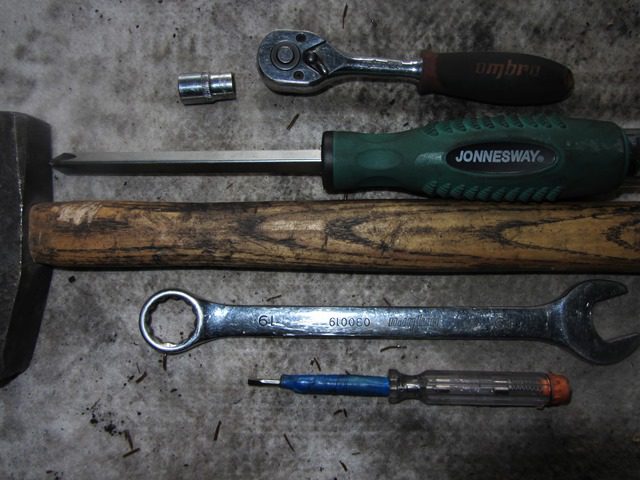
In order to disassemble the starter, we need the following tool:
- Socket head 10
- Ratchet or crank
- Impact or power screwdriver turnkey
- Flat screwdriver
- Hammer
- Power screwdriver wrench (in my case 19)
First, unscrew the two nuts with a 10 key, which are shown below:
Then remove the cover by prying it off with a screwdriver if necessary:
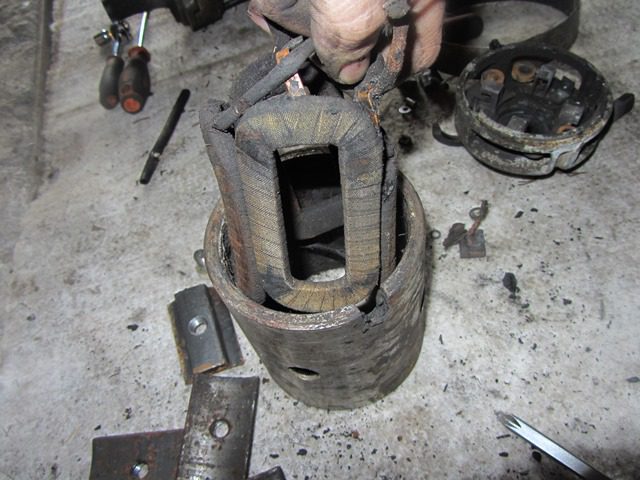
After that, you can remove the housing from the pins along with the winding:
If it is necessary to replace the winding, then this is where we need a power screwdriver. It is necessary to unscrew 4 bolts on the body on each side, as clearly shown below:
After that, the plates pressing the winding fall, and you can safely remove it:
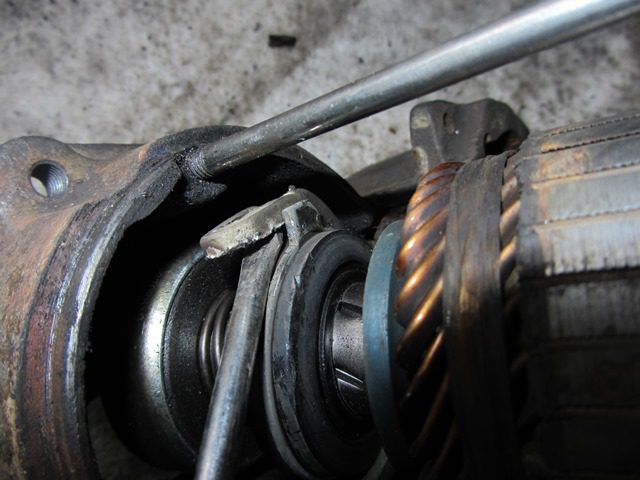
Since the part with the anchor is free, you can start dismantling it. To do this, use a thin screwdriver to pry the plastic bracket, in the photo below it is shown after the shift:
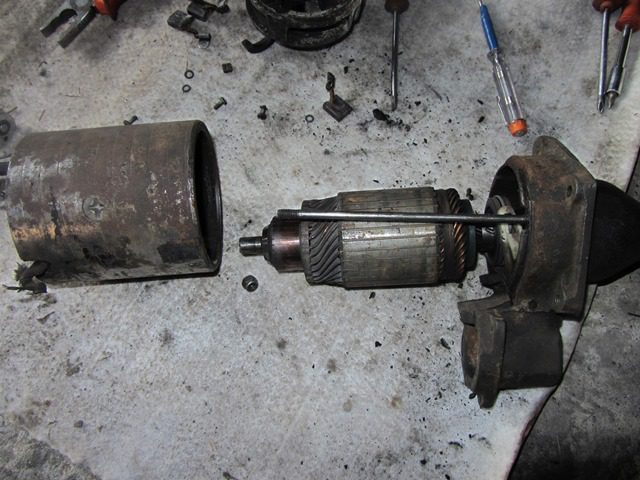
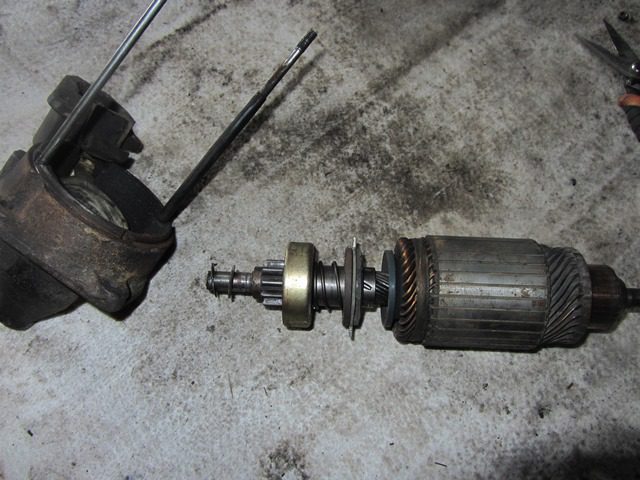
And we take out the anchor from the front cover of the starter housing:
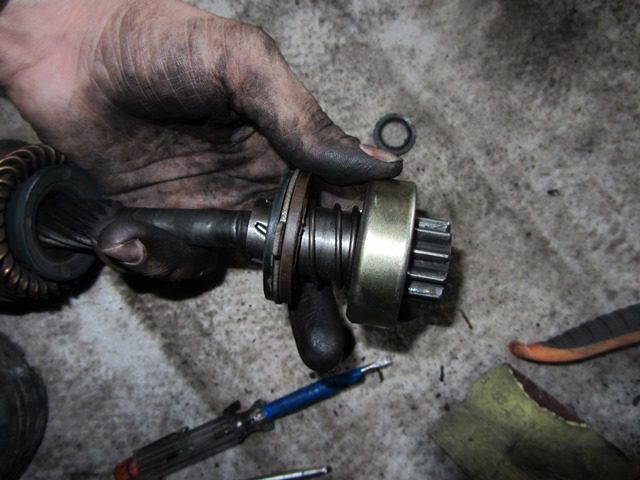
And to remove the coupling with the shaft, you must again remove the retaining ring with a screwdriver:
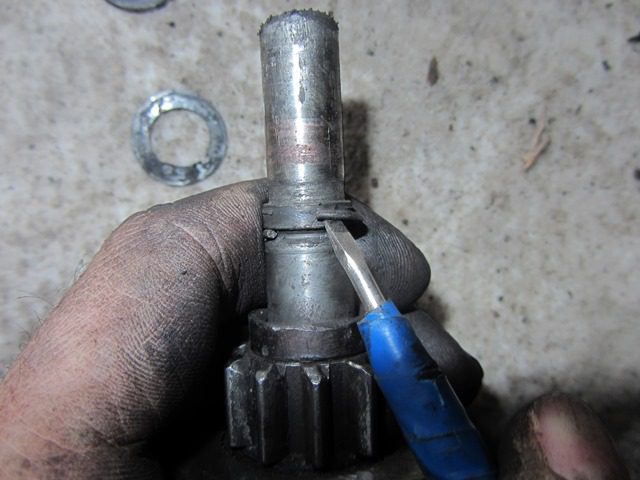
And after that it is easy to remove it from the rotor shaft:
If it is necessary to repair or replace certain parts, we buy new ones and install them in the reverse order.