Stove radiator repair
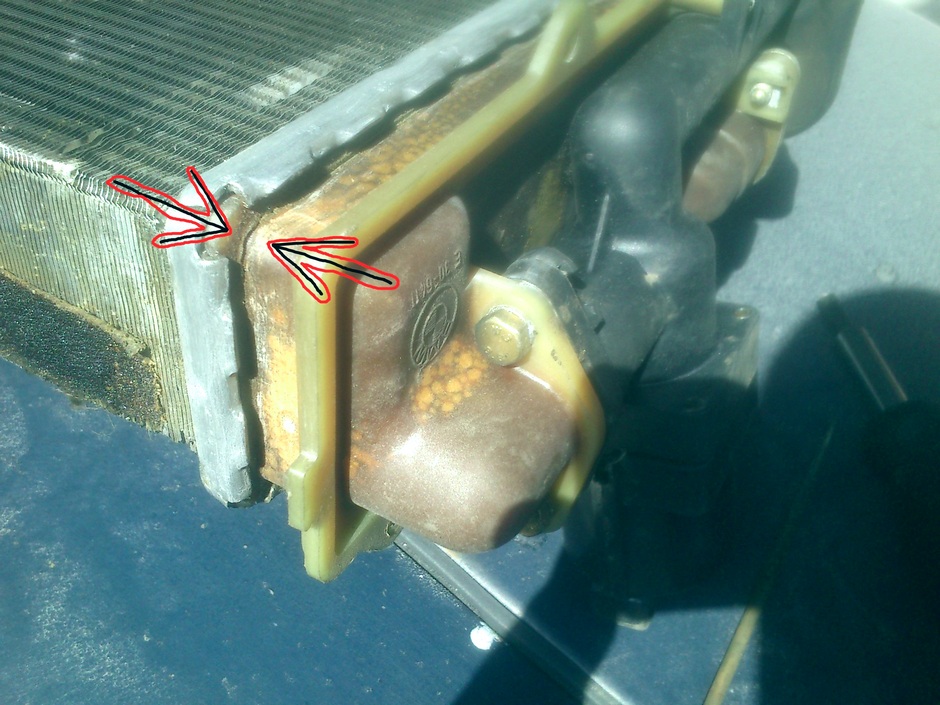
The heater radiator leaked and it was decided not to change, but still try to repair the old one. The initial opinion that the radiator itself leaked and needed to be soldered was dispelled after parsing, it turned out cracked plastic container.
Decided to try and reproduce this. I straightened the aluminum and removed the tank, the crack turned out to be very large in length.
I scraped the crack with a triangular-shaped needle file, smeared it with a two-component glue done deal, although I had to use glue for metal, because It was he who was bought for sealing the radiator, but it turned out that the plastic failed. then squeezed the whole thing with a clamp and left for a day.
In the meantime, I decided to clean the radiator and took out the screw tapes from the honeycombs. Half of the cells were clogged, and had to be cleaned with some kind of ramrod.
I installed the tapes in place and a day later began the process of assembling a tank with a radiator.
I chose aquarium silicone for gluing the tank. tear resistant and withstands high temperatures. Smeared, connected and pulled off with electrical tape to create a constant pressure, and left overnight in this state.
The next day I installed the radiator.
Already covered 700 km. does not flow, heats perfectly, dry and comfortable. Tosol is in place.
The article was provided by Pavlo Dubina, many thanks to him for this!

