Paint touch-up you won't be ashamed of!
Content
Sometimes it may turn out that your car needs a touch up. Most often, the cause is parking damage and scuffs when entering or leaving the garage. Sometimes even a watch can cause damage to the paint on the case when getting into a vehicle. Therefore, sooner or later you will need to regenerate it point by point. How to make a touch-up without spending a dime on work in an auto repair shop? Find out and see if it's possible!
More than just a paint and touch-up brush - check out the essential scratch removal kit
For body and paint repairs, you will need the following tools:
- screwdriver with adjustable speed;
- fall polerski;
- polishing paste;
- water paper from 1500 to 3000;
- water sprayer;
- insulating tape;
- extraction gasoline;
- paper towel;
- brush or concealer for retouching;
- aluminum putty with a spatula;
- primer, primer and colorless varnish.
How to make a touch-up yourself - damage assessment
First of all, it is a real test of imperfections. The varnish consists of several layers:
- colorless top;
- base;
- undercoat.
A trained eye is able to assess whether the base coat has been torn off, whether even the structure of the sheet metal is damaged, and the damage is very deep. How badly an element is damaged depends on the amount of work you will be doing and what accessories you will need. Touching up requires a lot of precision, so unless you're patient and meticulous by nature, it's best not to attempt to repair it yourself.
How to make patches step by step?
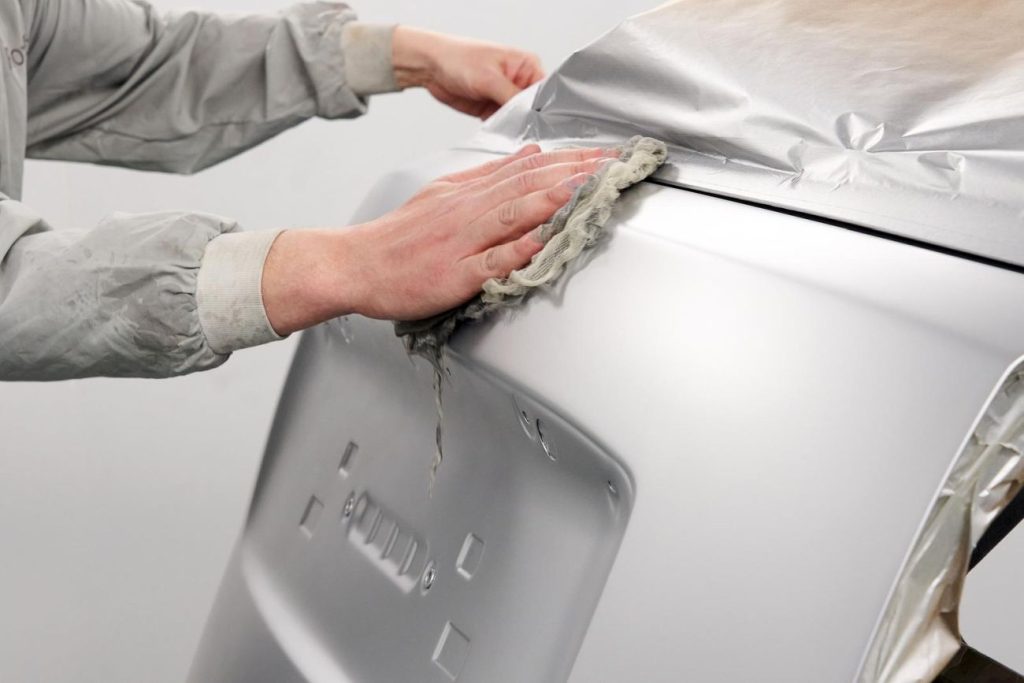
Matting and degreasing the surface
However, if you decide that you have the ability to do so, follow the instructions below.
- At the very beginning, take the thickest of the proposed sheets of water-based paper (1500).
- After applying a little water from the sprayer to the element, you can proceed to stripping the element down to the metal sheet. Of course, if the scratch or damage is minor, it's best not to overdo it or overdo it. Removing as little surface as possible ensures less interference with the original paint.
- After this step, apply some degreaser to a paper towel or cloth and clean the work area thoroughly.
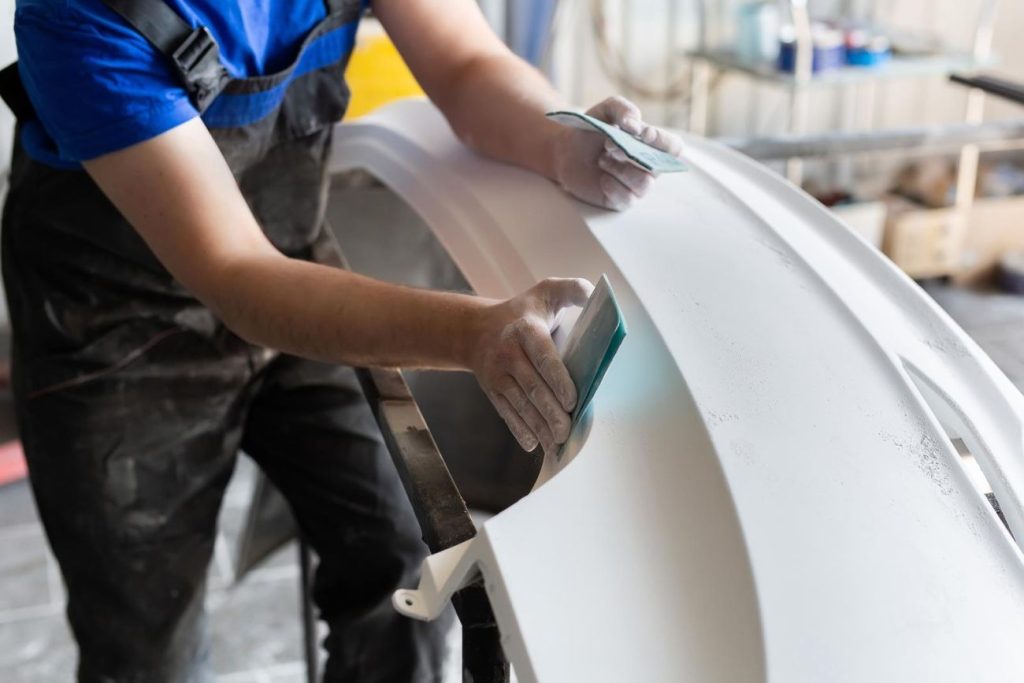
Cavity filling and wet grinding
The next stage of painting is puttying and sanding. Here are the next steps.
- After careful grinding and degreasing, you can proceed to the application of putty.
- For the best effect, mix it with the hardener on a firm and clean pad.
- Then apply a thin layer to the element. Touching up requires a very thorough polishing of the surface, so the thinner the layer, the easier it will be for you to level it. Aluminum putty is hard, so don't overdo it because you'll tire yourself out when sanding.
- Wait about 40 minutes and, using all the sheets of paper, gradually smooth the surface. After drying, degrease the element.
Application of primer coats and preparation for painting
Time for next steps.
- First, be very careful with the areas you don't intend to paint.
- Then use a primer and primer to prepare the surface for the actual base coat. Remember that before using a touch-up gun or other accessories, you must secure all adjacent elements well. Of course, it depends on the place you are drawing.
- After the primer has dried (a few hours), you can start applying the base coat.
Painting and coating with colorless varnish
Time for painting and finishing.
- Before painting, the primer should be matted for better adhesion. 3000 paper will be enough for this.
- Then apply 2 or 3 coats of paint in the same color as the body.
- At the very end (according to the time recommended by the varnish manufacturer), cover with a transparent varnish. Of course, you can touch up with a brush if there is very little space. However, it is usually necessary to use a gun or spray gun.
- The next day, polish the place with paste and a screwdriver pad. Ready!
Touching up rust with paint - is it worth it to do it yourself?
The appearance of corrosion at the site of damage very often means a hole. Here, simply putty will not do much, because after the winter the problem will appear again. The only option is to take the car to a body and paint shop where you will be professionally repaired. How much does this painting cost? The price can be as low as 10 euros, but with such an overhaul, be prepared to spend several hundred zlotys. Therefore, if you have a little space in the house and some skills, you can make such repairs yourself. As you can see, self-coloring does not need much. The key to the success of the work is the ideal preparation of the putty site. Without this, there is no chance of getting a smooth and non-staining surface. Don't be fooled that with the help of the base coat you will hide the flaws - this is simply impossible. Therefore, focus primarily on a very accurate removal of the surface and try to get a perfectly even layer under the fingers. Also, don't apply too much base coat at one time or it will drip. Also avoid working in the sun so that the products do not dry out too quickly. There are a few tips, but we believe you can do it!