Motorcycle Balancer User Manual ›Street Moto Piece
Easy to maintain spoked rims
Rim machining, balancing or rebounding can seem daunting even with the right tools!
Let's find out together on our DRC balancer (model shown) how to use it to prove to the most reluctant that with a good tool maintaining spoked rims is child's play...
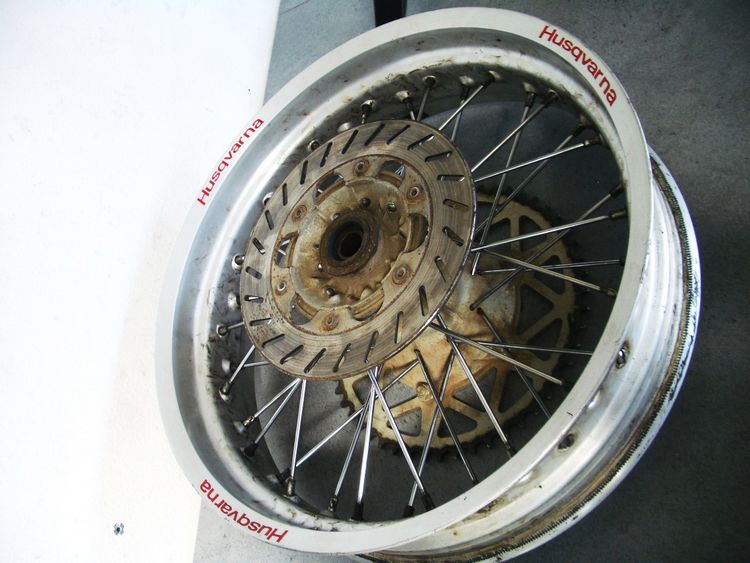
Our work of the day concerns this San Remo rim, which is no longer new! Therefore, we are going to bring our famous balancer, which we have already laid out and assembled!
Open the rim
Very few tools are required for the rest of the operation, take knitting wrench adapted to your spokes, hex wrench, degreaser and it's enough to make the markup!
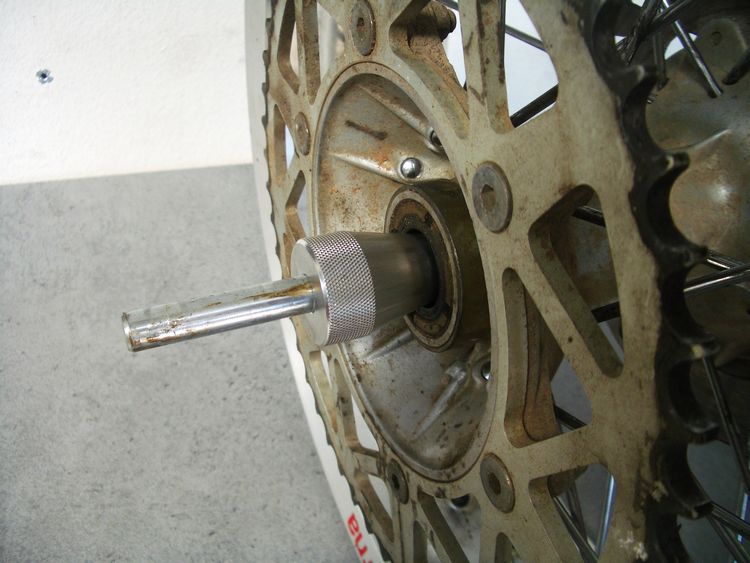
Let's start by setting the axle to middle to expose the rim first ...
Remove one of the two tapered spacers from the axle, then insert the axle inside the hub... Apply the tapered shim washer firmly against the bearing, then the opposite caliper and apply the same amount of force. You can tighten the second wedge, make sure you don't have any backlash!
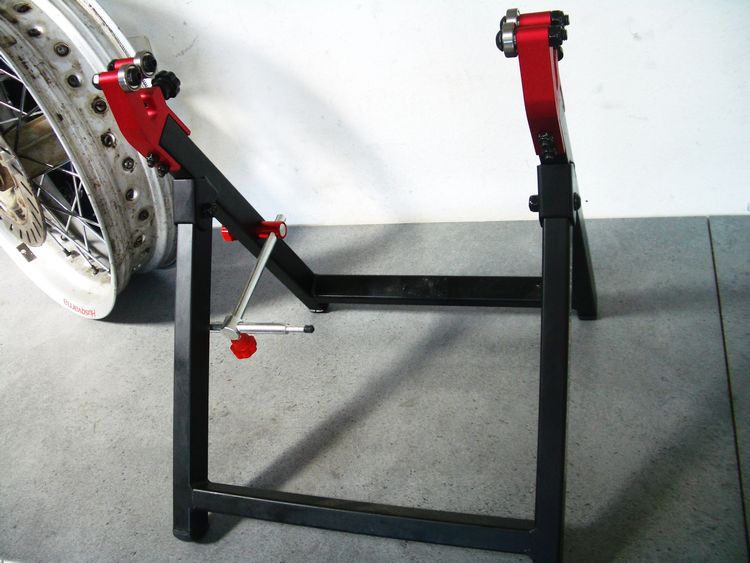
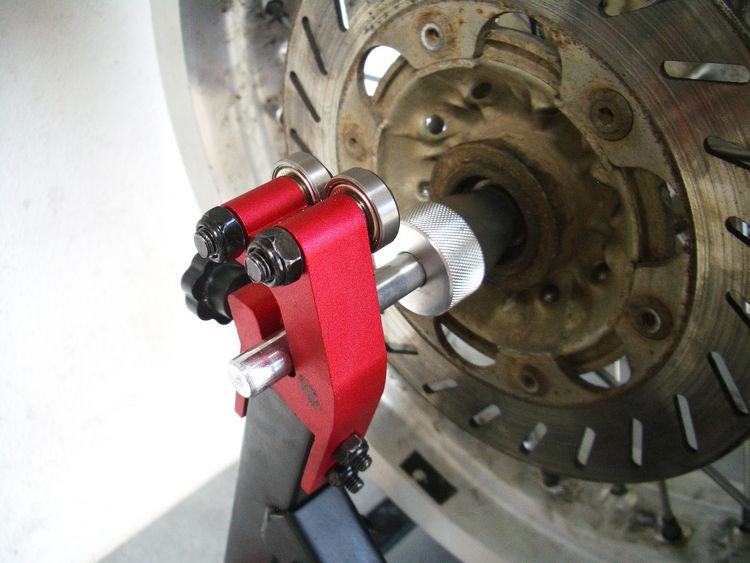
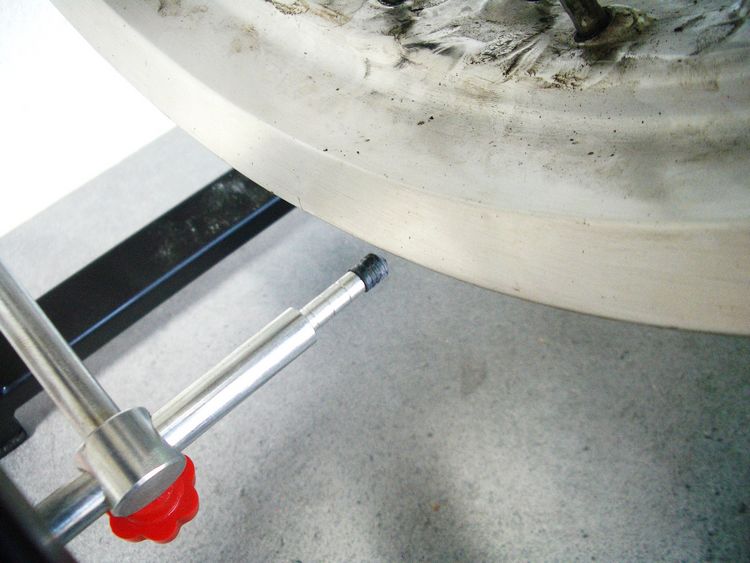
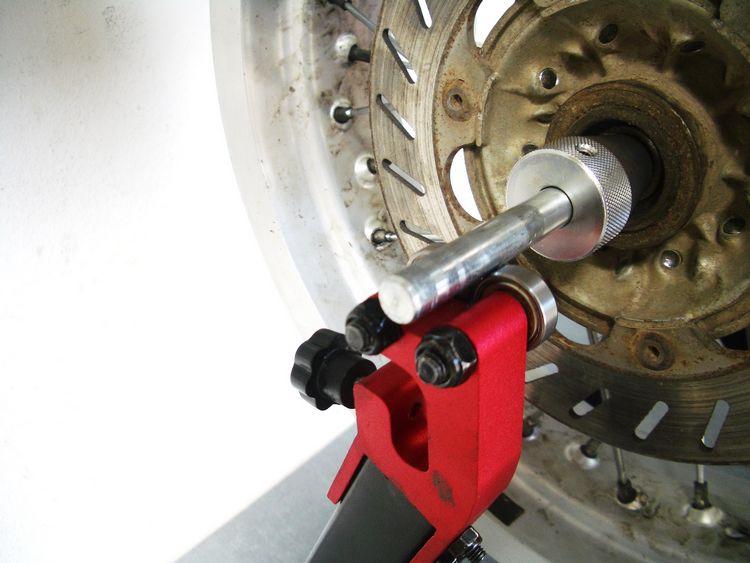
We can install the assembly on the tool ...
Place the axle in the lower seat (slot), then confirm its position by tightening the wedge. You are ready to evaluate your rim runout!
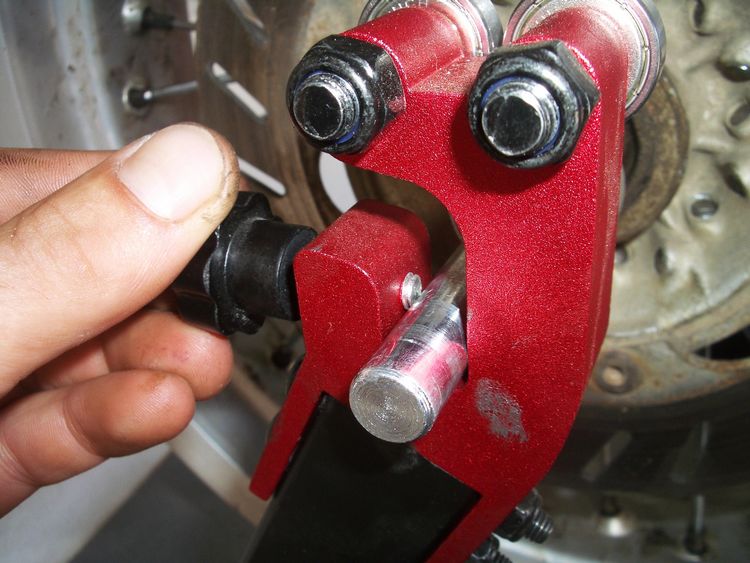
To do this, place a precision finger close to the edge of the rim and turn the wheel, the finger is a fixed reference point that will accentuate the veil of your rim.
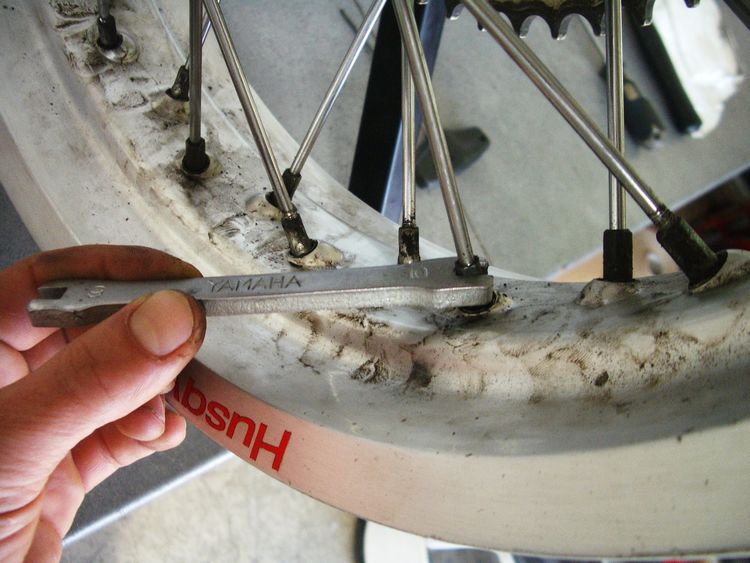
Once the veil is highlighted, you will need to tighten (tighten) the knitting needles starting from the left side of the hub to return the veil to the left, same for the right side to “pull” the rim veil until you get the result. satisfactorily! The haze tolerance is 1 to 2mm depending on the condition of your rim, there is no need to pull your hair out to fall to 0.

The principle is simple: tightening the spoke means “tightening” it, and loosening, on the contrary, “relaxing” the spoke, gradually tightening the spoke will bring the rim veil to the right side!
This step is complete, your rim is open, you can bounce ...
Determine the bounce of your rim in the same way as for the veil, using a precision finger that you will use as a fixed mark. Place the latter under the rim of the rim, then rotate the latter to highlight the bounce!
Once this is determined, you will need to stretch and loosen the spokes, as with the veil, to catch up with the "imbalance", this operation is performed in parts!
Determine the section to be tightened (about 1/8 of the diameter), then act on all the spokes of this section, gradually, you will see the pulling force of the wing, and by this method you will catch the rebound of your rim (This operation should be performed in accordance with the tensions determined curtain, feel free to check several times, rebound and curtain during operation so that one tension does not change the other).
Does your rim have values that match your desires? Are your games kept to a minimum?
All you have to do is get balanced to finish your job! This operation is carried out with the tire mounted on the rim!
You must free the groove axle and place it on the bearing pedestal. Once the rims are in place, release the rim and watch it move, the rim will show an imbalance:
The lightest part of the rim will be at the top, the heaviest at the bottom...
Mark the hardest spot on the rim with a non-permanent marker, this point will be the exact opposite of the spot you want to balance!
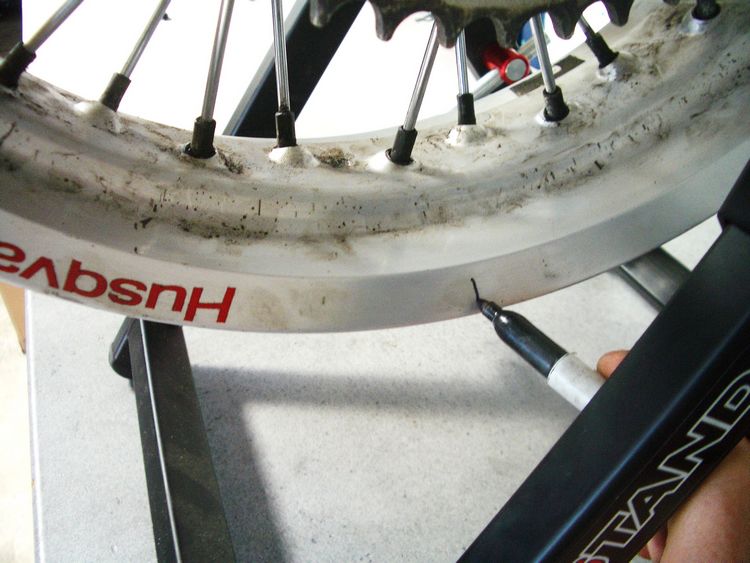
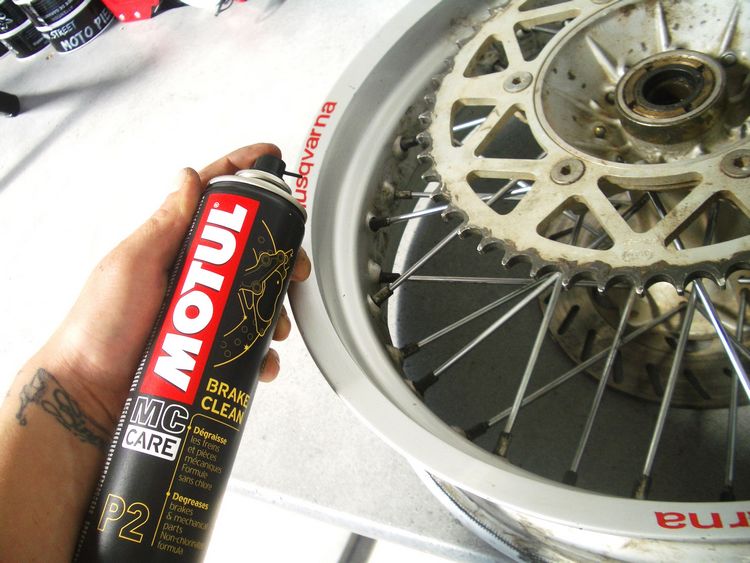
Clean the rim flange with a degreasing agent such as our Brake cleaning Motul or alcohol and arm yourself with balancing weights ...
Then, at a point opposite your mark, weight the rim (by placing weights or balance weights evenly to the left and right of the curtain) and repeat the operation until the imbalance disappears and there is no heavy point on your rim!
Your rim is now open, your rebound is locked, and the rim is balanced.