Starter: replacement instructions!
Content
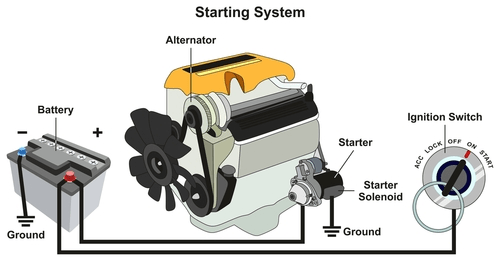
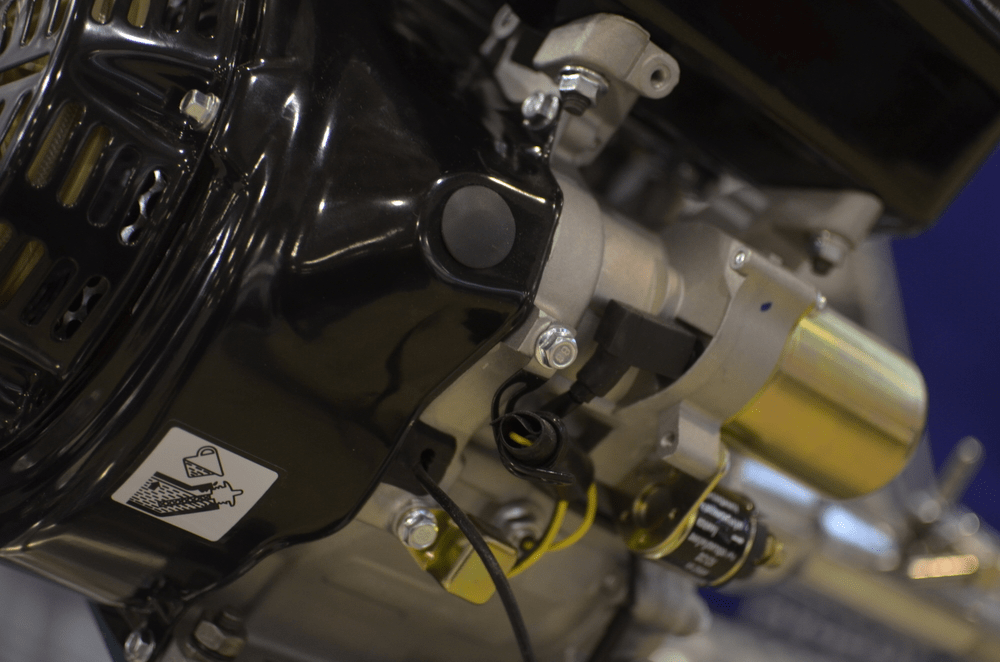
The starter is the centerpiece of any motorized vehicle. Neither a gasoline nor a diesel engine can start on its own in a standing position. The fuel in the engine is supplied with oxygen by suction and subsequent compression before ignition, with the starter starting this process. A bad starter causes serious problems.
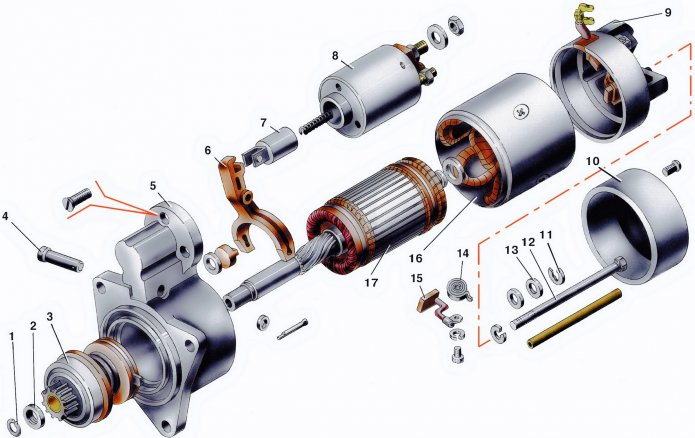
How the starter works
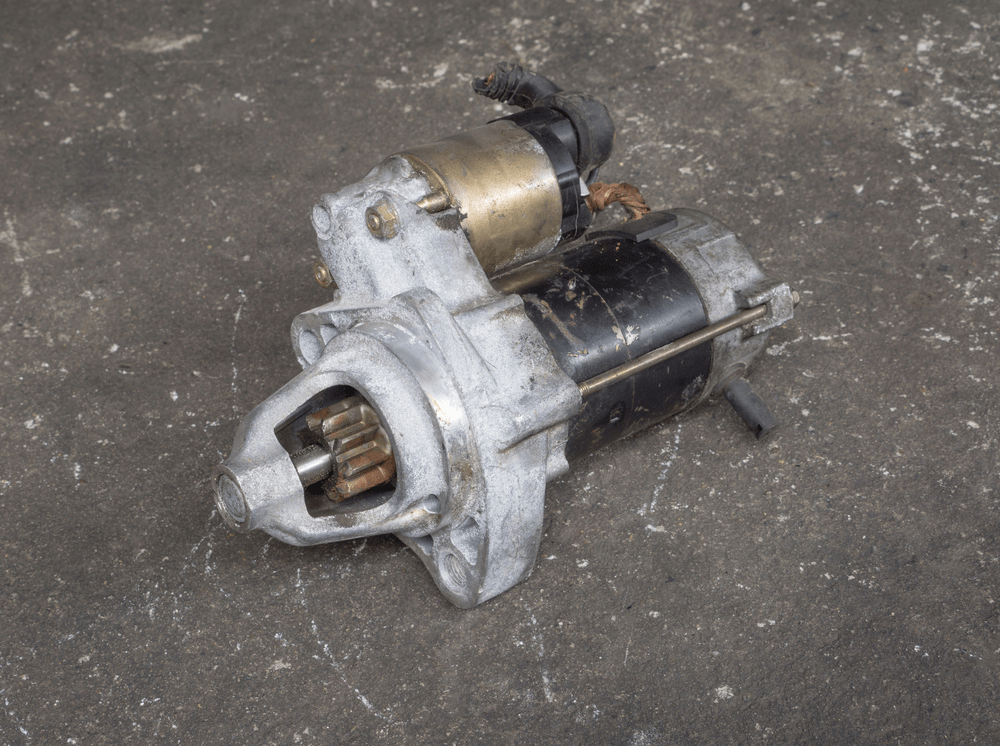
The starter allows the engine to run . Internal combustion engine assistance is required to overcome the inertia of the mass, as well as the resistance to friction and compression. This is the task of the starter.
In fact, it is an electric motor with a direct drive from the battery. The starter, in turn, drives the flywheel. . During the starting procedure, the starter gear drives the flywheel with its gear at a temperature of OK. 300 rpm , which is enough to start the engine and automatically carry out the next process. Once the ignition is completed and the engine is running on its own, the starter is disengaged.
The starter is one of the most reliable vehicle components and does not require maintenance. . However, defects may occur.
Signs of a bad starter
Some symptoms point to a bad starter . It is important to pay attention to these symptoms in order to respond in time. If the starter does not work, the car will no longer start. .
The most important symptoms are the following three:
| - loud squeak after starting the engine - flywheel gear running slower than normal – starting is not possible despite a charged battery |
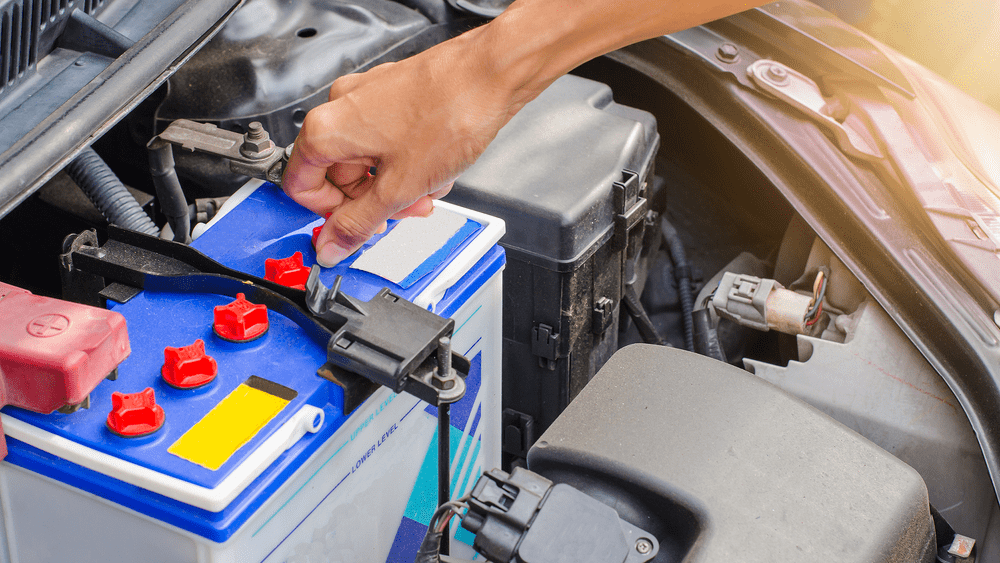
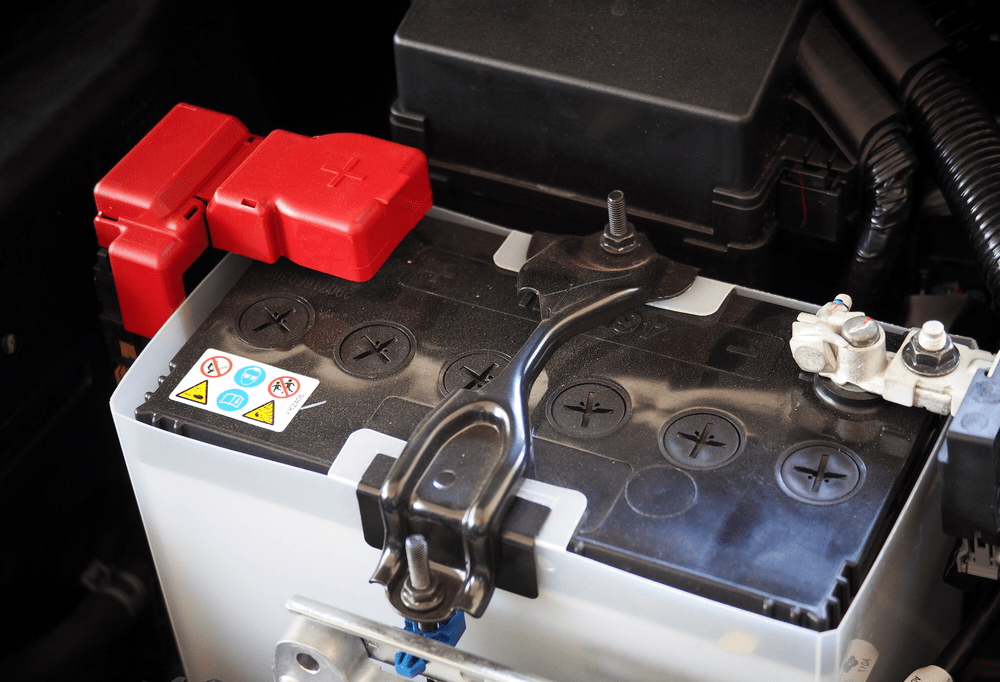
- The first thing to check in case of startup problems is battery , which can also be the cause of the startup failure. Replacing the battery is easier and cheaper, so it's important not to skip this step.
- If the car does not start, despite the new battery, the cause of the problems is most likely in the starter . Now it needs to be replaced as soon as possible to use the car. Before performing this step, be sure to rule out other sources of the problem first.
Other sources of failure besides the starter
- In addition to the battery, an important role is played by power unit . One faulty cable can damage the starter and cause problems. Check all auxiliary cables to rule out possible faults or cable breaks.
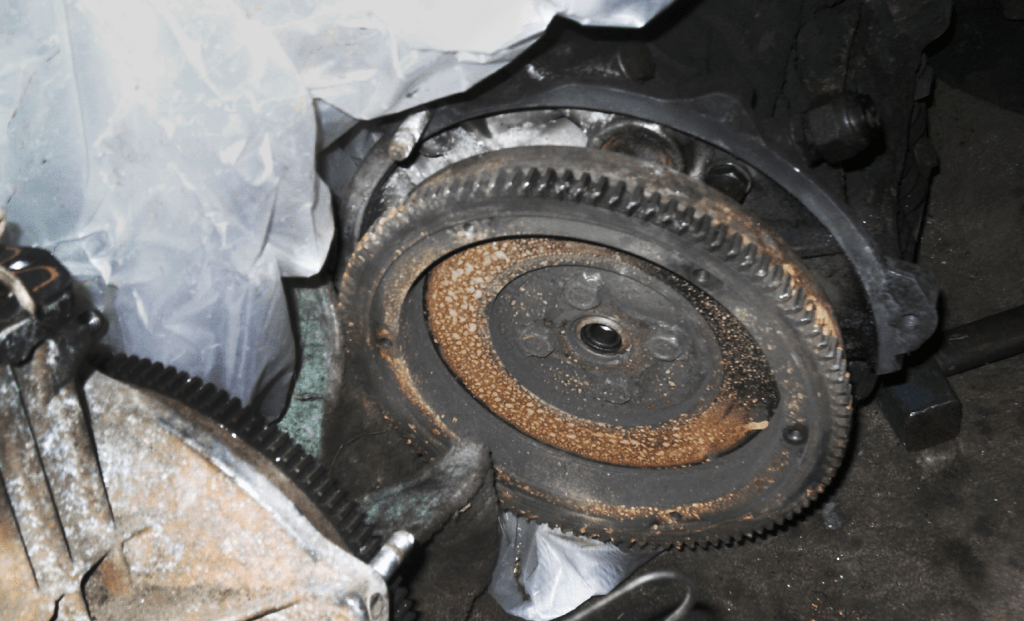
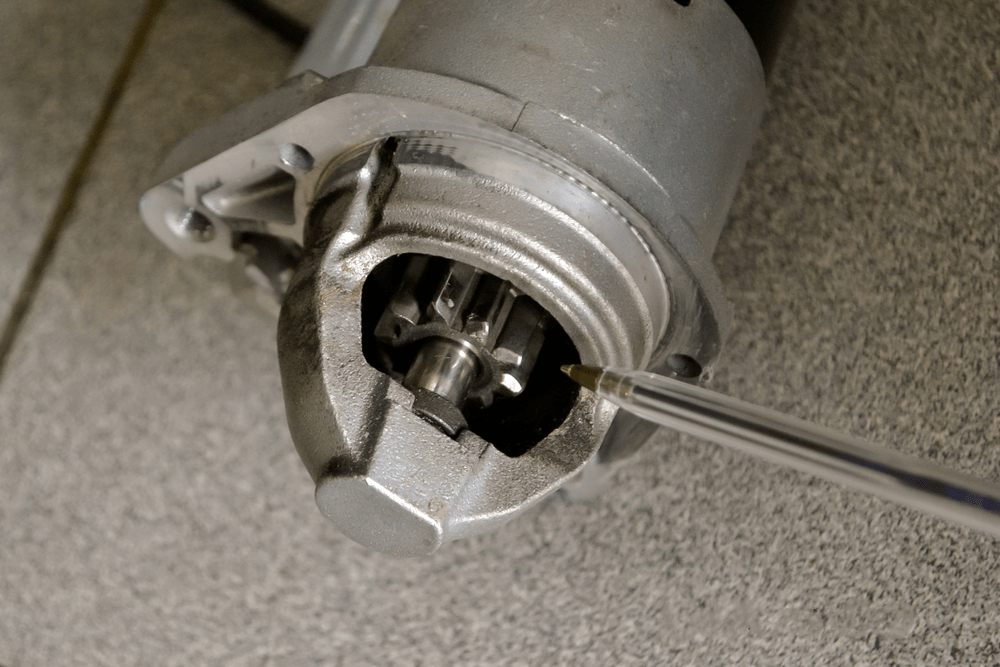
- The flywheel gear can also wear out. . This component allows the starter to generate the necessary rotation. When the gears stop engaging, the starter idles without igniting the engine. In this case, only the flywheel gear needs to be replaced, not the entire starter. . It is much cheaper, although it requires more work. At least the cost of a new starter is excluded.
Starter replacement: in the garage or do it yourself?
- In principle, in case of engine maintenance, it is recommended to go to the garage .
- But to replace the starter, it greatly depends on the car model and manufacturer. .
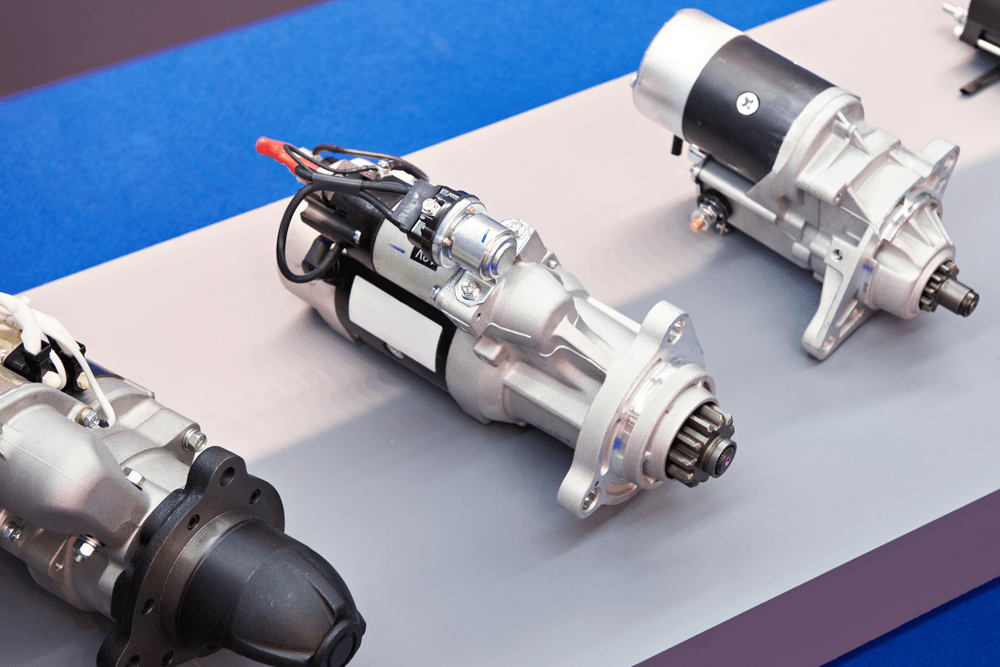
Especially in modern cars hard to find the starter and get to it. Finding a way under the numerous protective caps and lids is not an easy task for the DIYer.
In old cars replacement is usually easy. Here the starter is replaced at the top of the engine bay.
If you want to be very careful , first find the position of the starter to decide if you can do it yourself.
The following tools are required
Several tools are required to replace the starter. These may vary depending on the type of vehicle, but with this list, you're on the safe side. You need:
| - set of wrenches - Screwdriver Set – set of socket wrenches - multimeter |
These tools allow replacement.
Step by step starter replacement
To replace the starter, do the following:
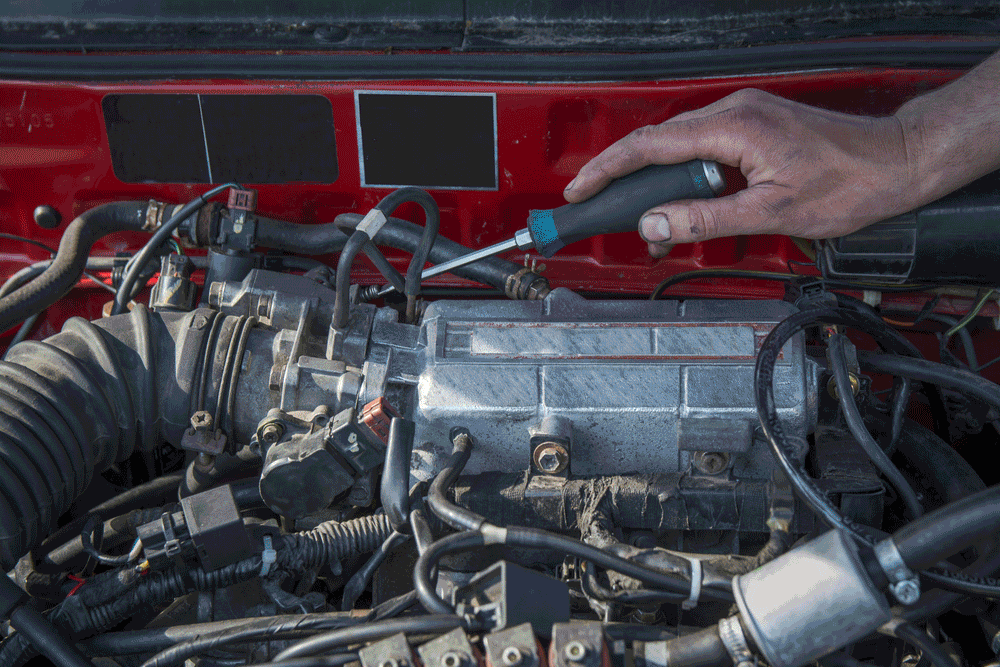
| – Locate the starter in the engine compartment. – if necessary, jack up the car to get to the starter. – Disconnect the negative pole of the battery and set it aside. – Write down exactly which cable is connected where on the starter. – unscrew the fixing screws of the device. Start with the least accessible screw. – Disconnect individual cables. Again, pay attention to the colors and connections. - remove the starter. Some vehicle models require the removal of other components such as the drive shaft or exhaust system components. - Compare the disassembled starter with the spare part. - check flywheel and gears - Install a new starter. - fasten the screws. – Connect the cables to the starter. - connect the battery. - Check the new starter. |
Be sure to avoid the following mistakes
Assembly and replacement of the starter looks easy. However, don't think too lightly about it.
It's important avoid certain bugs such as skipping a battery disconnect.
Replacing Individual Cables - another common mistake which could damage the new starter.
therefore Be sure to double check which cable belongs to which connection.
Consider all these steps, and replacing the starter will not cause any problems. . Depending on the type and model of the car, you can perform this service in 30 minutes or so two hours maximum.
Be sure to work steadily and carefully. Then it should be easy for home craftsmen as well. .
