Learn how to adjust the sound of speakers and subwoofer on a Pioneer radio with your own hands
⭐ ⭐ ⭐ ⭐ ⭐ Setting up the Pioneer radio in the car begins with resetting the current settings. As a result, the equalizer filters for the HPF speakers and the LPF subwoofer will return to the factory settings. This can be done in two ways, find the appropriate section in the car radio menu or disconnect the ground terminal from the battery. Note that the following method for setting up the radio is designed for an entry-level user, and there is nothing super complicated in it. But also, the quality of the reproduced sound is only 33% dependent on the composition and quality of the components of the audio system. For another third, it depends on the correct installation of the equipment, and the remaining 33% - on the literacy of the audio system settings.
If your settings are reset when the ignition is turned off, check the radio connection diagram. Most likely the yellow wire is connected to the ignition switch and not directly to the battery.
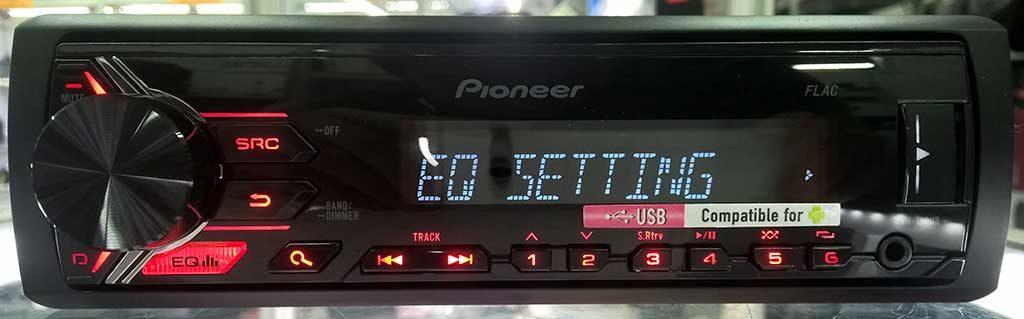
Equalizer
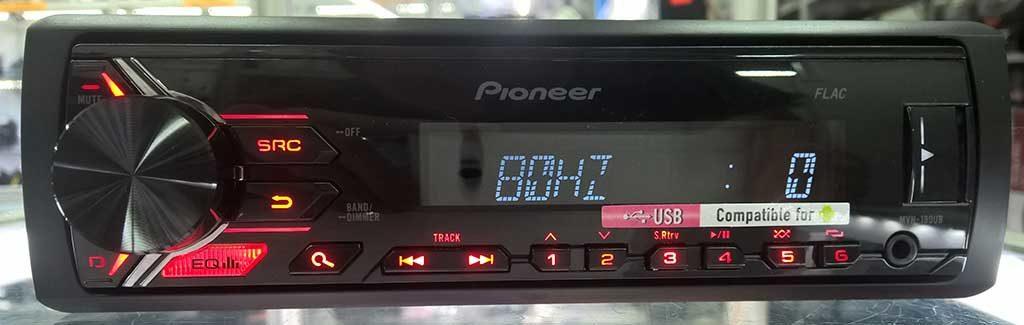
Equalizer allows you to make the sound more even - boost or cut bass, mids and highs - this is a rather fine tuning of the audio system. Not the entire sound range is regulated at once, as in other menu items, but specific frequency bands. Different models have a different number of them, depending on the class of equipment. There are five of them in Pioneer radio tape recorders: 80 Hz, 250 Hz, 800 Hz, 2,5 kHz 8 kHz.
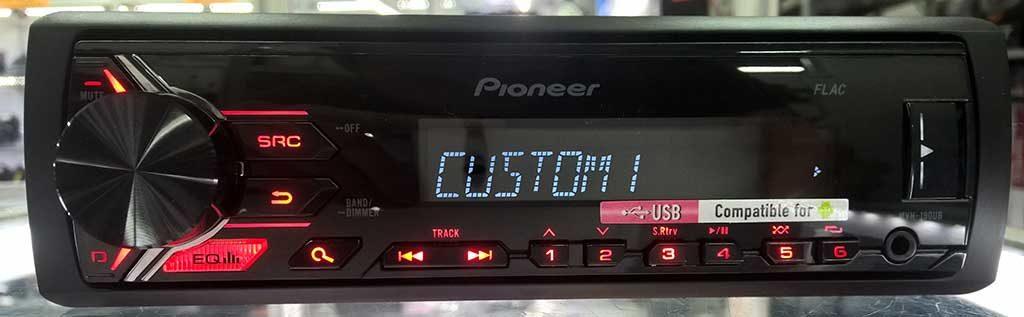
The equalizer is located in the "Audio" section of the settings menu, item EQ. It allows you to select one of the preset standard settings. For those who are not satisfied with these options, there are two sets of custom settings (Custom). You can switch between them both from the menu and with the EQ button next to the joystick.
To make changes to the frequency parameters in the user setting, you need to select it with the wheel and press the joystick. Then turn the wheel to select one of the equalizer bands. Press the joystick again and set the position from -6 (frequency attenuation) to +6 (amplification). Acting in this way, you can make some frequencies louder, others quieter.
There is no universal recipe for adjusting the equalizer on a radio tape recorder. It is produced by ear, depending on the preferences of the consumer. In addition, different adjustment options are selected for a specific genre of music.
Only rough recommendations can be given:
- if heavy music is played, it is worth strengthening the bass - 80 Hz (but not too much, + 2– + 3 is enough). Percussion instruments sound in the region of 250 Hz;
- for music with vocals, frequencies of about 250-800 + Hz are needed (male voices are lower, female voices are higher);
- for electronic music you will need high frequencies - 2,5-5 kHz.
Equalizer adjustment is a very important step, and with this tool you can improve the sound quality by a factor of several. Even if the acoustics are not very expensive and of high quality.
High pass filter
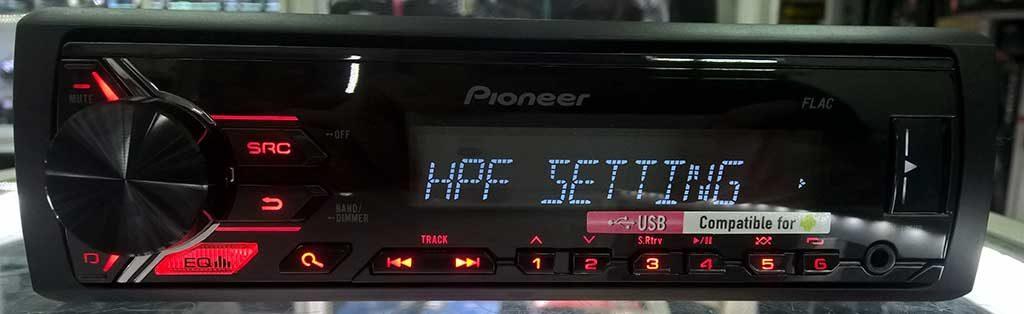
Next, we find the item HPF (High-passFilter). This is a high-pass filter that cuts the frequency of the sound delivered to the speakers below their specification limit. This is done due to the fact that it is very difficult for standard speakers (13–16 cm) to reproduce low frequencies due to the small diameter of the diaphragm and low power. As a result, the sound is reproduced with distortion even at low volumes. If you cut the low frequencies, you can get a clearer sound over a wider volume range.
If you do not have a subwoofer, we recommend setting the HPF filter at 50 or 63 Hz.
You can then exit the menu with the back button and check the result. It is better to do this at a volume of 30.
If the sound quality is not satisfactory, or if you are in nature and you want to arrange a loud disco, you can raise the lower limit from 80–120 Hz or more. The same level of cutoff is recommended when a subwoofer is present. These measures will multiply the clarity and volume of the reproduced sound.
There is also an adjustment of the steepness of the attenuation of frequencies. On Pioneer, it comes in two positions - these are 12 and 24 dB per octave. We advise you to set this indicator to 24 dB.
Low Pass Filter (Subwoofer)
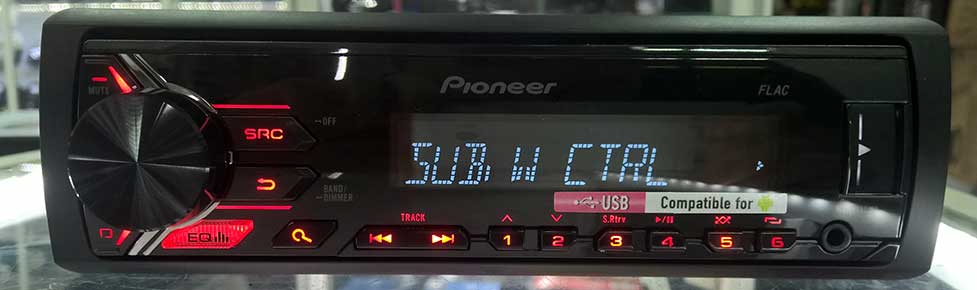
After we figured out the speakers, we will configure the radio for the subwoofer. For this we need a low pass filter. With it, we will match the frequencies of the speakers and the subwoofer.
The situation is as follows. When we removed the bass from the acoustics (set the HPF to 80+), we got a loud and high-quality sound. The next step is to “dock” the subwoofer to our speakers. To do this, go to the menu, select the audio item, in it we find the subwoofer control section.
There are three meanings here:
- The first digit is the subwoofer cutoff frequency. Here everything is the same as with the equalizer. There are simply no specific setting values, and the range in which you can “play around” is from 63 to 100 Hz.
- The next number is the volume of our subwoofer. We think everything is simple here, you can make the subwoofer louder or quieter relative to the acoustics, the scale is from -6 to +6.
- The next number is the frequency attenuation slope. It can also be either 12 or 24, as in HPF. Here is also a little tip: if you set a high cut, then make the slope of the decline by 24, if it is lower, then you can set it to 12 or 24.
Sound quality depends not only on the setup of your audio system, but also on what speakers you have installed. If you want to replace them, we advise you to read the article "what you need to know when choosing car speakers"
Radio tuning
Even your favorite music recorded on a flash drive or USB drive can get boring over time. Therefore, many motorists like to listen to the radio while driving. Correctly setting up the radio on a Pioneer radio is easy and can be done in just a few movements - you just need to select a band, find and save stations.

There are three ways to set up the radio:
- Automatic search for stations. To do this, you need to find the BSM item in the settings menu and start the search. The car radio will find the station with the highest frequency in the radio range and stop - it can be saved by pressing the button with the number 1-6. Further, the search for stations will continue in the direction of decreasing frequency. If nothing is found, in the hidden settings menu, you can change the search step from 100 kHz to 50 kHz.
- Semi-automatic search. While in radio mode, you need to hold down the "right" button. A range scan will start and a search will be performed, the same as in automatic mode.
- Manual setting. By short pressing the "right" button in the radio mode, you can switch to a specific frequency. The station is then stored in memory.
When all 6 places for stored stations are full, you can switch to the next memory section. There are 3 in total. In this way, up to 18 radio stations can be stored.
Turn off Demo mode

Immediately after buying and connecting the radio, you should figure out how to turn off the demo mode, which is designed to show the device in the store. It is possible to use the radio in this mode, but it is inconvenient, because when it is turned off, the backlight does not go out, and inscriptions with various information run across the display.
Disabling the demo mode is very simple:
- We go into the hidden menu by turning off the radio tape recorder and holding down the SRC button.
- In the menu, turn the wheel to reach the DEMO item.
- Switch the demo mode from ON to OFF.
- Exit the menu with the BAND button.
You can also set the date and time in the hidden menu by going to the System. The time display is switched here (12/24 hour mode). Then open the "Clock Settings" item, and turn the wheel to set the time. The System section also has a language setting (English / Russian).
Thus, after buying a modern Pioneer model, it is quite possible to do the radio setup yourself. By properly adjusting the audio parameters, you can achieve very high-quality sound even from a simple audio system and get a good sound picture at minimal cost.
Conclusion
We have put a lot of effort into creating this article, trying to write it in a simple and understandable language. But it is up to you to decide if we did it or not. If you still have questions, create a topic on the "Forum", we and our friendly community will discuss all the details and find the best answer to it.
And finally, do you want to help the project? Subscribe to our Facebook community.