
Oil level and oil change: DIY
Content
Checking the oil level is one of the easiest maintenance tasks. It can be done quickly and get clear information about the quantity and quality of lubricant in the engine. When it is necessary to change the oil, it is easy to do even for non-professionals. Read in this article how to properly measure the oil level and what to look for when changing the oil.
Good engine lubrication is more important than ever!
Oil level and lubricant quality have become of great importance in recent years. These days, a single missed oil change interval can be the death knell for an engine.
There are two reasons for this:
1. Over the past 20 years ratio of power to engine displacement has increased significantly.

If earlier from a 1,0-liter engine you could expect 34-45 h.p. Today this figure has more than doubled. Modern cars get 120 hp and more from tiny one liter engines . This is only possible if greatly increased compression . But higher compression ratio means a large load and, therefore, greater wear on all moving parts . Already one does it mandatory continuous and regular supply of fresh lubricant to the vehicle .
2. Second reason lies in modern exhaust gas treatment systems .
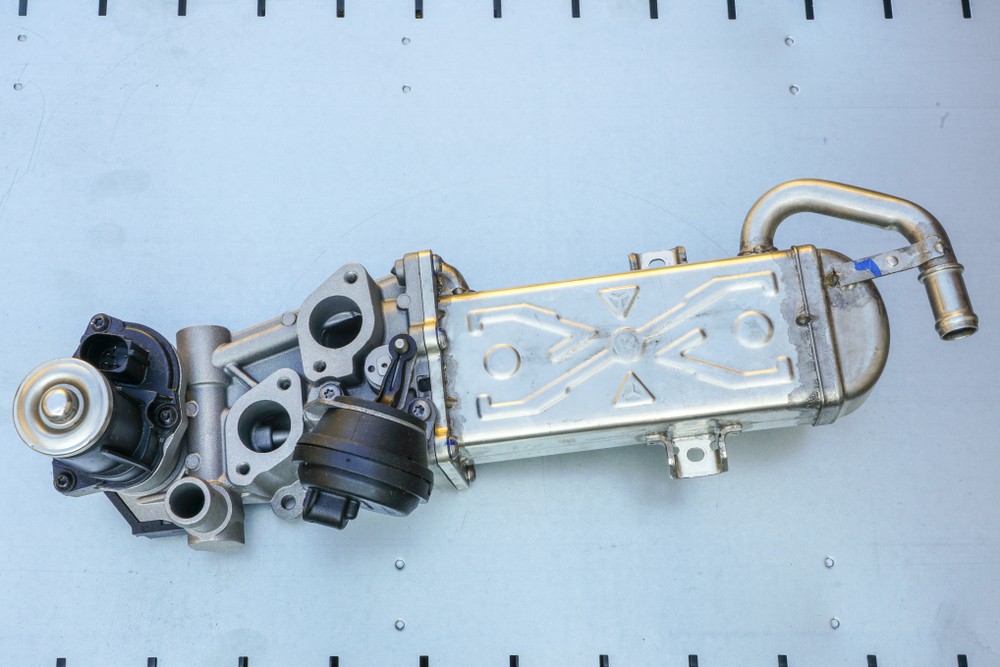
« EGR valve » directs parts of the burnt fuel-air mixture back into the combustion chamber. This is necessary to reduce the combustion temperature, which reduces the formation of hazardous molecule NOx .On its way back to the combustion chamber, the exhaust gas enriched with soot particles passes through many points where it passes through the lubrication system. As a result, some of the particles pass into the engine oil. It is true that most of the soot particles are again removed from the lubricating oil in the oil filter. However, if the oil is not changed regularly, it becomes too rich in abrasive soot particles. .
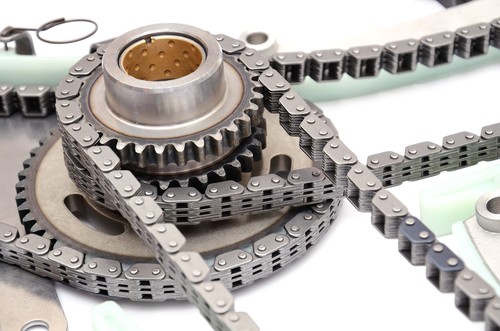
One of the components , which suffers especially from this, is timing chain . He runs into the chain links and stretches. In this case, the timing is no longer correct, and the entire chain drive will have to be replaced . By this the reason Timing chains today no longer have the service life that used to be normal for this engine management system.
Correctly measuring the oil level
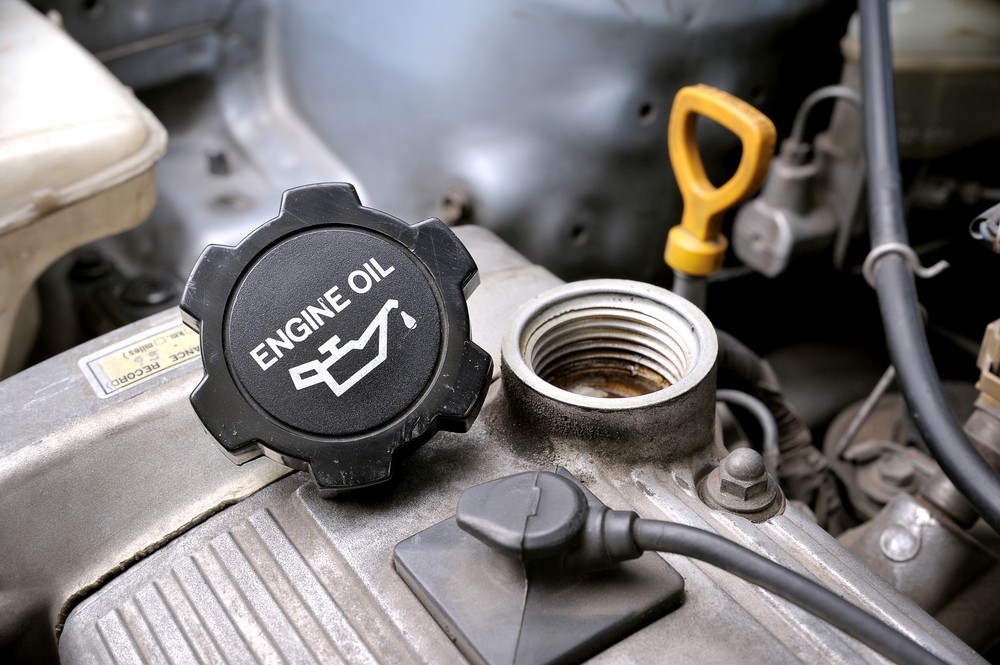
The oil level gives information about the amount of grease in the oil pan. . The tool for this is oil dipstick . The latter can be found in the engine compartment in a visible and easily accessible place. For new vehicles, a monthly oil check is sufficient. But from approx. 50.000 km oil should be checked weekly.
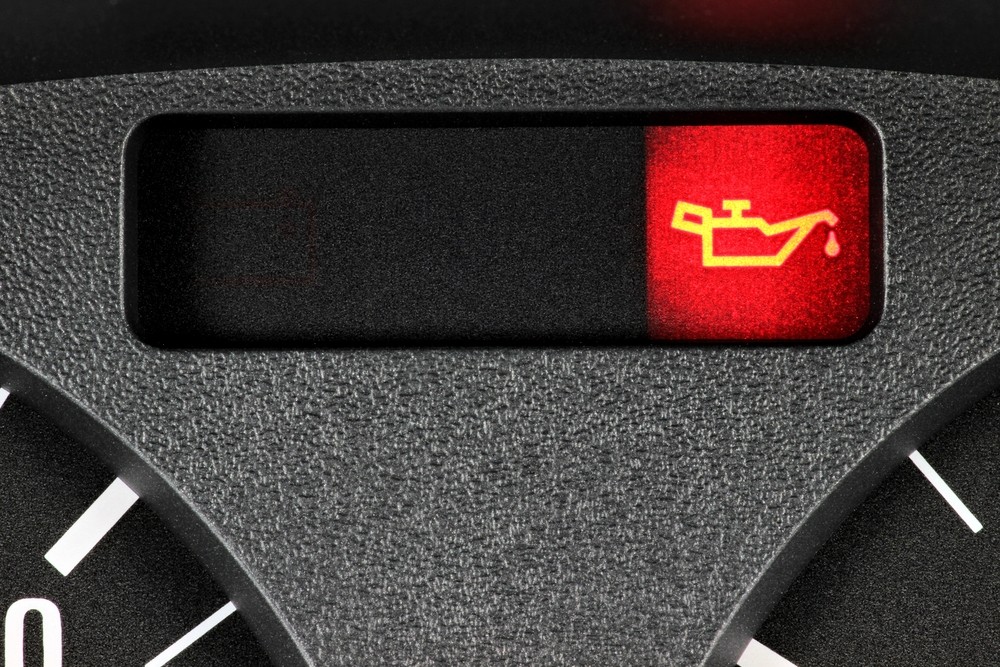

ATTENTION: A lit oil check light is a very clear warning signal. In this case, the car should be parked as soon as possible. Otherwise, there is a risk of severe engine damage within a few minutes!
The correct measurement of the oil level is carried out in the following steps:
| 1. Turn off the engine. 2. Let the machine stand for 3-5 minutes. 3. Pull out the dipstick. 4. Wipe the dipstick with a dry, lint-free cloth. 5. Insert the probe again. 6. Pull out the dipstick again. 7. Read the oil level and visually check the lubricating oil. |
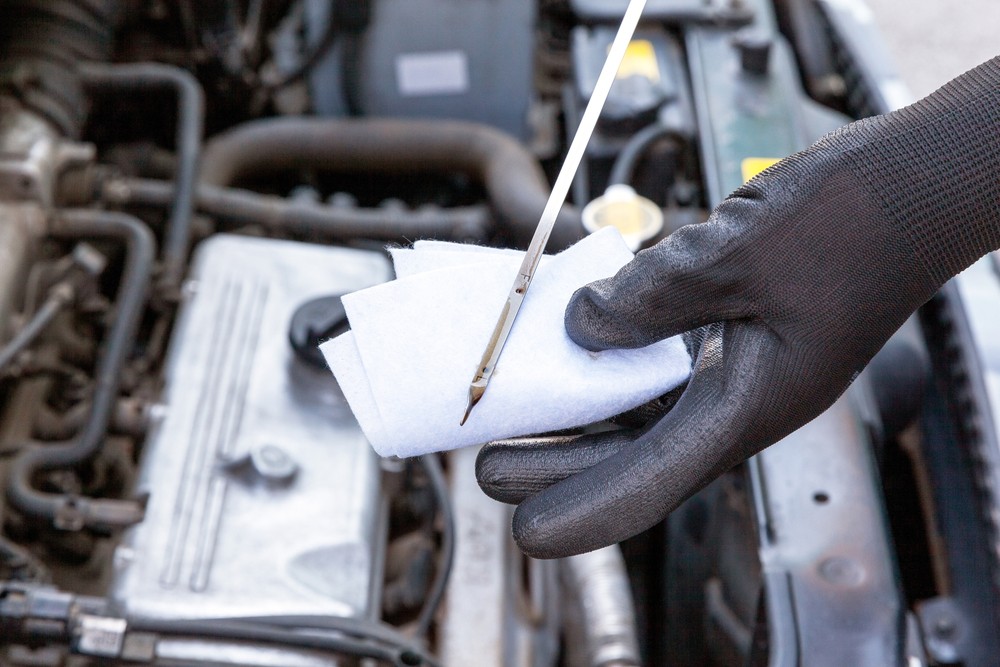
The oil dipstick has marking. The oil level should always be in the middle range . If the oil is very fresh , may be hard to see oil level . In this case press the dipstick against the cloth ( do not wipe! ) and bring the print to the mark.

Attention: If there is no oil on the dipstick, but whitish-brown foam, then the cylinder head gasket is faulty. The car must then be taken to the workshop as quickly as possible to prevent serious engine damage.

TIP: You may also smell the dipstick when checking the oil. If there is a strong smell of gasoline, change the oil as soon as possible. Otherwise, the oil will become too thin and will no longer perform its lubricating function. However, the presence of gasoline in the oil circuit is a clear sign of worn piston rings or valve stem seals. This should be checked in the second step.
The more not the better!
Refuel the car too much oil just as bad as having too little lubricating oil in the engine.
therefore let the engine cool down for a few minutes before checking the oil. The lubricating oil must first drain back into the oil pan.
- If you measure the oil while the engine is running or immediately after turning off the engine, the oil level will inevitably be too low.
- If you now add too much oil , this can lead to overpressure in the oil system. The oil is forced through the piston rings into the combustion chamber and burnt off with each operating cycle. This is not only harmful to the catalytic converter or particulate filter. It can also cause damage to the engine itself.
Changing the oil yourself
You can change the oil yourself.
| However, you must pay attention to cleanliness and the environment. One liter of waste oil pollutes one million liters of water and makes it unsuitable for humans and nature. Therefore, the correct disposal of used oil is an integral part of the oil change. |
To change the oil, you need the following:
- lifting platform or pit
- collection container
– oil filter with new seal
– fresh engine oil
- rags and brake cleaner
– oil filter tool
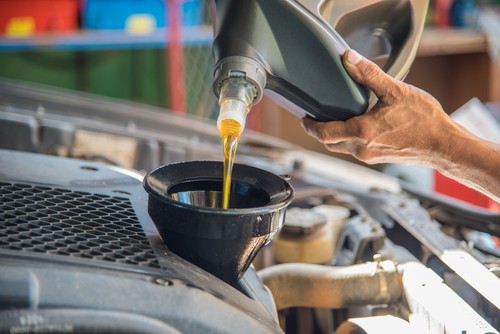 fill in the prescribed amount of oil .
oil change completed