On-board computer installation - preparation, step-by-step algorithm, common mistakes
Content
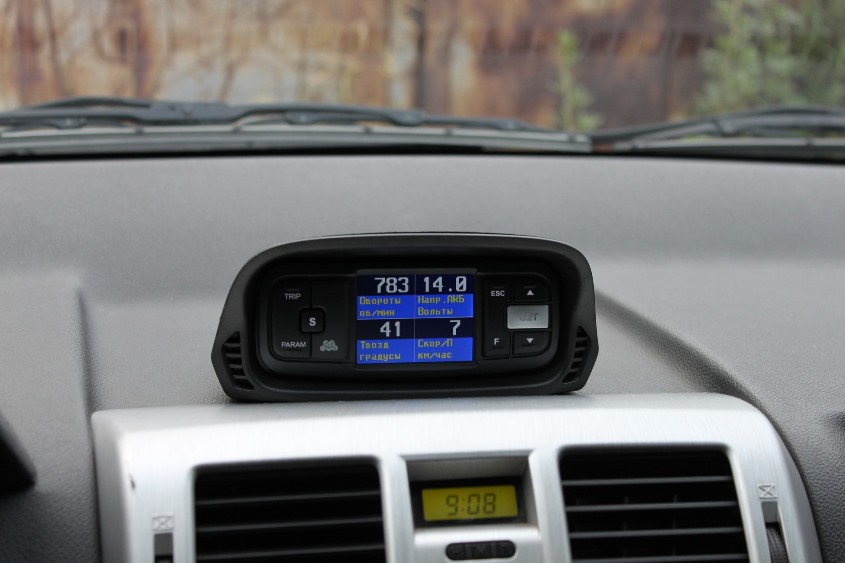
On most cars, a data-wire is used to connect the on-board computer, for example, a K-line, through which the minibus receives information important for the driver from various ECUs.
Owners of modern cars are often faced with a situation where, for various reasons, it is necessary to install an on-board computer (BC, bortovik, minibus, trip computer, MK) of another manufacturer or other modification. Despite the general algorithm of actions for any car, the installation and connection of the minibus, there are nuances that depend on the model of the vehicle.
What is MK for?
The route guide improves the driver's control over the main parameters of the car, because it collects information from all major systems, then translates it into the most convenient form and displays it on the display screen. Some of the information is displayed in real time, while the rest is stored in the device's memory and displayed on the screen upon command given using buttons or other peripheral devices.
Also, the advanced diagnostics function of the main automotive systems will be useful for the driver, with its help he receives information about the state of components and assemblies, as well as data on the remaining mileage of consumables:
- motor and transmission oil;
- timing belt or chain (gas distribution mechanism);
- brake pads;
- brake fluid;
- antifreeze;
- silent blocks and suspension shock absorbers.
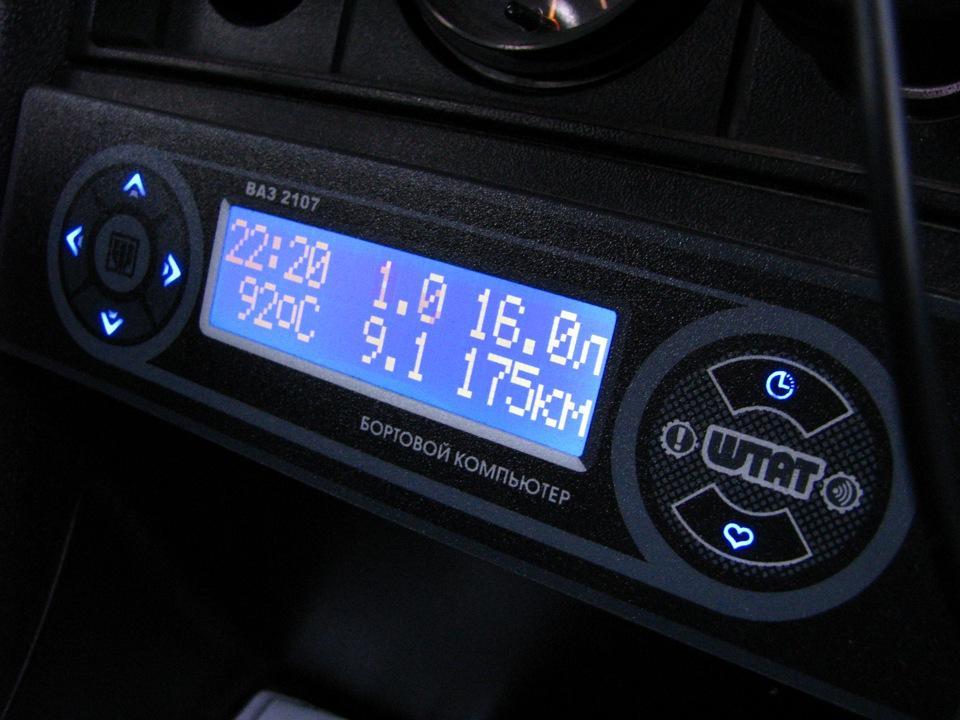
Installed on-board computer
When the time to replace consumables approaches, MK gives a signal, attracting the attention of the driver and informs him which elements require replacement. In addition, models with a diagnostic function not only report breakdowns, but also display an error code, so that the driver can immediately find out the cause of the malfunction.
BC installation methods
The on-board computer can be installed in three ways:
- in the instrument panel;
- to the front panel;
- to the front panel.
You can install an on-board computer in the instrument panel or front panel, which is also called a "torpedo", only on those machines with which it is fully compatible. If it is compatible only according to the connection scheme and the protocols used, but its shape does not match the hole in the “torpedo” or instrument panel, then it will not work to place it there without serious alteration.
Devices designed to be placed on the instrument panel are more versatile, and given the possibility of flashing them (Flashing the on-board computer), such devices can be installed on any modern vehicles equipped with electronic control units (ECU).
connection
On most cars, a data-wire is used to connect the on-board computer, for example, a K-line, through which the minibus receives information important for the driver from various ECUs. But in order to establish more complete control over the car, you need to connect to additional sensors, such as fuel level or street temperature.
Some models of on-board computers are able to control various units, for example, turn on the engine fan regardless of the control unit, this function allows the driver to adjust the thermal mode of the motor without flashing or reconfiguring the power unit ECU.
Connecting the on-board computer
Therefore, a simplified scheme for connecting the contacts of the on-board computer looks like this:
- food (plus and earth);
- data-wire;
- sensor wires;
- actuator wires.
Depending on the configuration of the vehicle's on-board wiring, these wires can either be connected to the diagnostic socket, for example, ODB-II, or pass by it. In the first case, the on-board computer must not only be installed in the chosen place, but also connected to the connector block; in the second, in addition to connecting to the block, it will also need to be connected to the wires of the corresponding sensors or actuators.
To more clearly show how to install and connect the on-board computer to the car, we will give step-by-step guides, and as a visual aid we will use the obsolete, but still popular VAZ 2115 car. But, each such guide describes only a general principle, after all, the BCs are different for everyone, and the age of the first models of these cars is almost 30 years, so it is likely that the wiring there has been completely redone.
Installation in a standard socket
One of the fully compatible on-board computers that can be installed without alterations and then connected to the VAZ 2115 injector is the BK-16 model from the Russian manufacturer Orion (NPP Orion). This minibus is installed instead of the standard plug on the front panel of the car, located above the on-board system display unit.
Installation in a standard socket
Here is an approximate procedure for installing the on-board computer and connecting it to the car:
- disconnect the battery;
- remove the plug or pull out the electronic device installed in the corresponding slot;
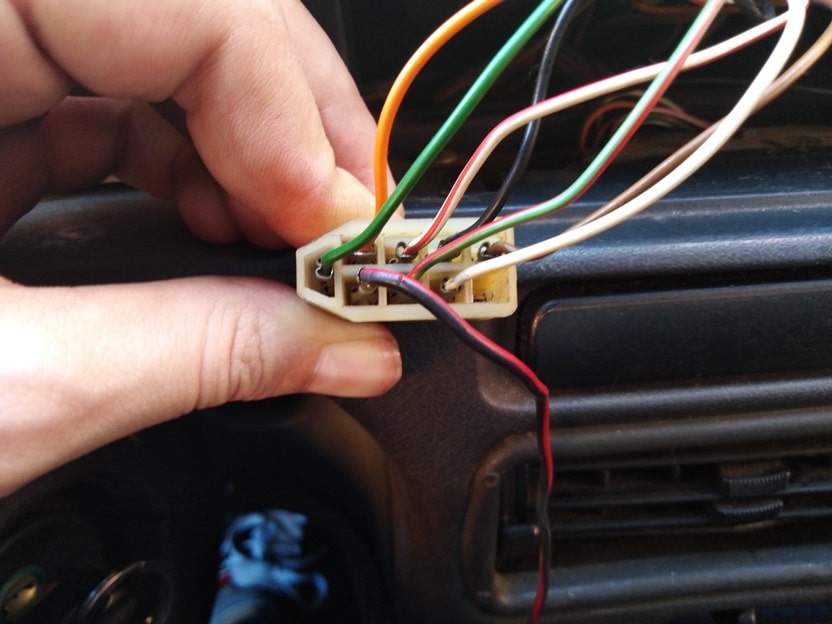
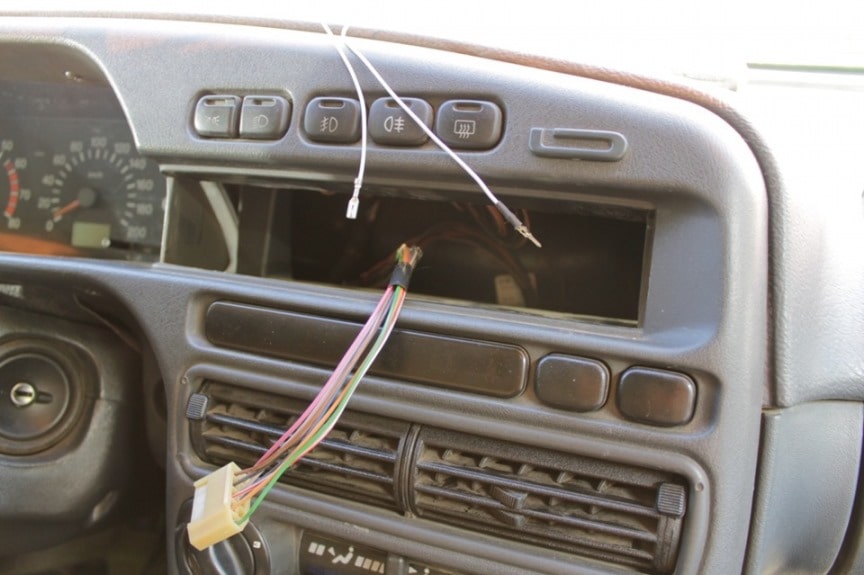
- under the front panel, closer to the steering wheel, find the nine-pin terminal block and disconnect it;
- pull out the part that is farthest from the steering wheel;
- connect the wires of the MK block to the car block in accordance with the instructions, it comes with the on-board computer (remember, if changes are made to the wiring of the car, then entrust the connection of the block to an experienced auto electrician);
- connect the wires of the fuel level and outboard temperature sensors;
- carefully connect and isolate the wire contacts, especially carefully connect to the K-line;
- recheck all connections in accordance with the diagram;
- connect both parts of the car block and put them under the front panel;
- connect the block to the route;
- install the on-board computer in the appropriate slot;
- connect the battery;
- turn on the ignition and check the operation of the bortovik;
- start the engine and check the operation of the minibus on the road.
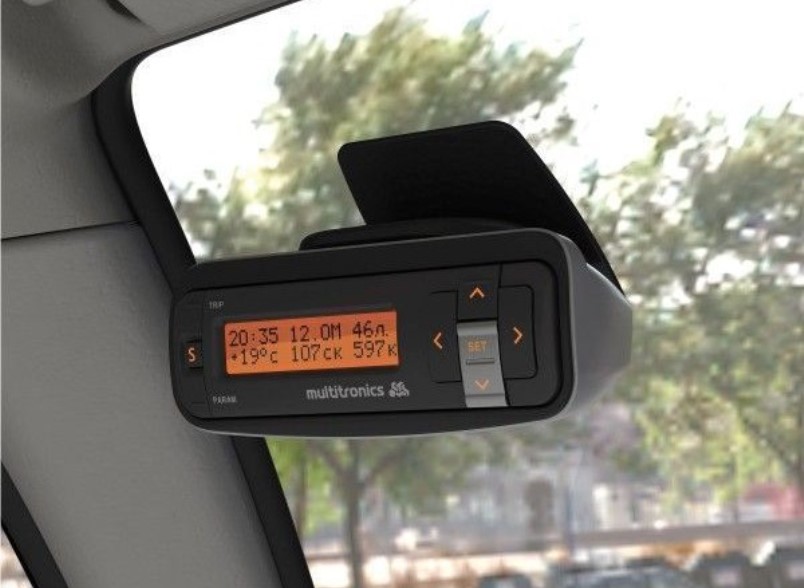
Front Panel Mounting
One of the few on-board computers that can be installed on any carburetor car, including the first VAZ 2115 models, is BK-06 from the same manufacturer. It performs the following functions:
- monitors the revolutions of the crankshaft;
- measures the voltage in the on-board network;
- marks the travel time;
- shows real time;
- shows the temperature outside (if the appropriate sensor is installed).
We call this BC model partially compatible because it is incompatible with any front panel seat, so the route is placed on the “torpedo” in any convenient place. In addition, its installation implies a serious intervention in the vehicle wiring, because there is no single connector to which you can connect all or at least most of the contacts.
Installation on the "torpedo"
To install and connect the on-board computer, proceed as follows:
- choose a place to install the on-board computer;
- disconnect the battery;
- under the front panel, find the power wires (plus the battery and ground) and the signal wire of the ignition system (it goes from the distributor to the switch);
- connect to them the wires coming out of the router;
- isolate contacts;
- put the router in place;
- connect the battery;
- turn on the ignition and check the operation of the device;
- start the engine and check the operation of the device.
Connecting the on-board computer to other vehicles
Regardless of the make and model of the vehicle, as well as the year of its release, the general algorithm of actions is the same as in the sections described above. For example, to install and connect BC "State" UniComp-600M to "Vesta", do the following:
- attach the device to the front panel console in any convenient place;
- lay a loop of wires from the on-board computer to the diagnostic connector block;
- install and connect the outboard temperature sensor;
- connect the fuel level sensor.
The same procedure applies to any modern foreign cars.
Installation of a minibus on diesel cars
Such cars are equipped with engines that do not have the usual ignition system, because the air-fuel mixture in them is ignited not by a spark, but by air heated by compression. If the car is equipped with a motor with a mechanical fuel supply system, then nothing more difficult than BK-06 can be installed on it due to the lack of an ECU, and information about the number of revolutions is taken from the crankshaft position sensor.

On-board computer BK-06
If the car is equipped with electrically controlled nozzles, then any universal BC will do, however, in order for the minibus to display information about testing all the car’s systems, choose an on-board vehicle compatible with this model.
Conclusion
You can install an on-board computer not only on modern injection, including diesel cars, but also on outdated models equipped with a carburetor or mechanical fuel injection. But, the minibus will bring maximum benefit if you install it on a modern vehicle with electronic control units of various systems and a single information bus, for example, CAN or K-Line.