Replacing the battery in a Mercedes key
Content
If you do not know how to change the battery in the Mercedes key, problems may arise. The fact is that in different modifications of key fobs, this operation is performed in different ways. Therefore, in the absence of skills and knowledge about the characteristics inherent in each model, you can inadvertently break such a necessary device. To help you get it right, our article has been written.
What batteries are used in Mercedes keys
Depending on the year of manufacture of the Mercedes, the following types of keys are used, which are commonly called:
- figurative;
- big fish;
- small fish;
- first generation chrome;
- second generation chrome
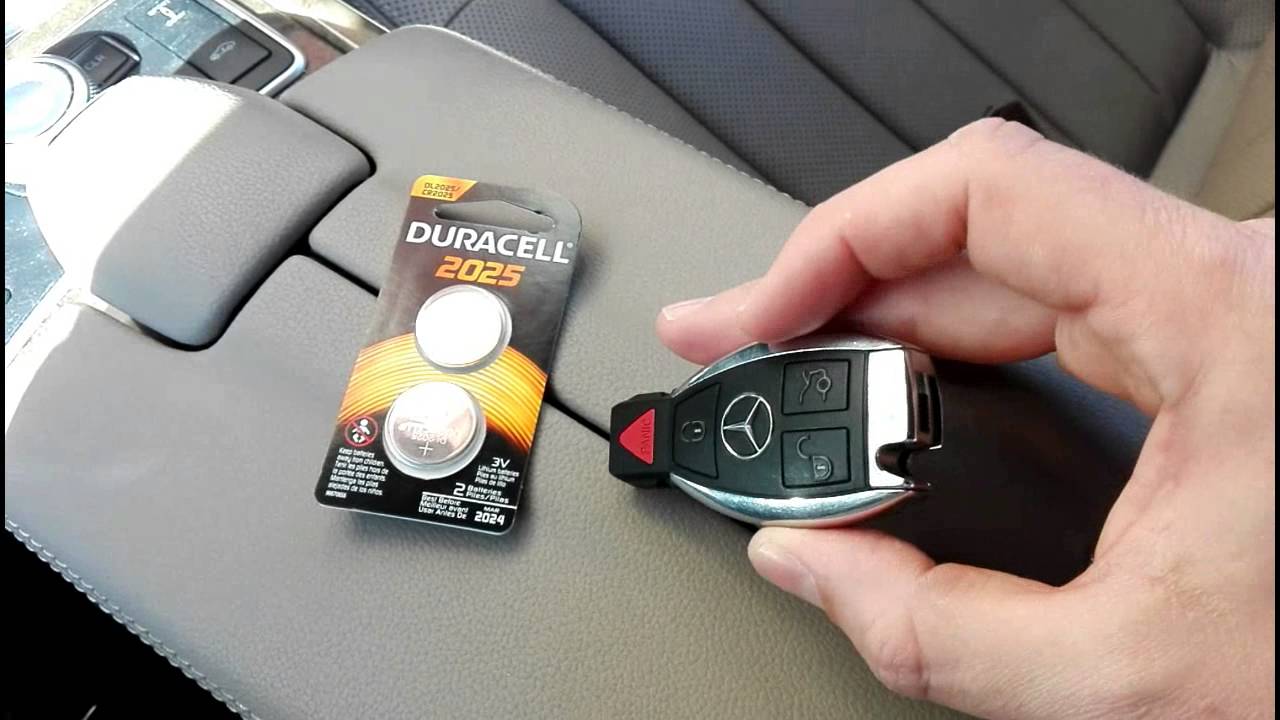
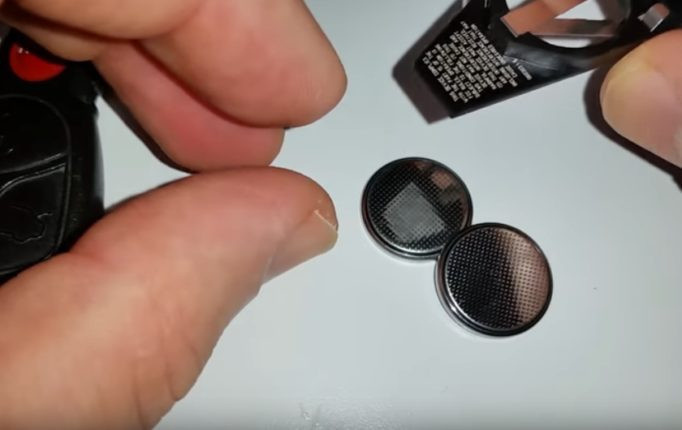
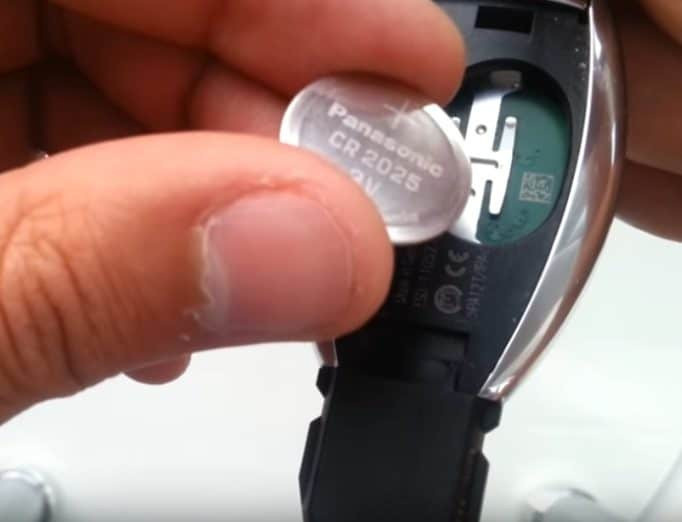
All but the latest models are powered by two CR2025 batteries. In almost all models, the recommended battery can be replaced with a CR2032 battery to increase the capacitive characteristics. It is seven tenths thicker than usual, but this does not interfere with the closing of the case.
Replacement Instructions
Improvement in technology logically led to the modification of the Mercedes key. Therefore, in order to change the batteries, for example, in the W211 model, you will have to perform slightly different operations than those with which the replacement is carried out in a GL or 222 class car. Therefore, we will dwell on each of the generations listed in detail.
Switch-off
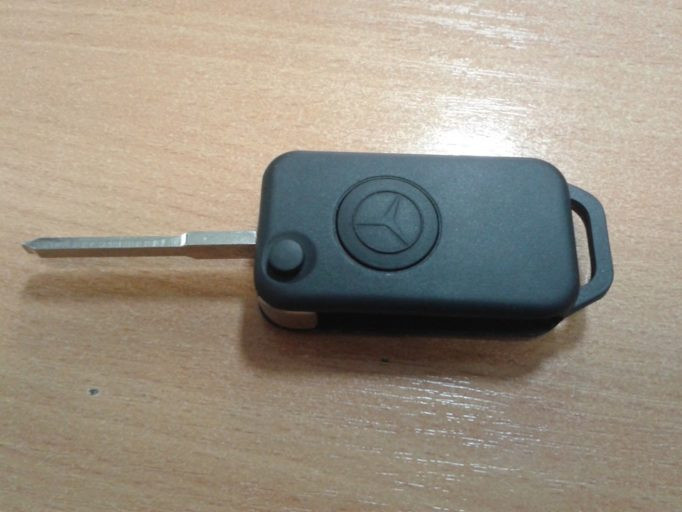
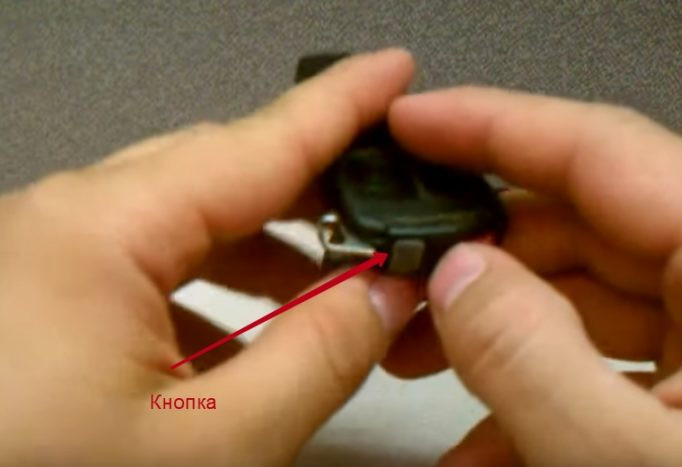
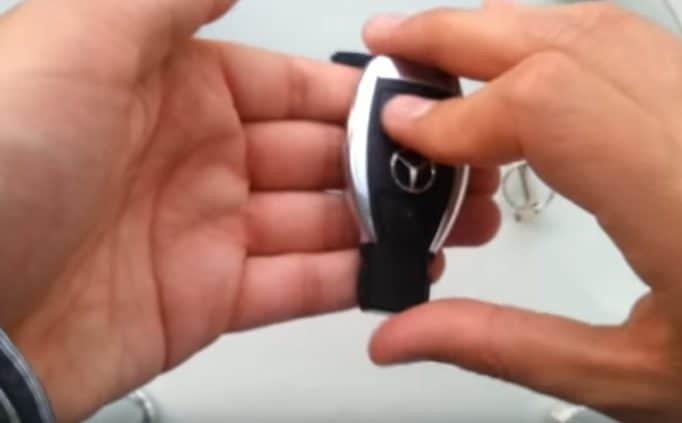
Folding tip model
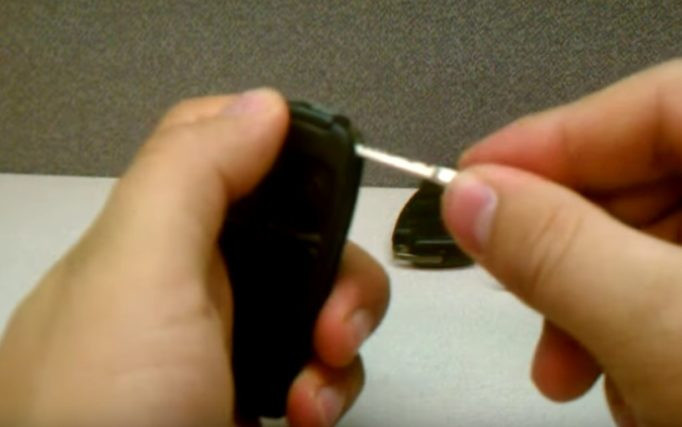
Drivers call it a "miscarriage." The need to replace the battery is signaled when the LED stops flashing. The design of this keychain is extremely simple. To open the key fob, we press the button, which releases the mechanical part of the lock, allowing it to take its working position.
There is a cover on the back of the keychain.
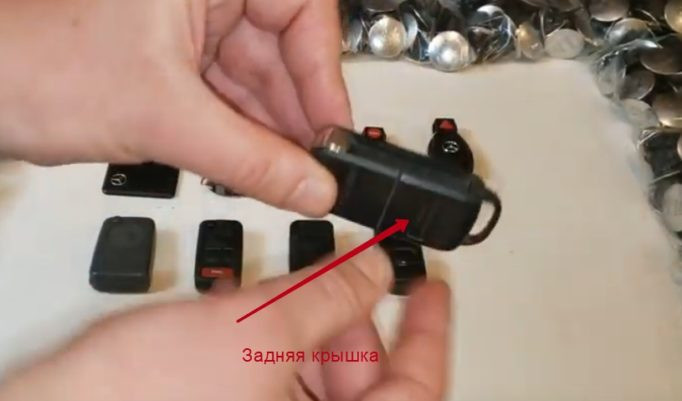
Back cover
To open it, no tools are needed, just a nail in the thumb, with which it is hooked and unhooked from the body.

Opening the cover
As a result, an internal space is opened to accommodate the battery.
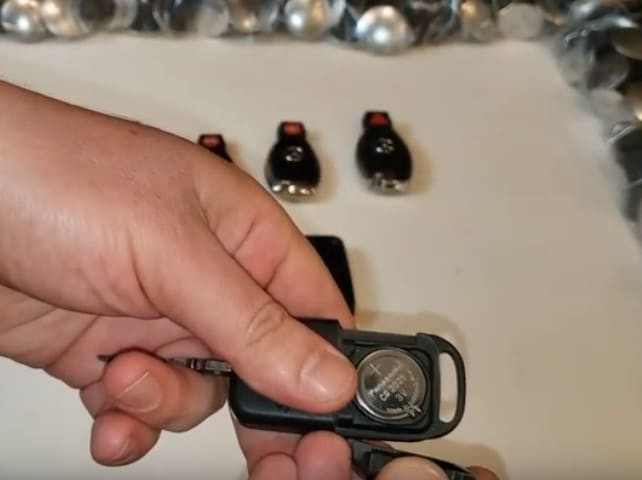
Battery location
Removing expired batteries and installing new ones in their place will not cause difficulties. The cover must be put in its “native” place and pressed until it clicks, indicating that it is fixed.
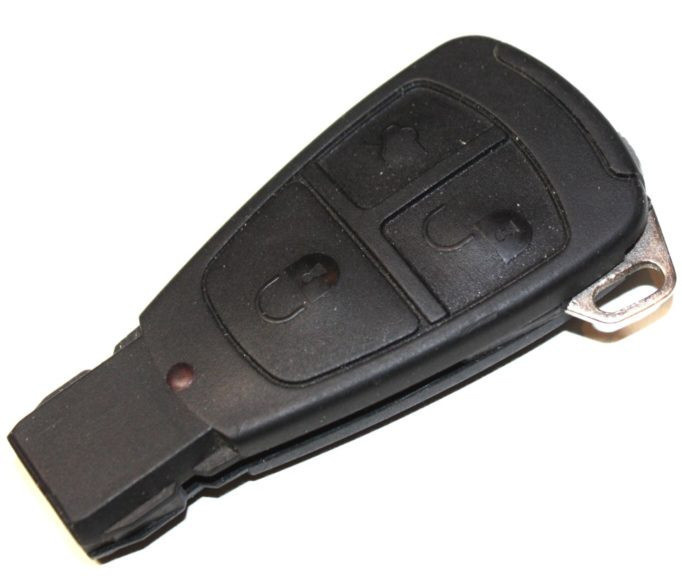
Small fish
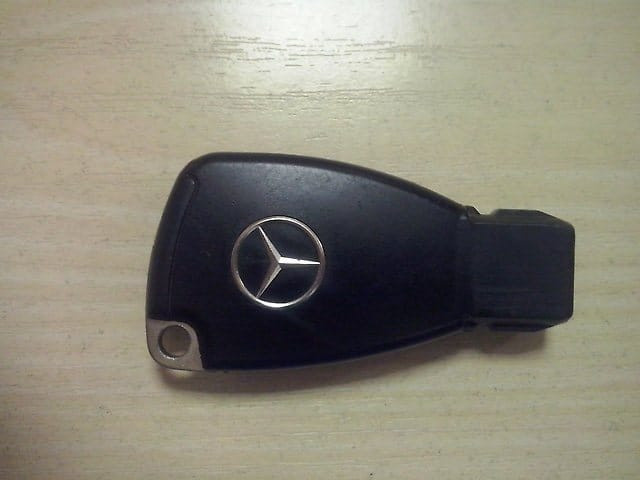
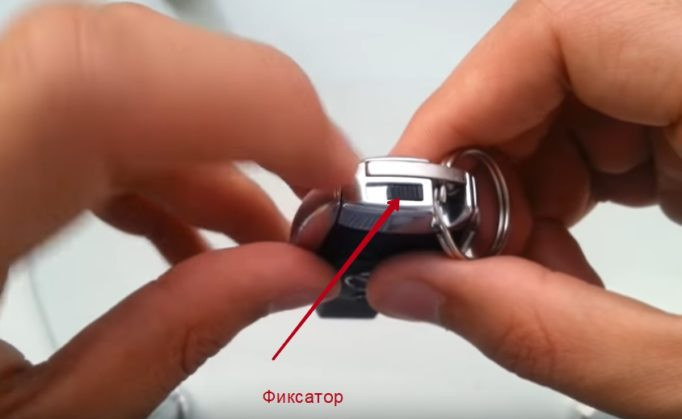
Key "Fish"
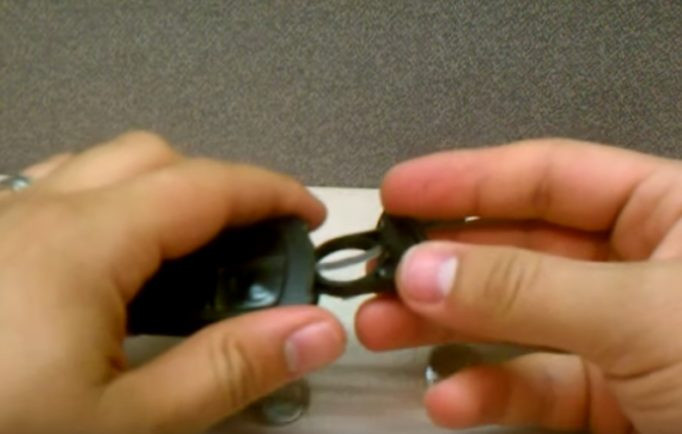
At the end of this keychain is a plastic element. If you move it with your finger, the key lock will be deactivated.
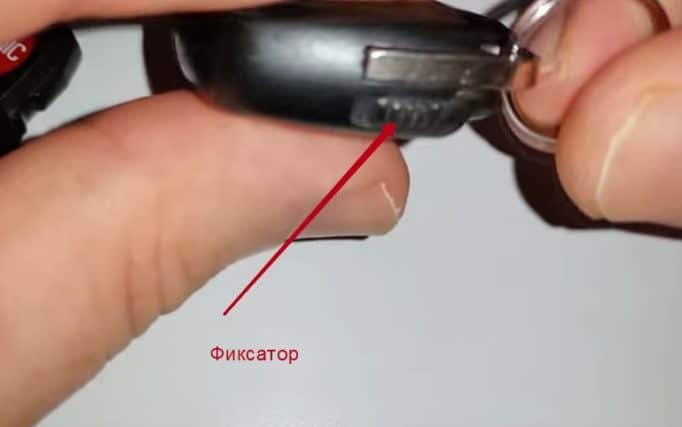
It's a latch and needs to be moved
Disable Commit
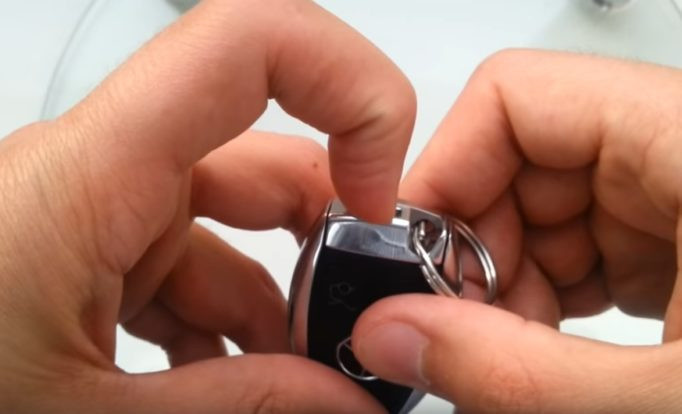
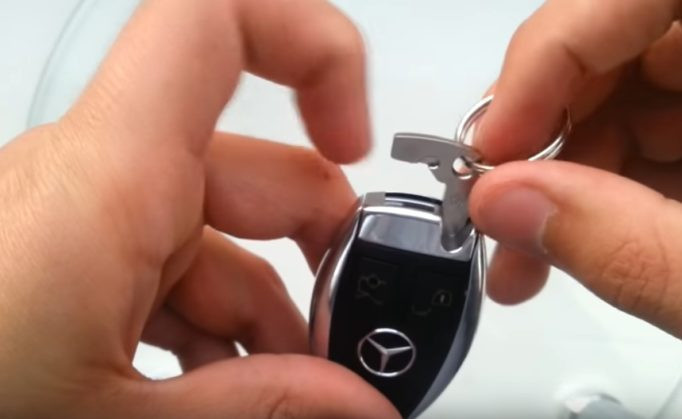
Now the key is freely pulled out of the housing.
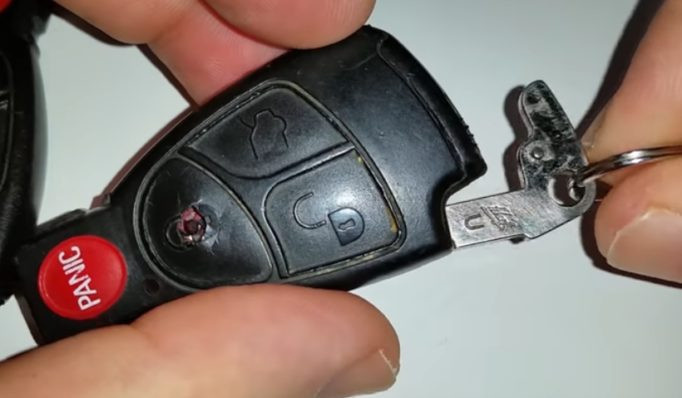
We get the key
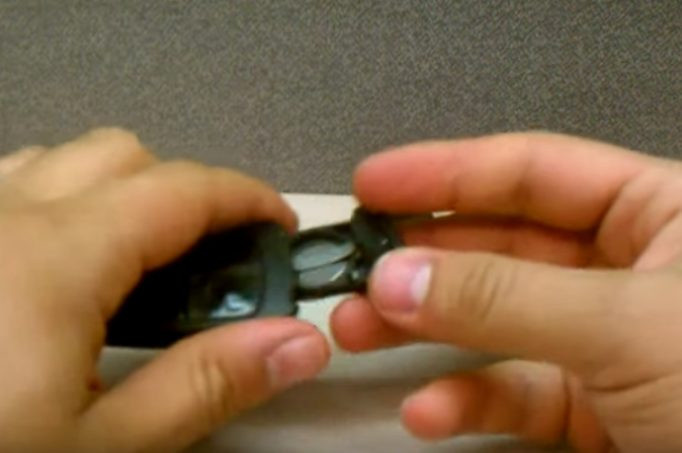
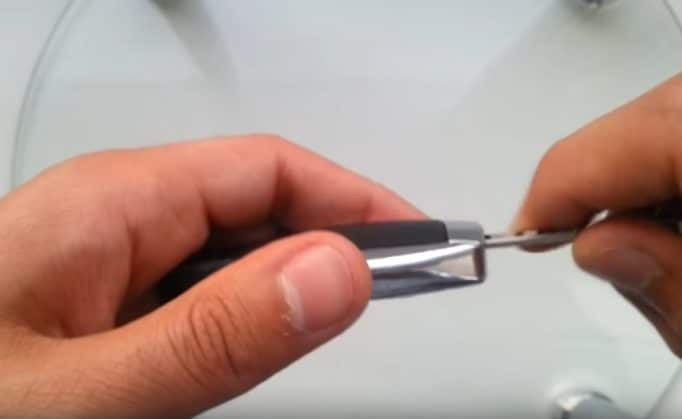
In the open opening we see a gray detail.
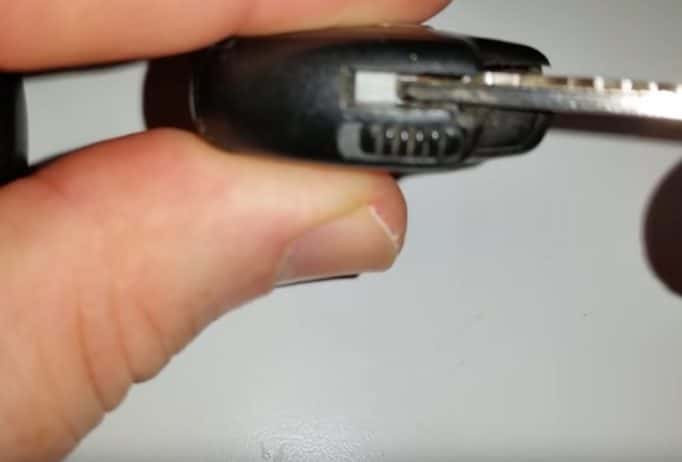
Board retainer
By pressing it with a key or a flat screwdriver, we take out the plate with the batteries.
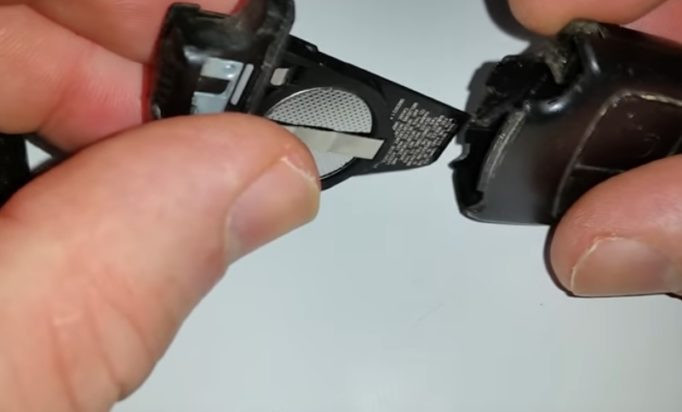
Accumulator battery
Batteries are fixed with a strap fixed with a special latch.
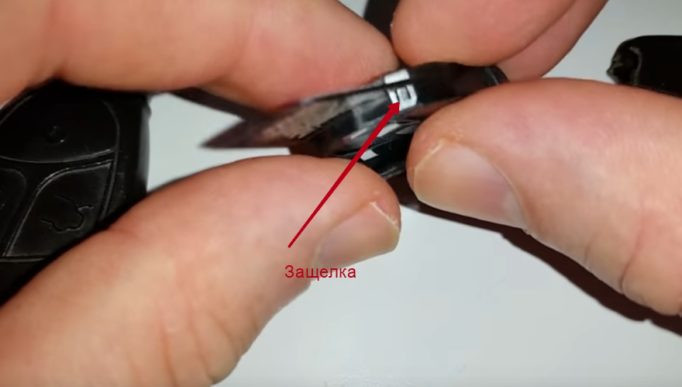
Rail latch
To release the bar, you need to press the latch, disengaging it.

We remove the bar
The batteries themselves fall out of the slot provided for their installation.
Removing the Batteries
Assembly is carried out in reverse order. In this case, it is very important not to confuse the polarity of the installed elements.
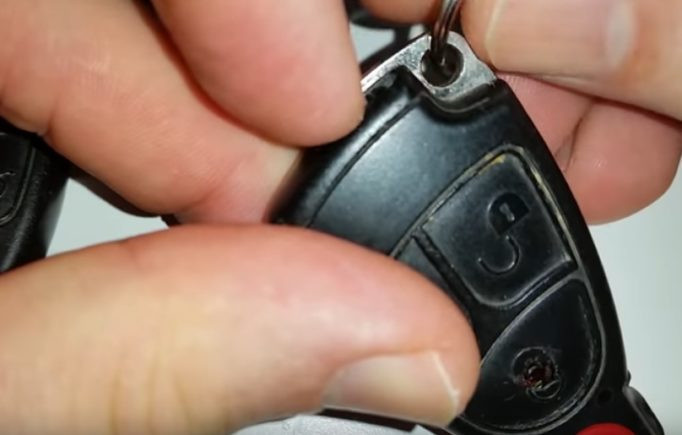
Big fish
Big fish model
The key is removed by pressing the gray button next to it.
Shutter button
No tools required, fingers will suffice.

Mechanical coring
Now you need to press the latch through the hole that became available after removing the metal element.
Taking the board out of the box
The board is removed from the box without difficulty.
Commission withdrawal
Batteries fall out on their own without additional forcing.
Keychain batteries
If you managed to disassemble the keychain, then its assembly will not cause difficulties.
First generation chrome

Chrome-plated model of the first generation"
At the wide end of the keychain is a plastic lever.
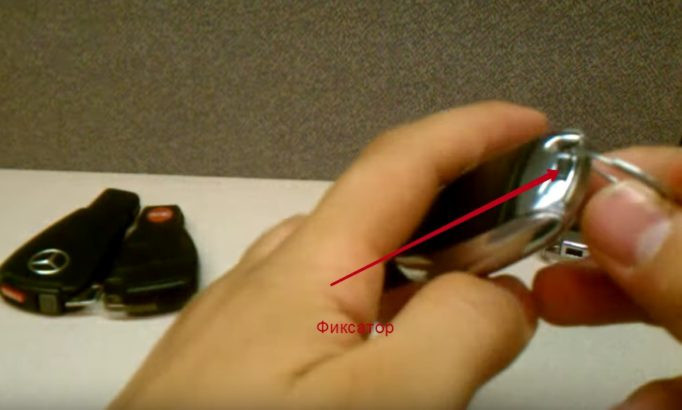
Promote
Sliding it from its place, unlock the key.
Key unlock
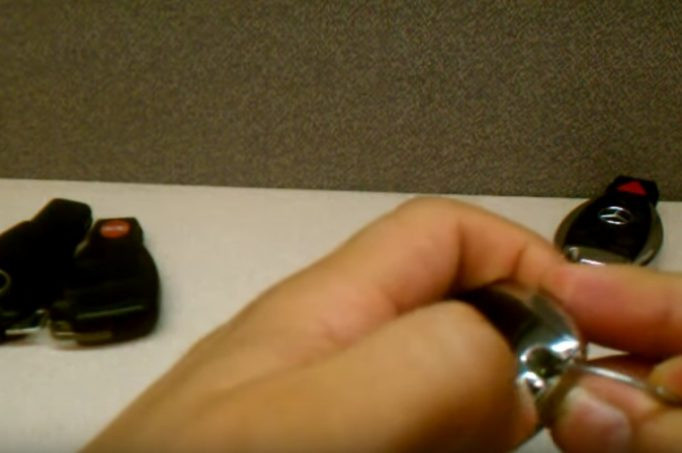
Now it can be easily removed.

We get the key
Using the L-shaped protrusion on the key head, remove the lock.
Unlock
They pay us.
Removing the board
Batteries are fixed with a bar, from under which they can be easily pulled out.
Remove batteries
Chrome plated second generation
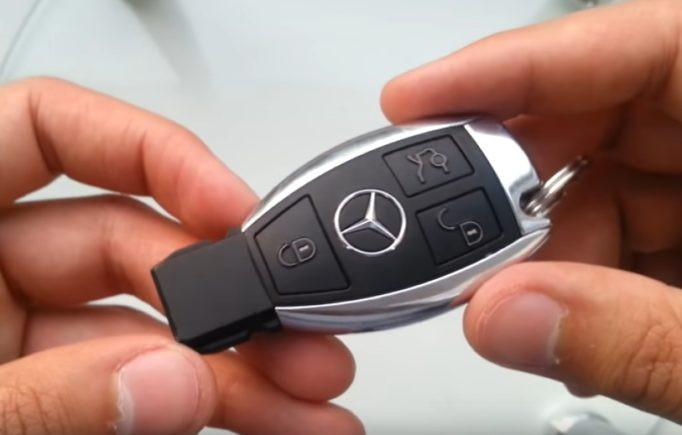
Chrome-plated keychain of the second generation
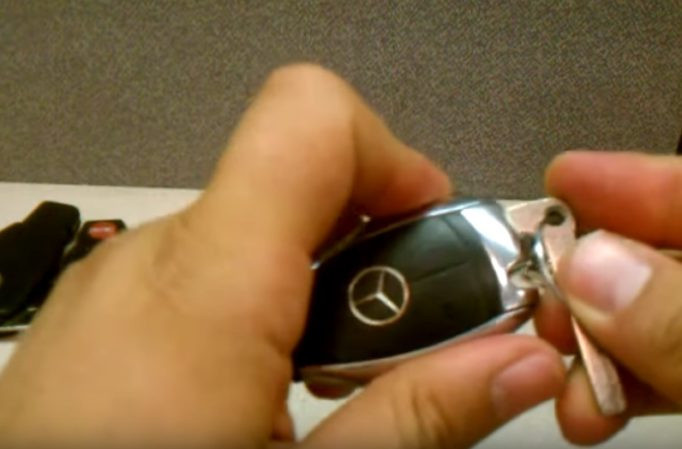
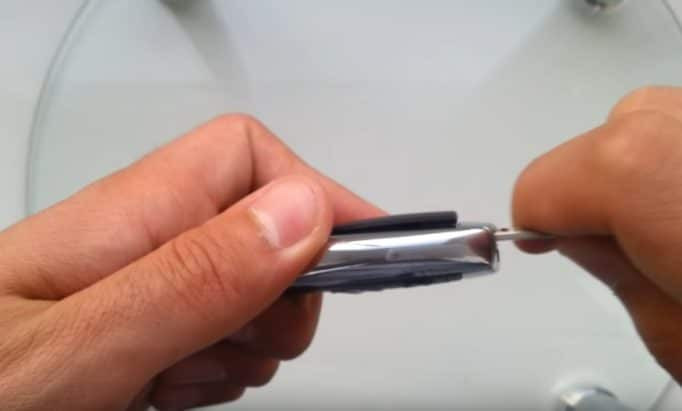
And in this model, the key stop is located at the end of the key fob, next to the key.
Lock Location
With the help of notches applied to the surface of the switch, we change it.
Disable keyboard
The unlocked key comes out of its place very easily.
We get the key
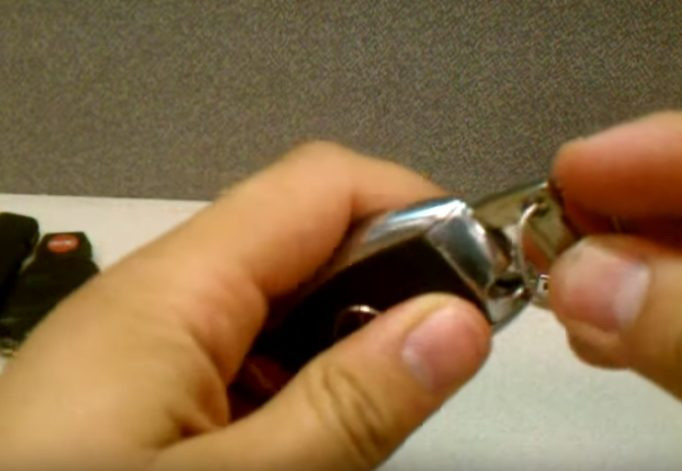
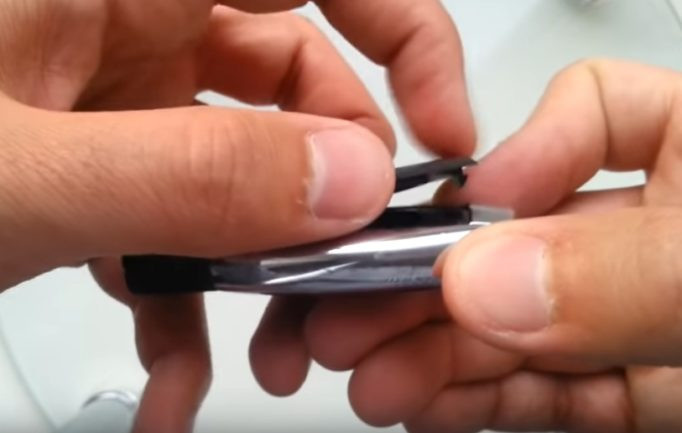
Using the shank of a key, a screwdriver or any other hard but thin object, we press on the hole formed after removing the “control”.
Click on the latch
The front cover, thanks to the applied efforts, will open slightly.
Lid should lift
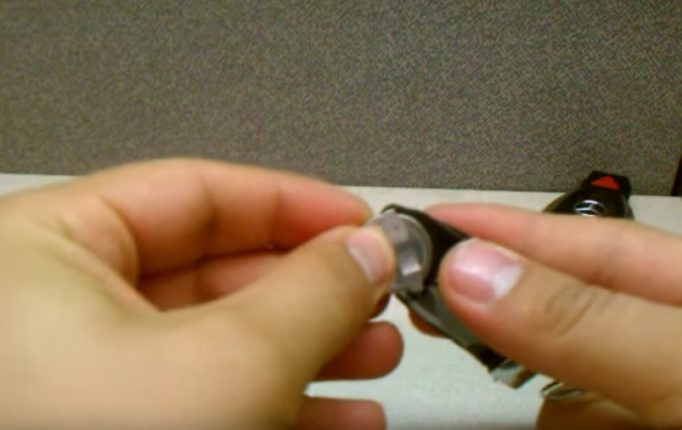
We take the released cover with our fingers and remove it.
Remove the cover
However, this must be done very carefully, since at the narrow end of the cover there are two protrusions that fit into the grooves in the body. From a sudden movement, they can break. Therefore, it is necessary to unhook them initially, and only then remove the cover.
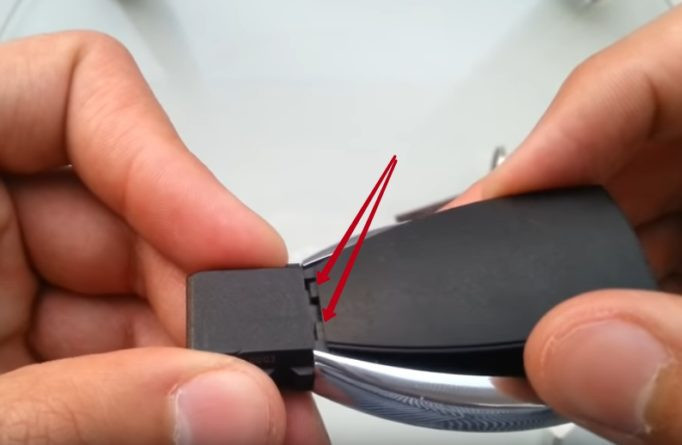
Tabs on the narrow end of the lid
The slot opens with the battery installed.
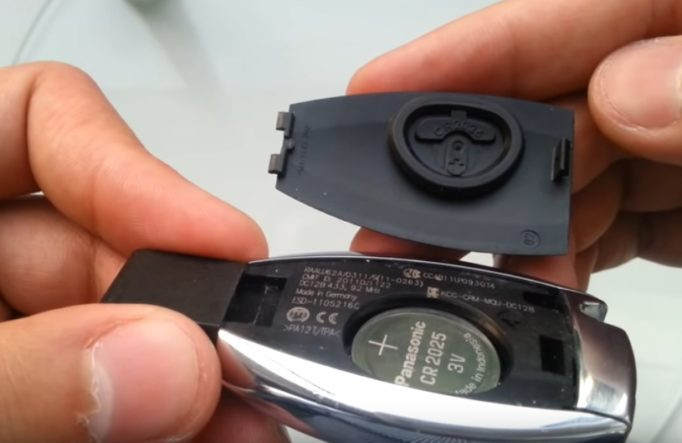
Battery in place
Do not use a screwdriver, puncher, etc. to remove a defective battery. Therefore, the only option is to hit the keychain with an open palm. It doesn't always work the first time, but the result is always achieved in the end.
Removing the battery
It remains to insert a new battery with the positive side up and assemble in reverse order.
Installing a new battery
As you can see, if you first familiarize yourself with a few secrets, replacing the power supply on the Mercedes-Benz key fob is not at all difficult. If you agree with this, then we have achieved our original goal.