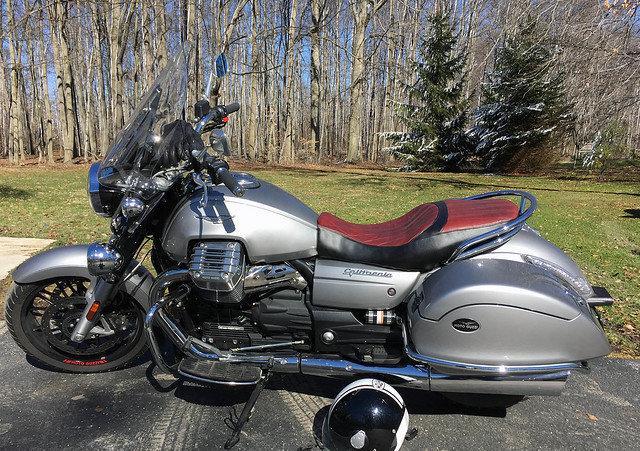
Replacing the motorcycle seat cover
Content
A motorcycle cover is very expensive to change if you want to contact the manufacturer. This cost turns off many bikers who have saddle damage due to wear, bad weather, or an intruder on the street. Therefore, I will explain to you how to manually change the motorcycle cover.
How to replace the motorcycle seat cover? How do you change and install the saddle cover yourself?
Discover our step-by-step tutorial on how to replace your motorcycle seat cover like a pro.
Material needed to replace the motorcycle seat cover
Take your time, it still requires preparation, even if the necessary material is basic. You'll need :
- Stapler (with staples, of course): This is the most important tool, so I advise you to be confident and go for a mid-range model. Avoid low frequencies, it would be a shame if you have trouble stapling your new cover.
- Flat screwdriver: This will allow you to detach the old cover.
- Cutter (in the worst case, scissors): cut off the excess.
- A motorcycle cover (it would be a shame to forget): the choice in the store will be great. To avoid cuts, choose a model that matches your saddle. You will find them at any price, the lower part costs around 30 euros.
- Second person (optional): This is not required, but you will find that the assembly will be much more interesting. There won't be many two hands.
All stages of motorcycle seat cover replacement
Your equipment is ready, disassembling the saddle, you can proceed to replacing its cover.
Remove staples
Place the saddle on your back and remove all clips with a flat screwdriver. If you find that this operation is repeated, that is normal. This step will allow you to remove the old cover. Once removed, touch the foam rubber on the saddle. If it is wet, I recommend blow drying.
Adjust the new cover
Rush will be your worst enemy. Before you start stapling, take a moment to adjust the cover correctly. When you're done, you can put the cover back on your back and hold it firmly in front. Stitching will start here.
Sewing a new cover
Start by pinning the front of the saddle together. Place the staples a few millimeters apart. Do the same maneuver for the rear of the saddle. It is not necessary to pull too hard, observe the measurements taken when adjusting the cover.
Now you can start stapling. Let's start at the back elbows and work our way forward. Take your time, now is the time to use your second pair of hands. This step is important to keep the saddle free from wrinkles. Align the staples as best as possible.
Cut off excess coating
In general, there should be some raised edges. Cut them out with a knife or scissors. Then you can put the saddle back on your motorcycle and admire your work!
Tips for perfect assembly of your new case
Here are some tips for creating the perfect saddle.
Use a heat gun
You can use a heat gun before stapling on the side. Be careful not to get too hot, this will give you the perfect fit for your saddle.
Put back or change the foam
Motorcycle foam is not changed every week. This is an opportunity to take advantage of the opportunity to change the foam if your saddle is uncomfortable. You can easily find Yamaha motorcycles on the market for about 50 euros.
Choosing the right stapler
A stapler is an indispensable tool for this manipulation. Make sure the staples are not too long. The recommended size is 6 mm, above which you risk piercing the seat. They can be found in stores for about 20 euros. Opt for stainless steel staples to prevent rusting.
If you are unsure of your abilities, you can always ask someone to change your saddle. I recommend going to a saddler, this is an ideal place and is especially suitable for this manipulation. They are used to change saddle covers (or add foam rubber). If you've changed the motorcycle seat cover yourself, feel free to share your photos!