Replacing valves on a VAZ 2114: reasons and repair process
The main problem in which you have to change the valves on VAZ 2114-2115 cars is their burnout. These cases are quite rare, but they still have a place to be. This happens for various reasons:
- low-quality fuel regularly poured into the car
- car operation on PROPANE without corresponding changes to the controller firmware
- Incorrect glow plug number
- constant detonation of the engine, or rather, its causes
- regular driving at high speeds (maximum permissible)
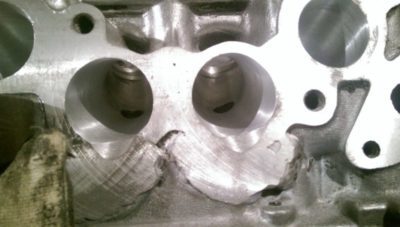
Of course, not all factors that can affect valve burnout were listed above, but the main points are still presented. There is one more moment at which it will be necessary to change the valves - this is if they are bent when they meet the pistons. But here - WARNING! On standard VAZ 2114 engines with 8-valve cylinder heads, this cannot be in principle.
But if you have a 16-valve engine, which happens even on late factory models, then a broken timing belt can lead to sad consequences. Below we will consider the replacement procedure in a nutshell, with presented photo reports on repairs from personal experience.
Replacing valves on a VAZ 2114 - photo report
So, first of all, it will be necessary to remove the cylinder head, since otherwise it is simply not possible to get to the valves. Of course, first take off the timing belt and everything that will interfere with us further, including the valve cover.
After that, we unscrew the bolts securing the head to the block. There are 10 of them in total. Depending on the release date of the car, they will be either hexagon or TORX profile.
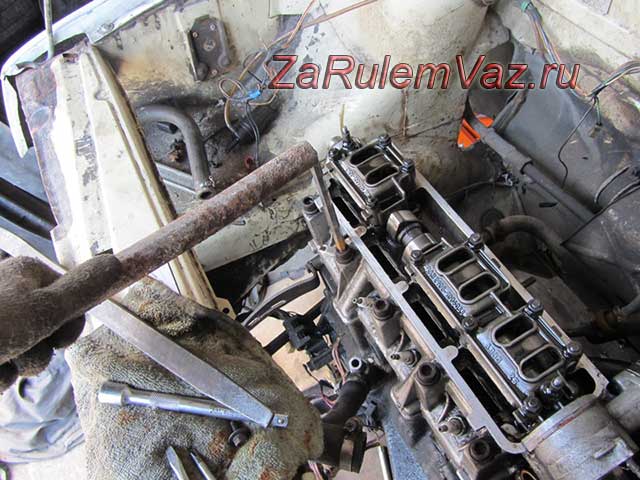
The bolts on one side are outside, and on the other, inside the head, so they are not visible in the photo. After all of them have been unscrewed, and everything that may interfere with further dismantling has been disconnected, remove the cylinder head from the engine:

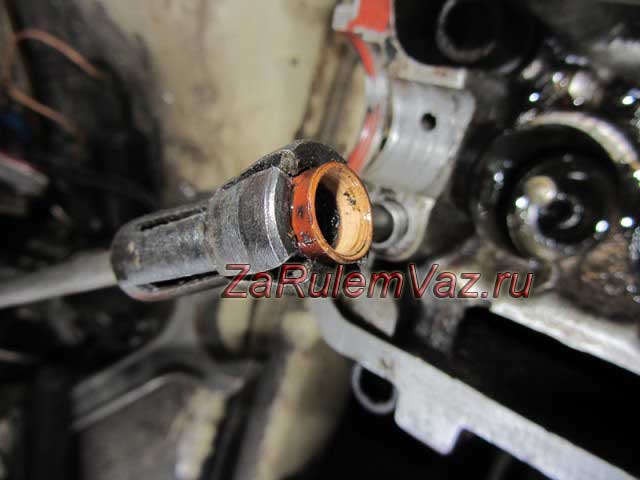
It is best to remove the camshaft in advance, since it is not very convenient to unscrew it on the removed head. When it is removed, you can begin to dry out the valves.
To do this, you need a special device called a desiccant. Again, so that the cylinder head is securely fixed, you can put it back on the block, and press on a couple of bolts diagonally.
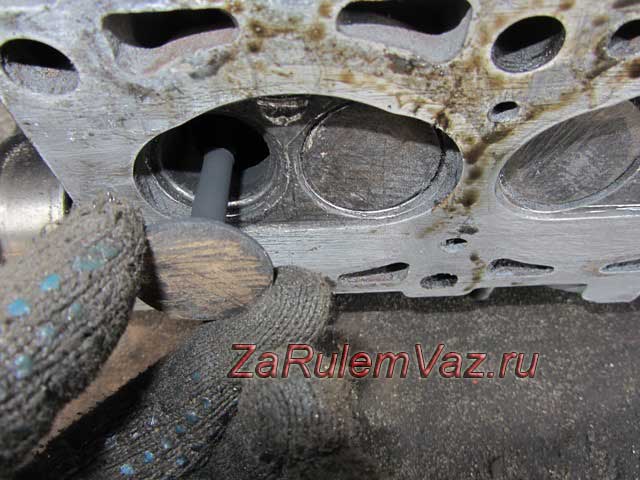
The cracker rail is installed and each valve is “worked out” in turn, as shown in the photo below:
When the valve springs are removed, you can start removing the valve stem seals. The result is clearly shown in the photo below.
After that, you can easily remove the valve from its guide sleeve from the inside of the head.
The rest of the valves are removed in the same order. When installing new valves, they will need to be ground in. To visually familiarize yourself with this procedure, watch the video clip, where all this is shown.
Valve Lapping Video
The review was made by Evgeny Travnikov, who is known for his entire YouTube channel Theory of Internal Combustion Engines:

When you have finally completed all the work, you can install all the removed parts in the reverse order on the car. As for the price of a set of new valves, it is about 1500 rubles. If you buy separately, then the cost is easy to find out by dividing the amount by 8.