Kia Optima lamp replacement
Content
Replacing light bulbs in a car plays an important role in ensuring road safety. Therefore, timely replacement of lamps is required. The article will tell you how to independently replace the headlight bulbs on the Kia Optima.
The video will tell and show how to change the bulbs in the headlights of a car
Replacing lamps
Replacing the high and low beams with a Kia Optima is quite simple and you do not have to visit a car service every time, and you do not have to spend money. Let's go directly to the operation:
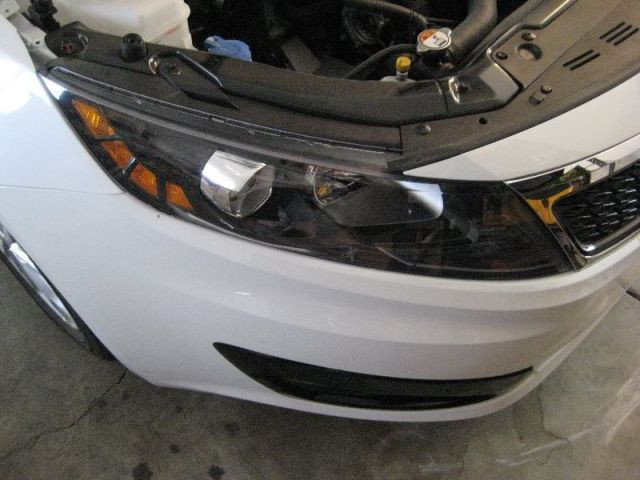
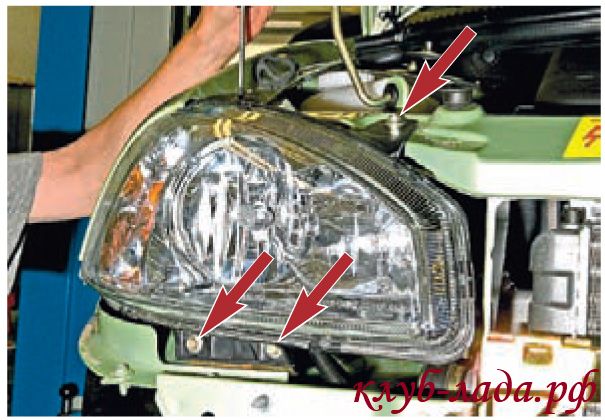
Headlights Kia Optima 2013
- Remove the protective cap.
Low beam lamp.
A cover that protects the lamp from dust.
Remove the cover.
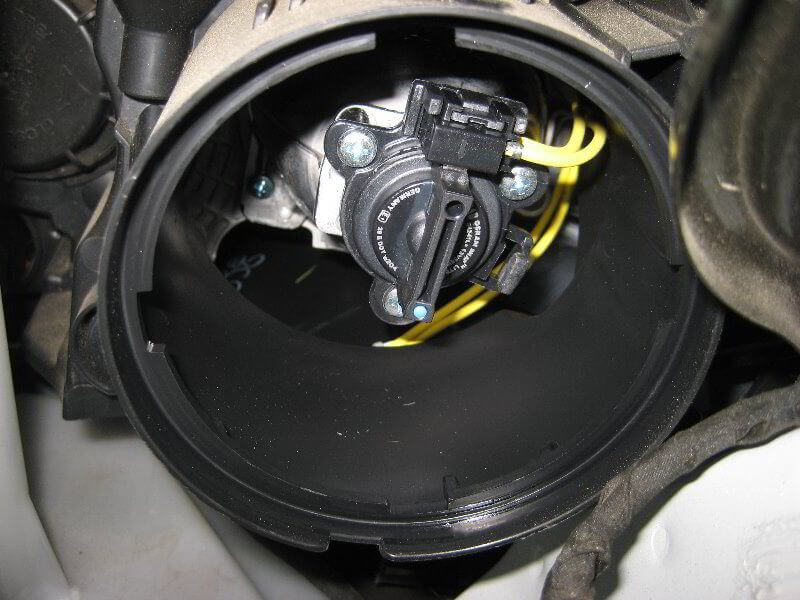
- Inside you can see a lamp.
Lamp Osram H11B.Lamp.
You can remove the coolant reservoir if it gets in the way.
- Remove the metal support.
Loosen the two bolts by 10 mm.
Remove the tank.
Lamp stand.
- Turn the lamp counterclockwise.
Turn clockwise 1/4 turn.
The lamp is installed.Replace the cover.
- We disconnect the headlight wires from the main light, holding it a little.
High beam lamp.
Turn the cover counterclockwise.
Remove the cover.
- We take out the lamp.
High beam lamp.
Remove the fixing bracket.
Take out the lamp.
- Now you need to replace the bulb in the headlight.
Click on the power connector.
Disconnect the connector.
Install a new lamp.
First you need to open the hood and go to the headlight, where the lamp burned out. To access the marker light you need to remove the wheel arch guard and to do this you need to turn the steering wheel to turn the steering wheel. Then unscrew the 8 screw holding the protection, after which it can be unscrewed.
Support fixation.
Reinstall cover.
Turn signal lamp.
Replacing the low beam lamp Optima
The bulb, resembling a robotic eye, is located closer to the outer edge of the headlight housing. Access to the lamp is covered by a dust cap, which can be removed by turning it counterclockwise. Then you need to turn the base of the lamp a quarter of a turn counterclockwise and remove it from the headlight.
Lamp tab at the back.
Turn 1/4 turn counterclockwise to remove.
Press and turn the lamp to remove it.
You may need more space to replace the lamp; you can get it by removing the coolant expansion tank or battery. Both that and another for elimination will require a head for 10 and a ratchet.
Reinstall lamp.
Dimensional lamp.
Unscrew the wheel for easy access.
The glass of a new halogen lamp should not be touched with your fingers, as marks left behind can lead to a quick burnout of the lamp. The lamp can be cleaned with a cloth dampened with alcohol.
Remove screw 8 holding the wheel arch protection.
Fixing screw.
Unlock protection.
The new lamp is installed in the reverse order.
Replacing the High Beam Bulb Optima
The lamp is installed near the inside corner of the headlamp assembly. To replace it, you need to remove the protective cap, remove the retaining bracket and remove the lamp from the headlight. Then disconnect the power connector and install the new lamp in reverse order.
Turn the lamp base 1/4 turn counterclockwise.
Take out the lamp.
Take out the old lamp and install the new one.
Replacing the turn signal bulb Optima
The turn signal lamp is located on the inside corner of the headlight housing. You need to turn the plastic tab on the yellow bulb a quarter of a turn counterclockwise and remove the bulb. Then push and turn the bulb to remove it from the socket. Assembly in reverse order.
Install the lamp in reverse order.
Lamp check.
Replacing the lamp size Optima
The side light bulb is located in the outer corner of the headlight assembly. By removing the protection of the wheel arches, you can get to the base of the lamp. It must be turned counterclockwise, remove the lamp from the housing and change to a new one.
Selection of lamps
The marking of the lamp bases of the classic Kia Optima headlight (with a reflector) and lens optics (with LED DRL and static turn signals) is different.
- low beam - H11B;
- high light - H1;
- turn signal — PY21W;
- size - W5W.
Hack and predictor Aviator
As you can see from the instructions, replacing the headlight and turn signal bulbs is quite simple. You just need to read this manual well and every Kia Optima owner can do it. Remember that repairable lighting devices are a guarantee of safety not only for you and your passengers, but also for pedestrians.