Do-it-yourself VAZ 2109 threshold replacement: signs and step-by-step process
Content
VAZ 2109 is a relatively old car and today most of these cars require attention both to components and assemblies and to the body. Most often, thresholds are subject to corrosion, which, without anti-corrosion protection, quickly deteriorate and lose their bearing capacity. As a result, they have to be replaced with new elements, resorting to welding.
Why does threshold wear occur?
The side skirts are load-bearing elements that provide the body with additional rigidity. Due to the fact that these parts are located in the lower part of the body, they are constantly exposed to negative factors:
- water;
- mud;
- sand;
- stones;
- salt;
- chemical substances.
All this significantly reduces the service life of the sills. In addition, the mediocre quality of painting and anti-corrosion treatment of body elements from the factory leads to the fact that almost every owner of the "nine" is faced with the need to replace thresholds on his car.
Signs of the need to replace thresholds with a VAZ 2109
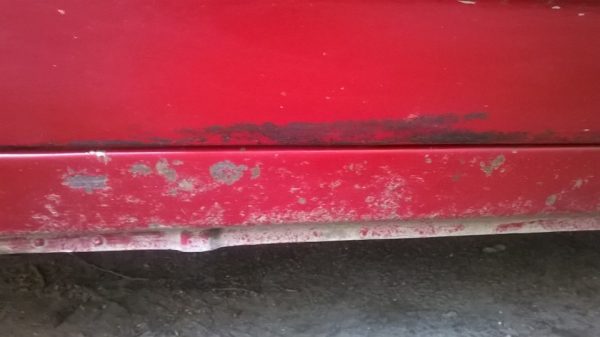
The appearance of even small patches of corrosion on the sills is the first sign that these body parts need to be looked at.
At first glance, such areas may seem harmless, but if you look at them in more detail, clean them up, it may turn out that a serious center of corrosion or even rotten metal is hidden under the layer of paint.
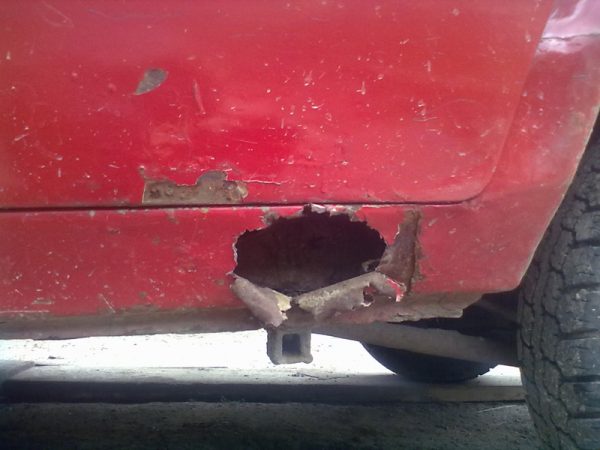
It is important not to miss the moment when the replacement of the threshold is still possible. It often happens that the threshold rots around the perimeter and there is simply nothing to weld on a new part. In this case, more serious and labor-intensive bodywork will be required.
Repair options for thresholds
The repair of the body parts in question can be done in two ways:
- welding patches;
- complete replacement of parts.
The first option requires less effort and financial investment. However, this is where its benefits end. If you adhere to the recommendations of experts, then repairing the load-bearing part of the body with patches is not the best option. This is due to the fragility of such a repair.
Partial repairs will not completely remove corrosion, and its further spread will lead to new rust and holes.
If you are unable to perform a complete replacement of the sills or the body element in question has minimal damage, you can partially replace the damaged area. To do this, it is necessary to cut out a rotten place, clean the metal from corrosion as well as possible and weld on a patch of body metal of the required thickness, or apply a repair insert.
After that, the threshold is carefully protected from corrosion in order to preserve its integrity as long as possible.
How to replace the thresholds of a VAZ 2109 with your own hands
If a significant part of the thresholds is damaged by corrosion, then there are no options other than a complete replacement of these body elements. To carry out repair work, you will need the following list of tools and materials:
- semi-automatic welding machine;
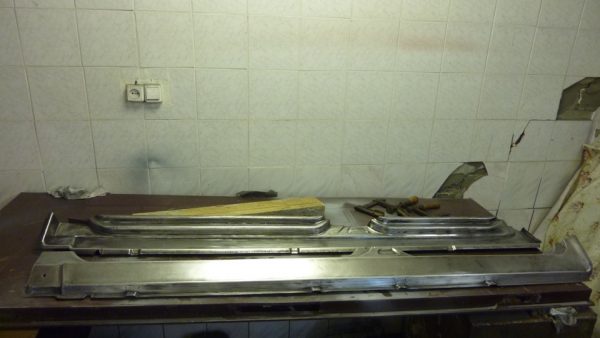
- new thresholds;
- Bulgarian;
- drill;
- sandpaper;
- putty and primer;
- anti-corrosion compound (mastic).
Features of replacement and preparation for it
When planning a body repair, you need to understand that the design of the VAZ 2109 thresholds consists of the following elements:
- outer box;
- inner box;
- amplifier.
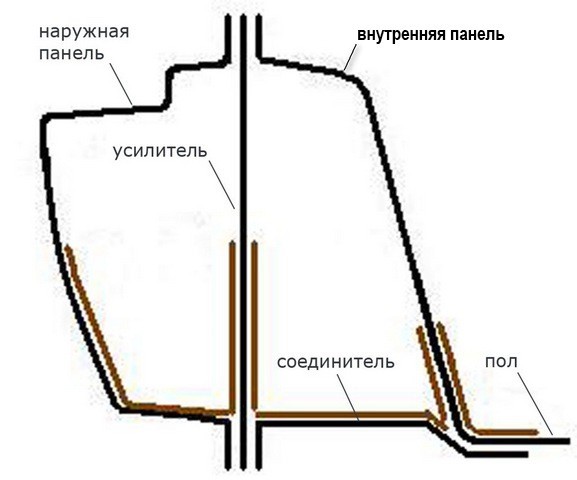
The outer and inner boxes are the outer walls of the sill. The outer element goes out and is located under the door, while the inner one is located in the passenger compartment. The amplifier is an element located between two boxes inside. Most often, the outer box is exposed to corrosion and when replacing the thresholds, this body part is meant.
Despite the fact that new parts are used when replacing the thresholds, they still need to be prepared. From the factory, they are covered with shipping primer, which must be cleaned before installation, that is, the metal must shine. This is done with sandpaper or grinder attachments. After cleaning, the elements are degreased and covered with epoxy primer.
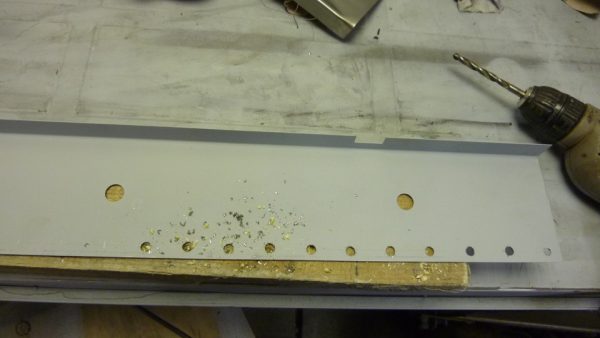
The final preparation of the thresholds is reduced to drilling holes with a diameter of 5–7 mm for welding in the places where the parts adjoin the body.
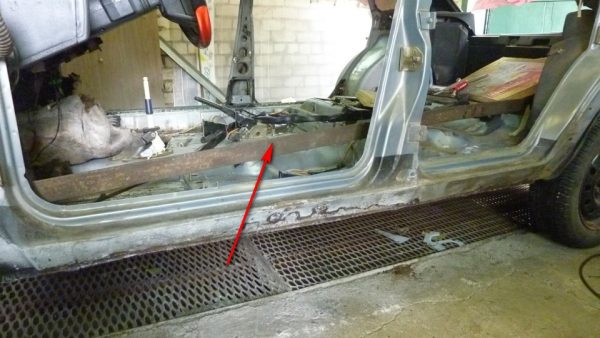
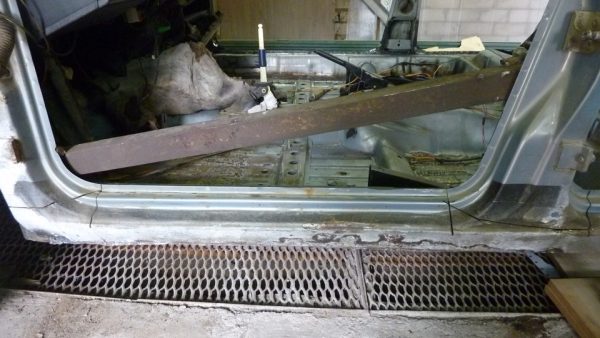
The preparatory procedures also include the dismantling of doors, aluminum door sills and interior elements (seats, flooring, etc.). Before the immediate start of work to remove old thresholds from the inside of the cabin, a metal corner is welded to the racks. It will provide the body with rigidity and will not allow it to deform after cutting off the thresholds.
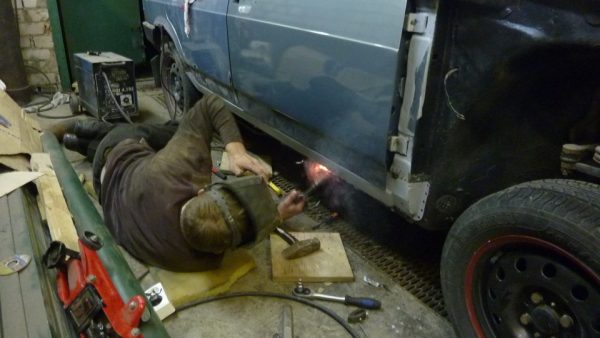
Step-by-step instructions for replacing
Having prepared everything you need, you can start repairing. The procedure consists of the following steps:
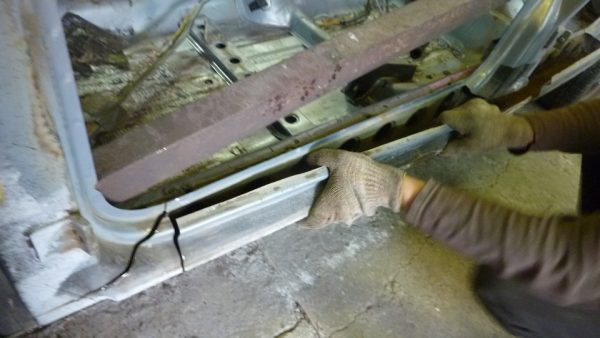
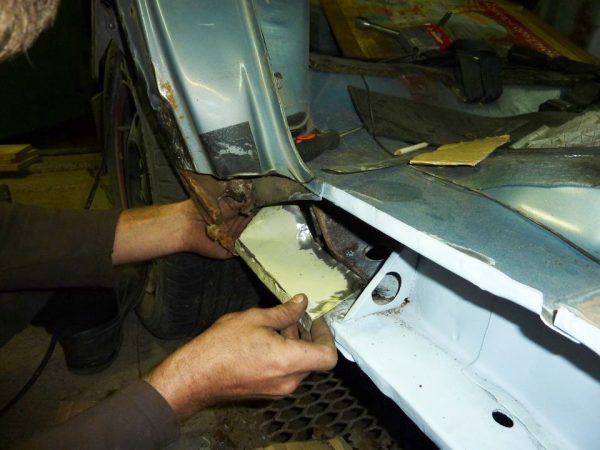
- Apply a new threshold to the old one and outline it with a marker.
 Apply a new threshold to the old one and mark the cut line with a marker
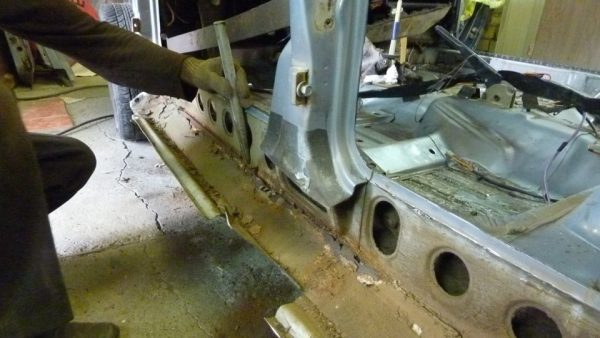
 - The grinder cuts off the outer part of the threshold just below the intended line. They do this in order to leave a small supply of metal.Cut the threshold along the intended line with a grinder
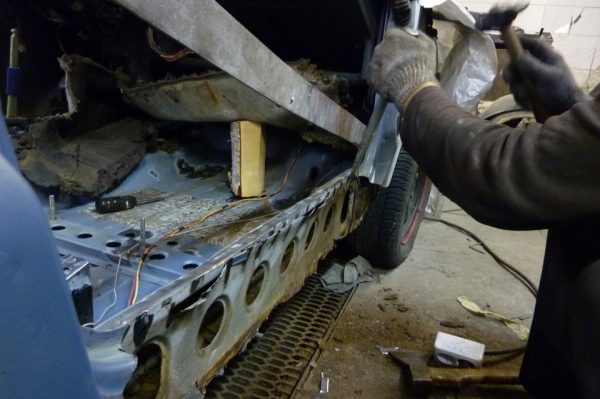
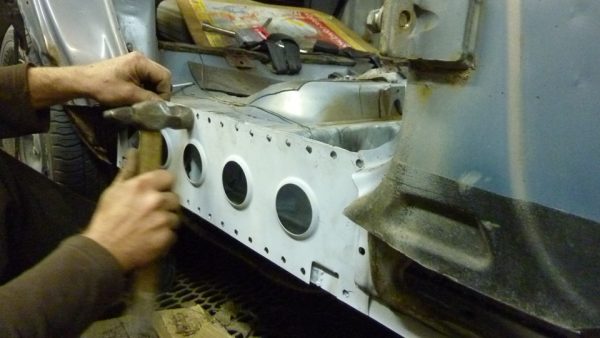
- Finally knock down the outer part of the threshold with a chisel.Chisel finally cut down the threshold
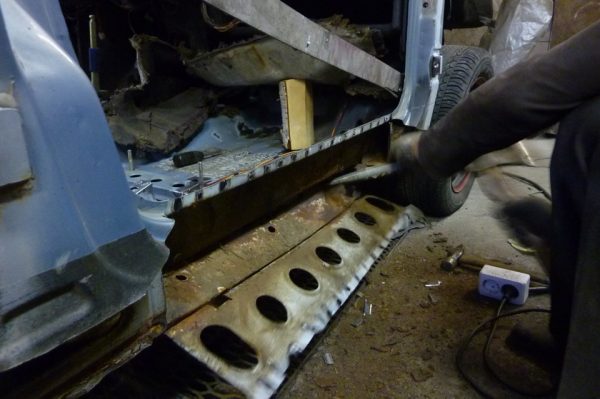
- Find contact welding points on the amplifier and clean them to remove the element. If the amplifier is in good condition, leave it alone.Weld points are cut off on the amplifier
- Cut down the amplifier with a chisel.Chisel cut down the amplifier from the body
- By analogy, remove the connector (if required). If the chisel does not cope, use the grinder.Using a chisel, remove the connector from the body
- If there are pockets of corrosion on other nearby parts, they are cleaned, rotten areas are cut out and patches are welded on.Damaged parts of the body are repaired with patches
- Fit and weld on the connector.
- Perform an adjustment, and then fix the amplifier by welding.The amplifier is adjusted in place and fixed by welding
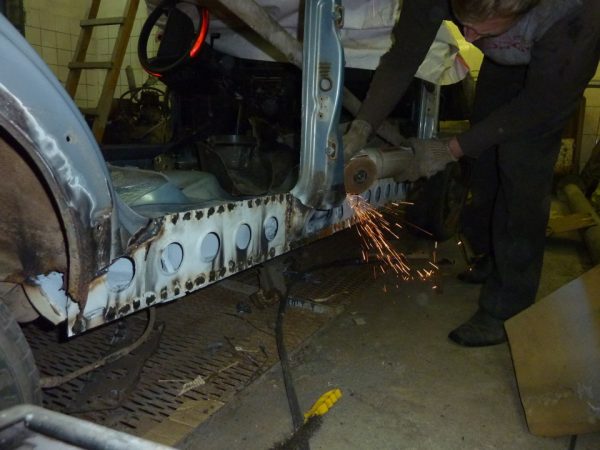
- Clean up welds.Welded points are cleaned with a grinder
- Adjust the sill in place so that the embossing on the rear wing coincides with the recess in the sill.
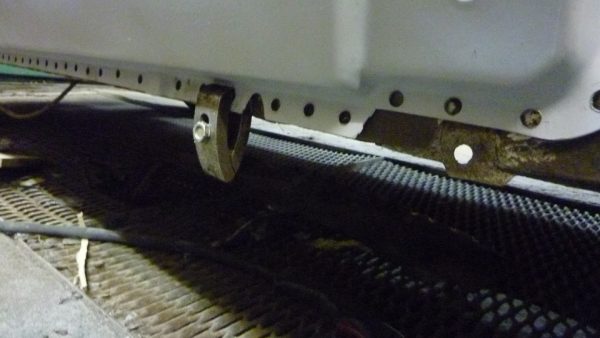
- The threshold is temporarily fixed to the body with special clamps.To fix the threshold, special clamps are used.
- They grab the part in several places.For reliable fastening, the thresholds must be fixed with clamps in several places.
- They put up the doors and make sure that they do not touch the threshold anywhere.
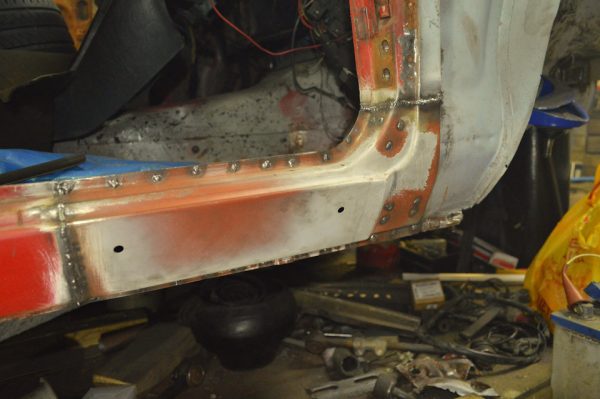
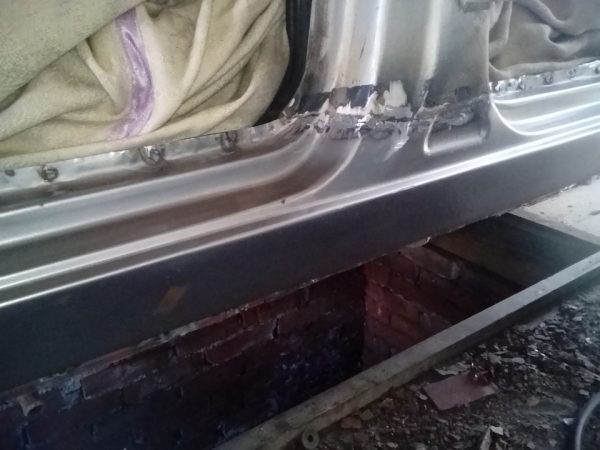
- Weld the body element.After fixing the thresholds, semi-automatic welding is performed
- Cleaning circle and grinder clean the welds.Welds are cleaned with a special circle and grinder
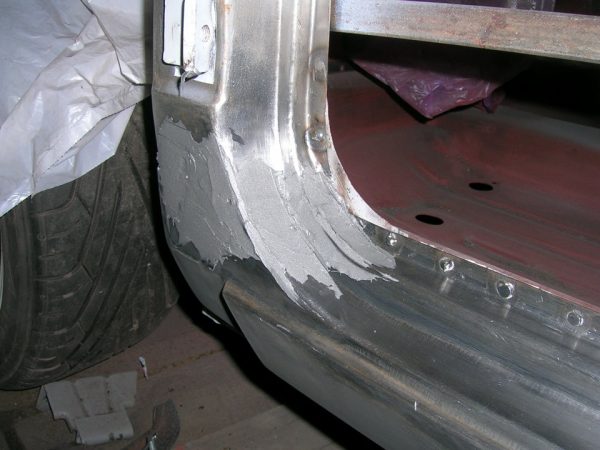
- The surface is treated with coarse sandpaper, degreased and putty with fiberglass is applied, after which the finishing putty is applied.After welding, the seams are treated with putty
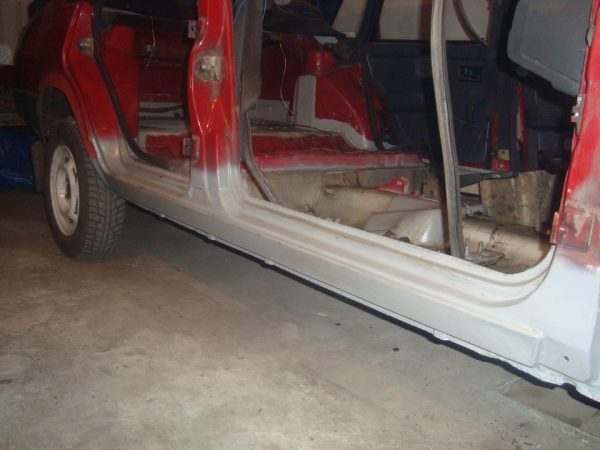
- The surface is cleaned, degreased, primed, prepared for painting.After stripping the putty, the thresholds are covered with primer and prepared for painting.
- Apply a paint and varnish coating, and a bituminous mastic from below.


Video: replacing thresholds on a VAZ 2109

Corrosion damage to thresholds on the VAZ "nine" is commonplace. Replacement of these body elements can be performed by every car owner who knows how to handle a grinder and semi-automatic welding. If there is no such experience, then it is better to trust the specialists. Only in this case can one hope for high-quality repair work and a long service life of the thresholds.

