Replacing the radiator of the Mercedes 190 stove
Content
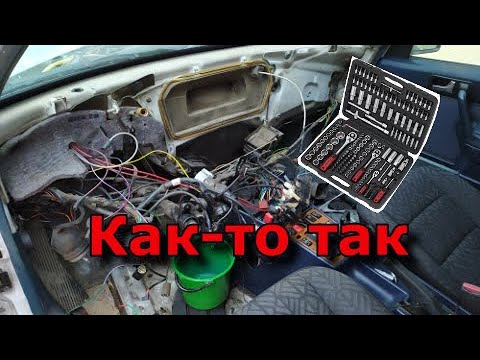
Hi all. Today we are repairing Mercedes 190 2.0 gasoline. The owner said that the stove did not heat well and that something was leaking under his feet. In general, the situation is clear, it is necessary to replace or repair the stove radiator. And under the feet in the area of the accelerator pedal, antifreeze is leaking due to a radiator leak.
If there is no money for the original, I advise you to take a Behr-Hella heater. Here is his article: 8FH 351 311-591. Suitable for vehicles with/without air conditioning.
Tools:
- hexagon set
- torx screwdriver
- head for eight
- ten heads
- pliers
Removing torpedo Mercedes 190
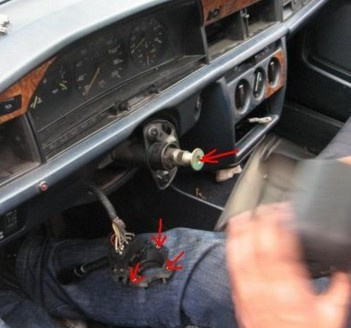
1. We pick up the signal on the flywheel and remove it.
2. Behind him, we unscrew the flywheel mounting bolt for the hexagon and remove the flywheel.
3. Next, unscrew the three screws that hold the "guitar".
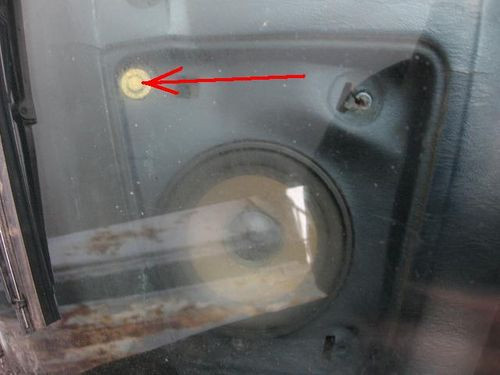
4. Now we unscrew the two screws that hold the speaker grilles and remove the grilles. We shoot from both sides.
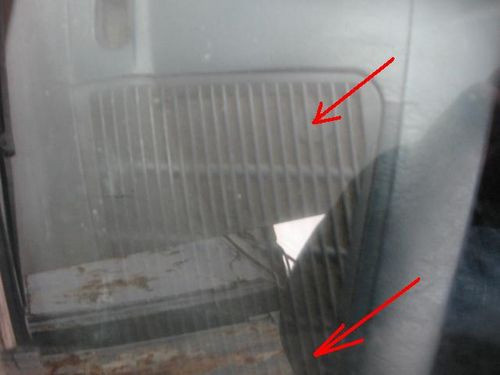
5. There are eight bolts under the nets, unscrew them.
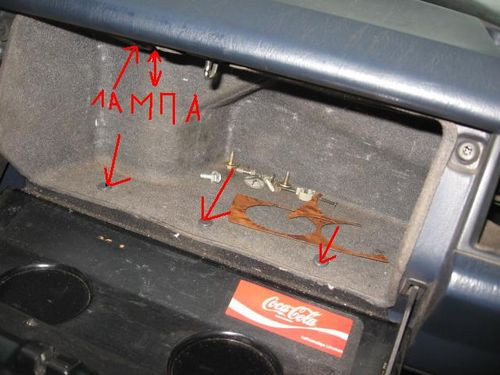
6. We take out the ceiling light in the glove compartment and turn it off.
7. We unscrew the two screws that hold the triangle, having previously removed the blinds.
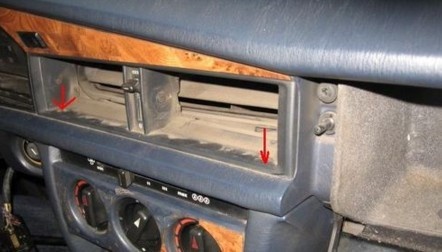
8. Unscrew the two screws at the bottom of the beard.
9. Unscrew the bolt on the triangle with a hexagon.

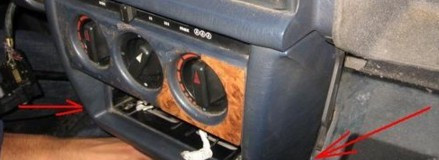
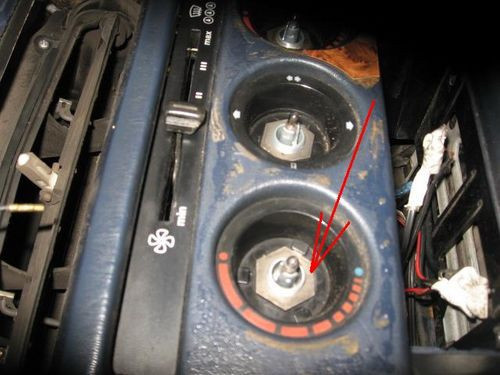
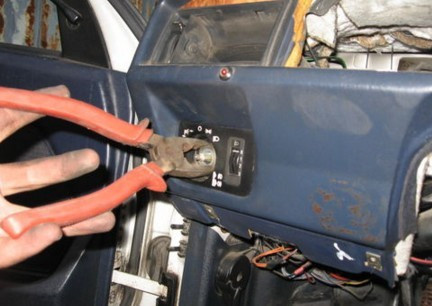
10. Remove the airflow adjustment knobs. We substitute a rag and through it with pliers we pull towards ourselves.
11. Unscrew the three nuts under the handles. I don’t have such a head, so I unscrewed it with pliers.
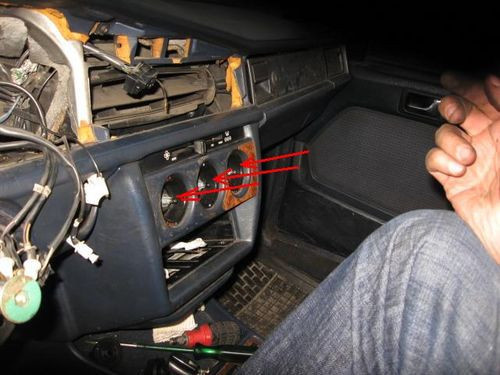
12. Turn off the two backlight contacts on the fan handles.
13. We charge ourselves.
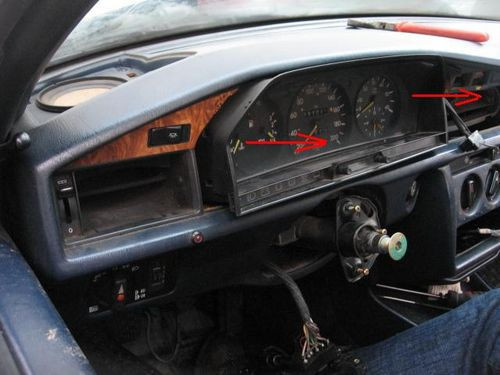
14. We take two wire hooks, gently hook and pull towards ourselves.
15. We put our hand in and disconnect all the connectors from the instrument panel, I advise you to write where it was.
16. Unscrew the two screws that hold the trim under the steering wheel.

17. We turn off ten bolts of fastening of a torpedo to the left.
18. Remove the light switch handle in the same way as the air flow regulators.
19. Unscrew the nut under the handle.
20. We unscrew the trim on the passenger side, fixed with three screws.
21. Unscrew the torpedo mounting screw to the right by ten.
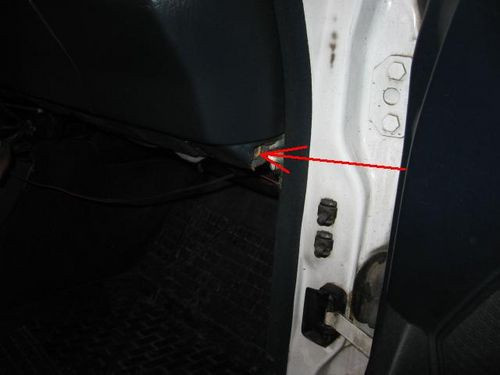
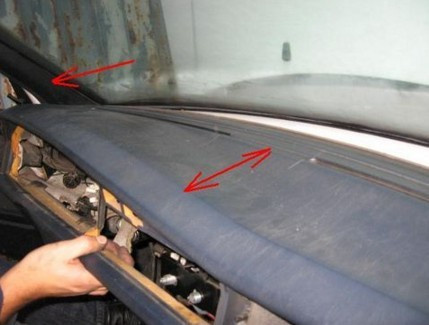
22. Nothing else holds the torpedo, we throw it at us.
We proceed to removing the radiator of the Mercedes 190 stove
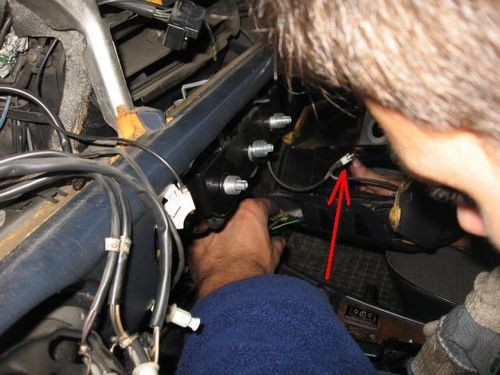
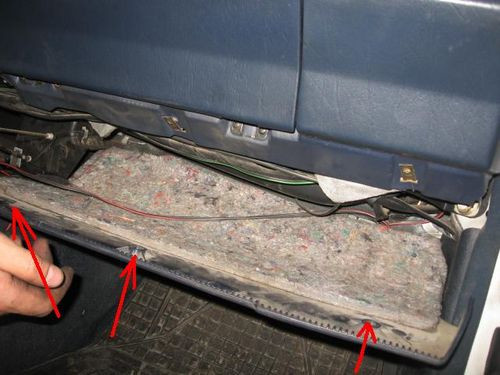
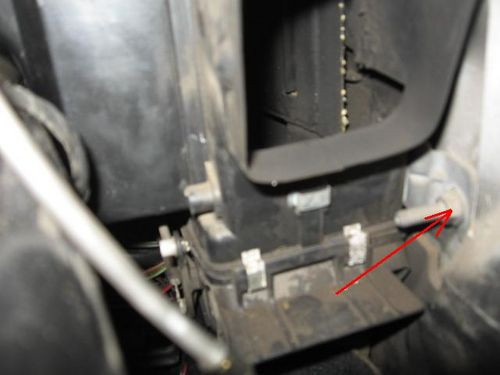
1. We unscrew the two screws that hold the radiator, eight screws.
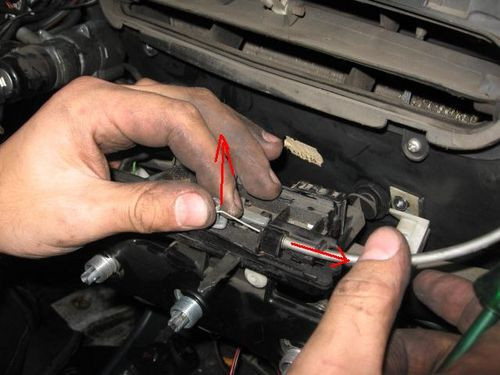
2. Unhook the adjustment cable from the stove motor.
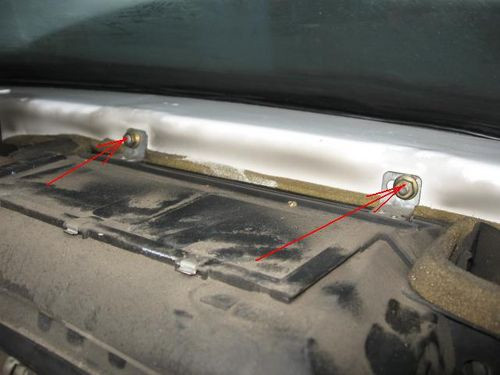
3. Unscrew the three screws that secure the radiator cap to the body, ten screws.
4. We take out the casing with the radiator and begin disassembly.
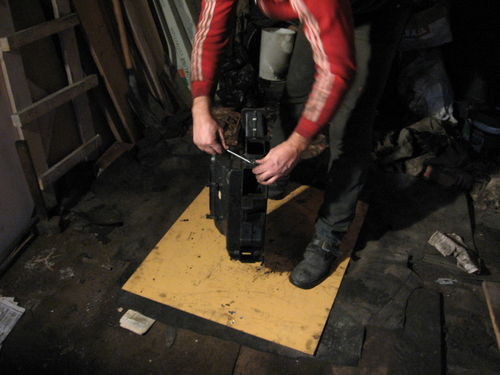
5. Open the metal latches around the perimeter of the case body.

6. We unscrew the two screws that hold the casing, it consists of two parts.
7. Disconnect the hinges and cut the radiator casing.
8. In one of the halves there is a radiator, it is fixed with a frame, which is screwed with six screws.
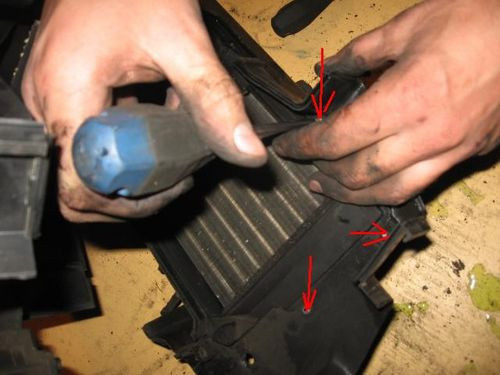
9. Unscrew six screws and remove the radiator.
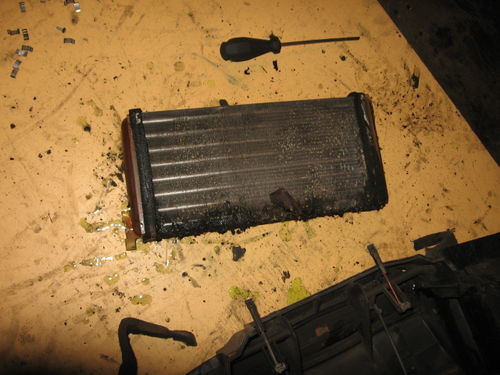
10. So I think it's clear, we take a new radiator and assemble it back.
Repair of a radiator of a stove Mercedes 190
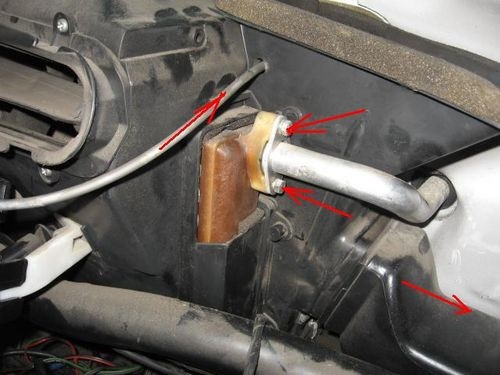
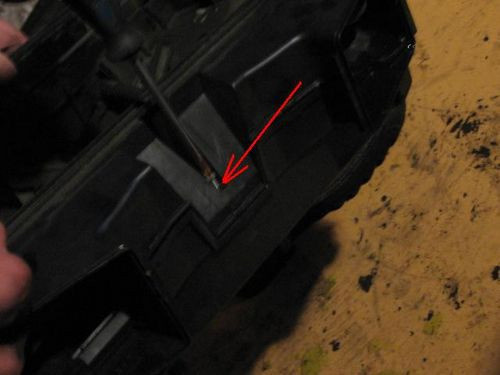
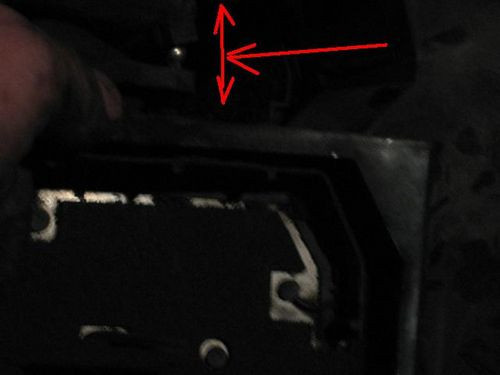
If you have financial problems, you can try to repair the radiator. In our case, the plastic burst to the left of the radiator and a leak appeared.
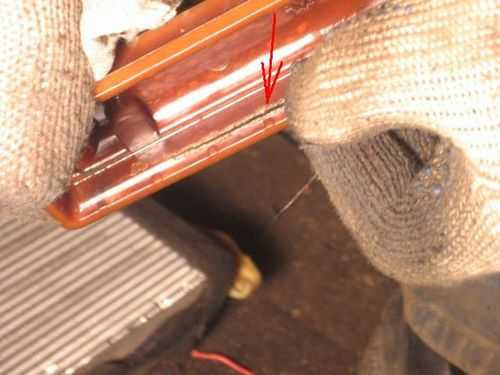 The crack is clearly visible in the photo.
To check the radiator for leaks, you need to install the radiator on a car without a casing and start the engine. In a few minutes you will understand where the flow is.
In our case, I flared the leaky side and removed the plastic. I covered the crack with sealant, it can also be welded. Next, I assembled the radiator and installed the radiator without a casing in the cabin. Checked for leaks and put everything back together.
If you decide to solder, then I want to recommend a hot air soldering station, which I assembled myself. Welded according to this scheme. The drill beveled the crack and cut it out. Next, I cut out the strip I needed from a suitable plastic. I will use it as an electrode. Using hot air, I heat up our plastic electrode until it melts to fill the crack. I have a soldering iron in my other hand while I fill in the crack and smooth and seal the edges. If it is difficult for someone to understand in words, look for a video on how to repair car bumpers.