Replacing the timing belt Hyundai Getz
Content
Replacing the timing belt is a procedure that should be done every 60 races. Some manufacturers, such as Nissan or Toyota, in some of their engines recommend changing the timing every 90 thousand kilometers, but we do not belong to them. The condition of the old timing belt is almost never diagnosed, so if you took the car and do not know if the previous owner performed this procedure, then you should.
Recommended timing belt replacement interval: every 60 thousand kilometers
When is it time to change the timing belt
Some auto repair sources have pictures that can be used to diagnose a timing belt by the following signs: a crack, a worn rubber cord, a broken tooth, etc. But these are already extreme zone conditions! There is no need to mention it. In the general case, the belt stretches on a run of 50-60 thousand, “bends” and begins to creak. These signs should be enough to make a decision to replace.
If the timing belt breaks, in most cases, valve replacement and engine overhaul will be required.
Instructions for replacing the timing belt step-by-step
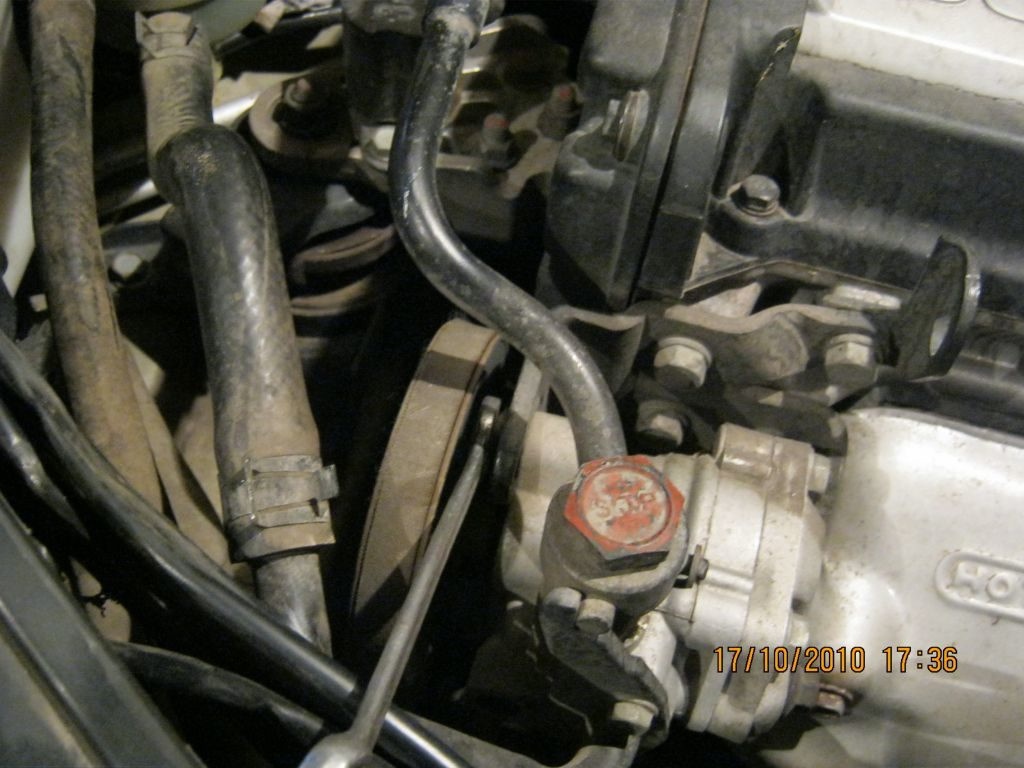
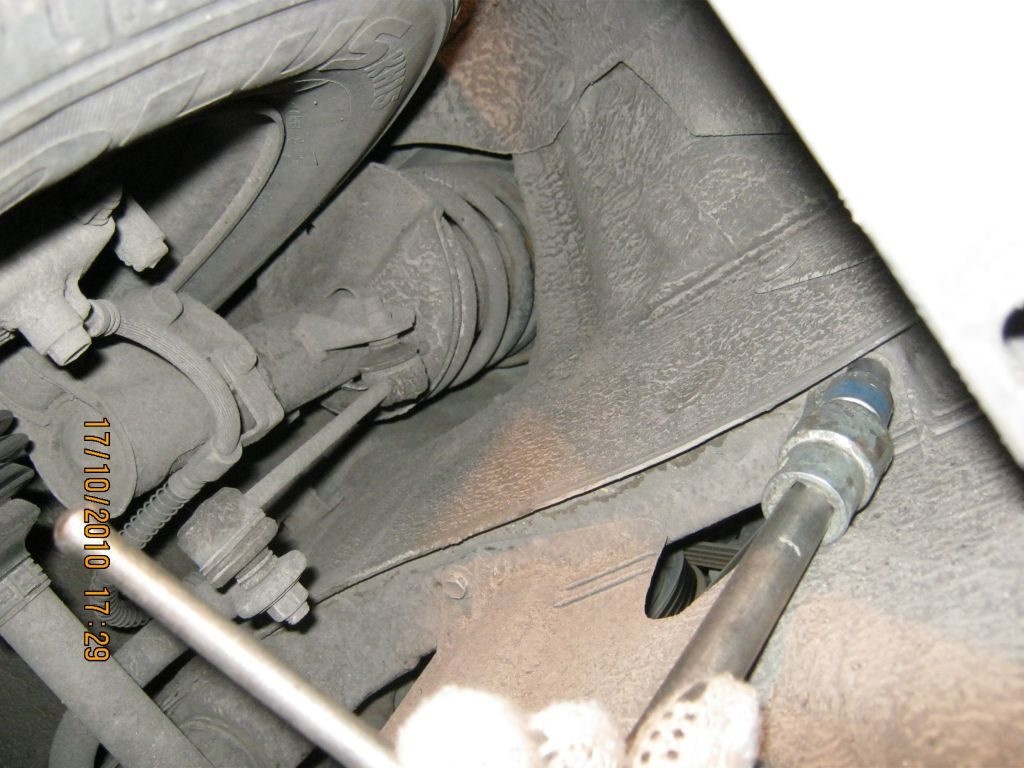
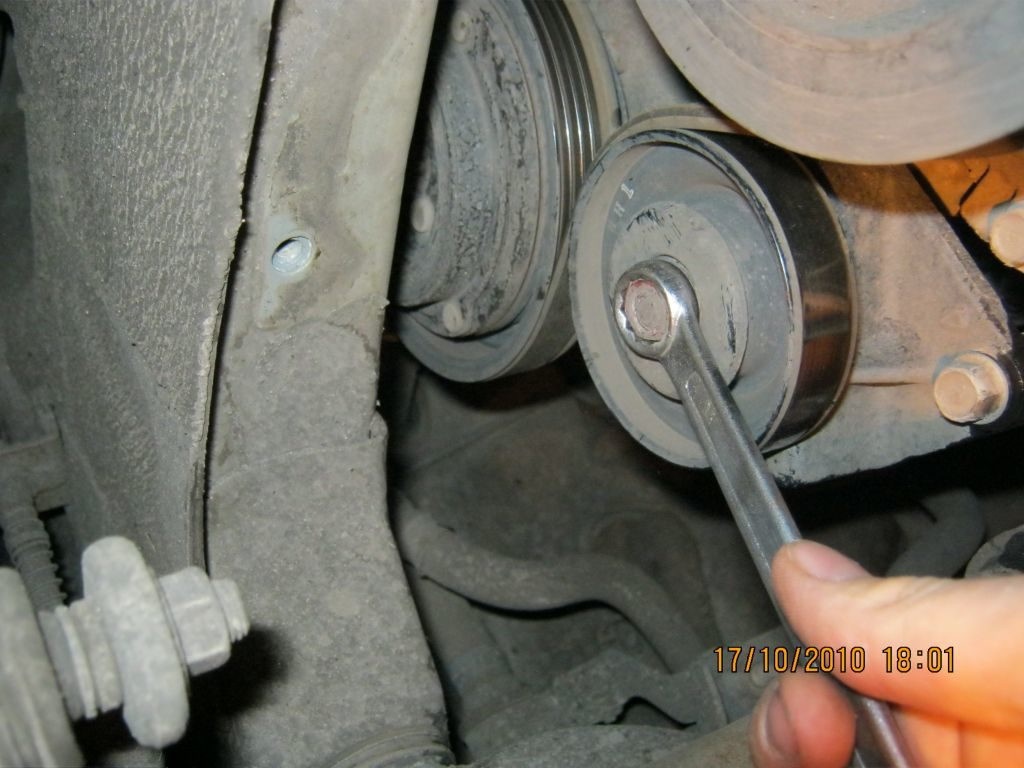
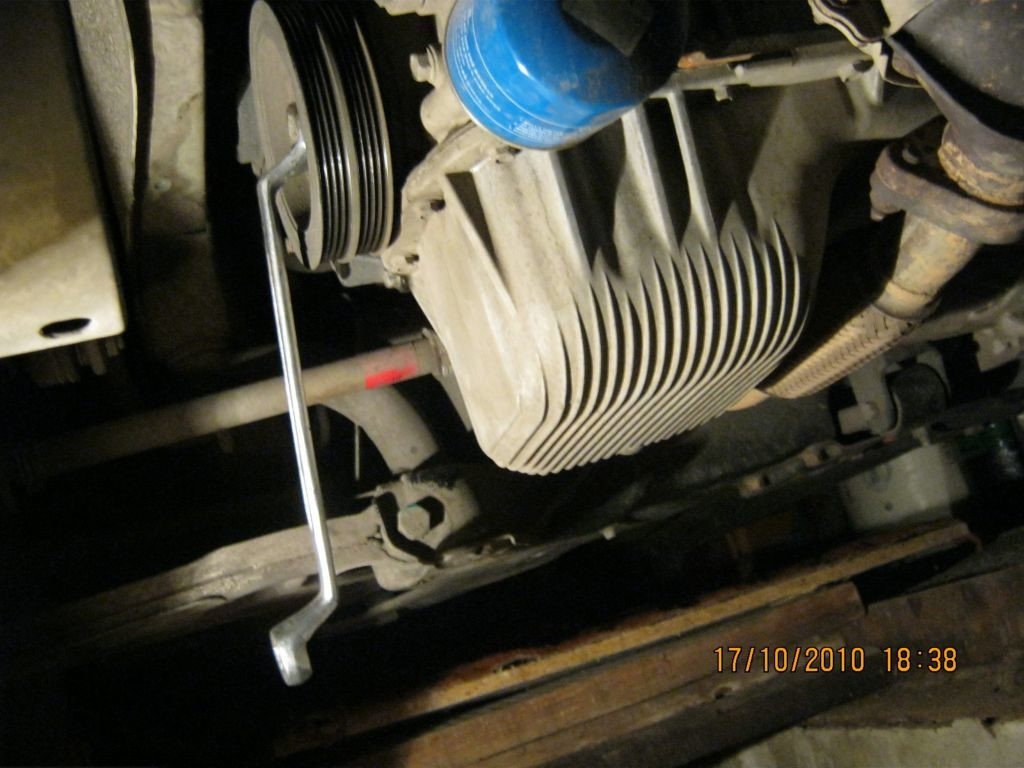
1. First of all, before removing the power steering belts, generator and air conditioner, I advise you to loosen 4 bolts, under the head by 10, that hold the pump pulley.

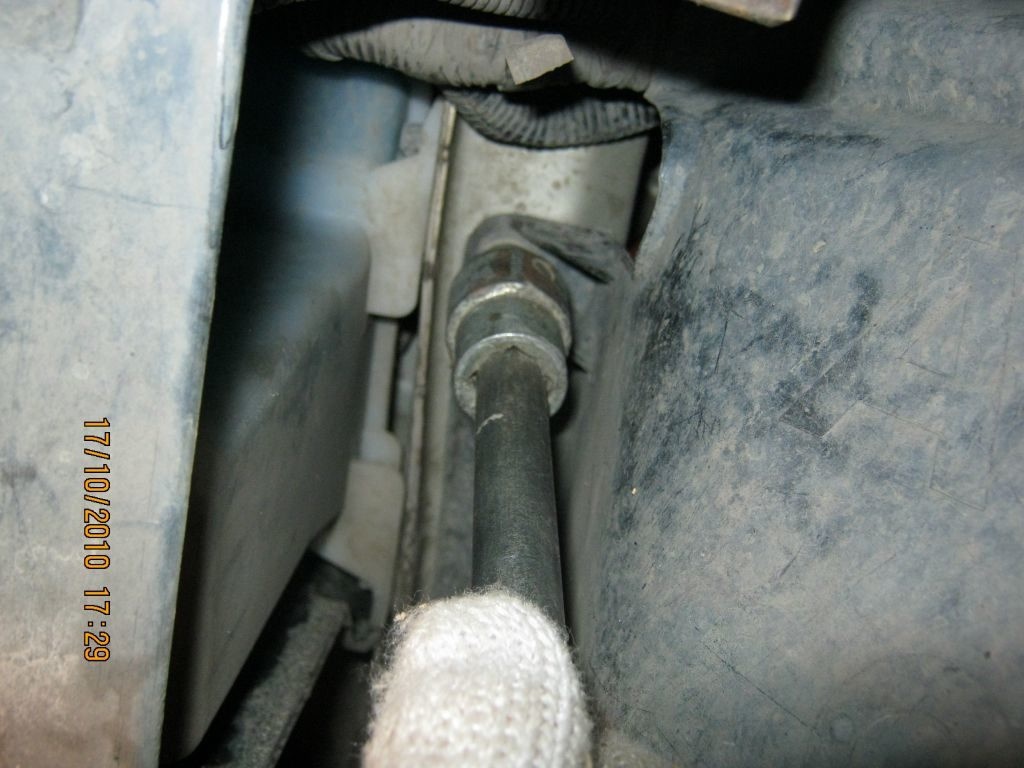
2. Remove the power steering belt. Loosen the power steering mounts - this is a long bolt on the lower mount under the head by 12
3. Remove the power steering belt;
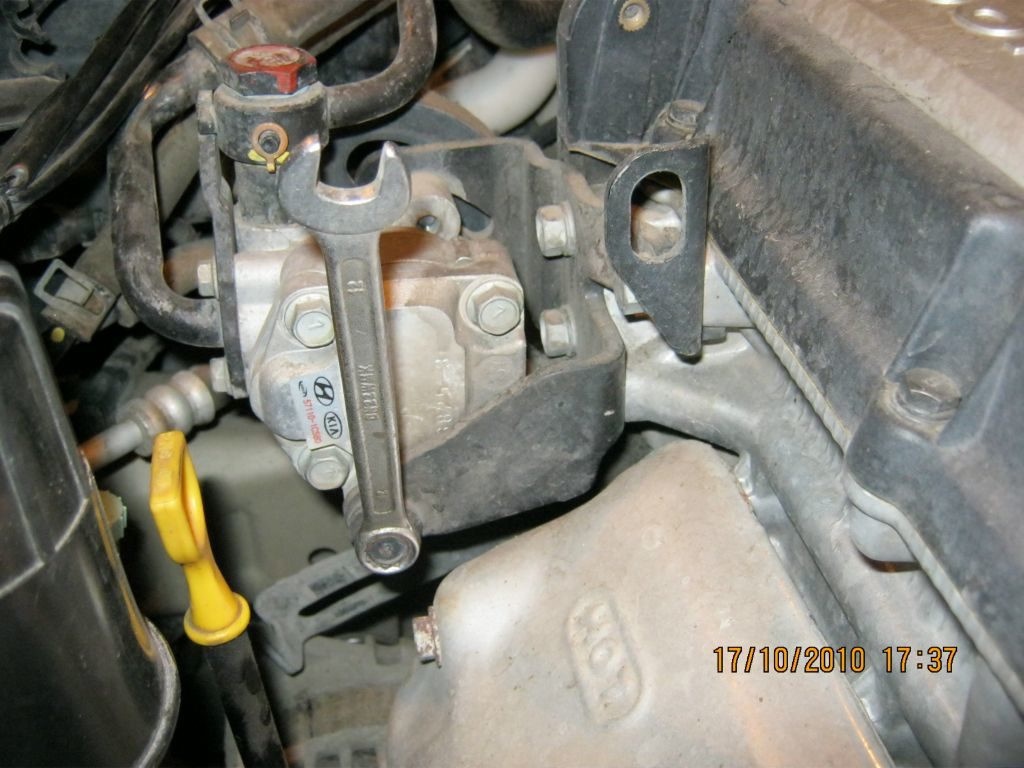
4. Remove the power steering pump housing from the engine and fix it by tightening the bolts;
5. We loosen the upper bracket of the generator (the bolt on the side of the tension rod) and the belt tension bolt
6. Remove the right plastic trim at the bottom of the car

7. Loosen the lower alternator mounting bolt
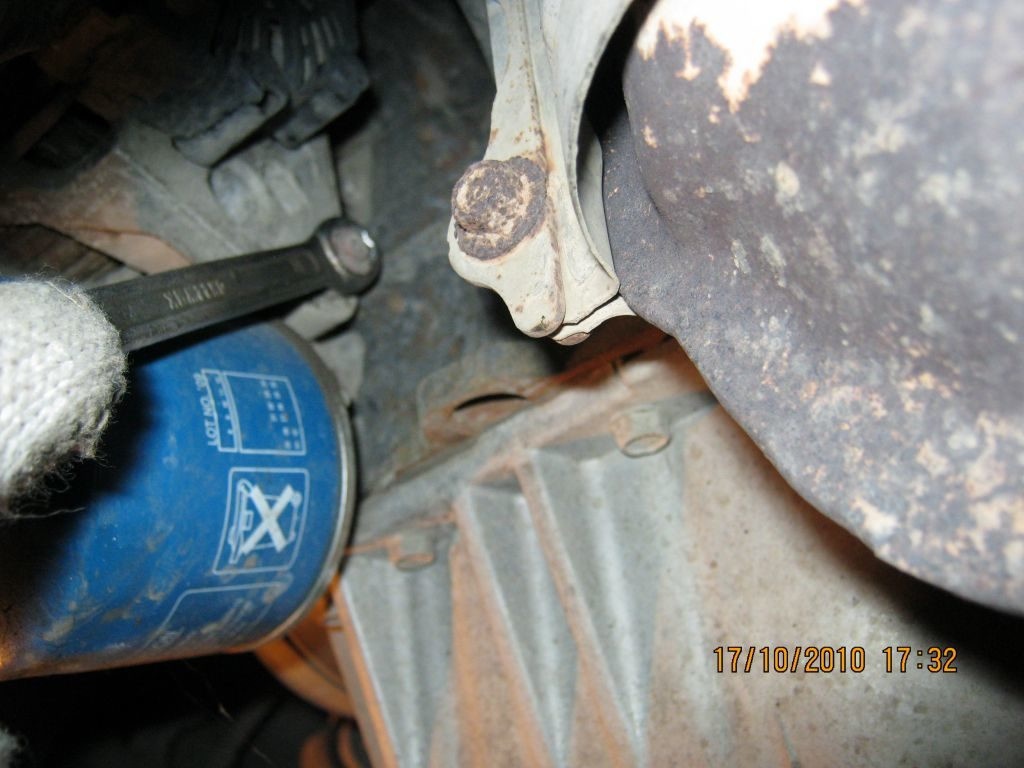
8. Remove alternator belt

9. Remove the water pump pulleys (whose bolts we loosened at the beginning)

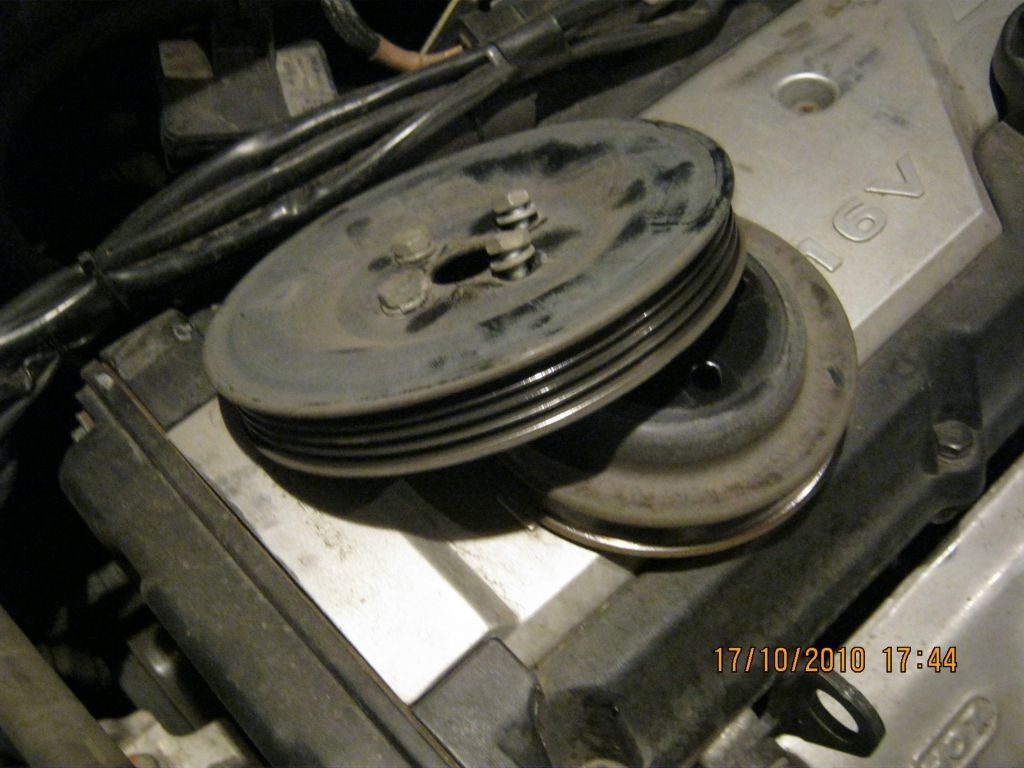
10. Loosen the A/C belt tensioner pulley
11. Loosen the air conditioner belt tension adjusting screw
12. Remove the air conditioning belt
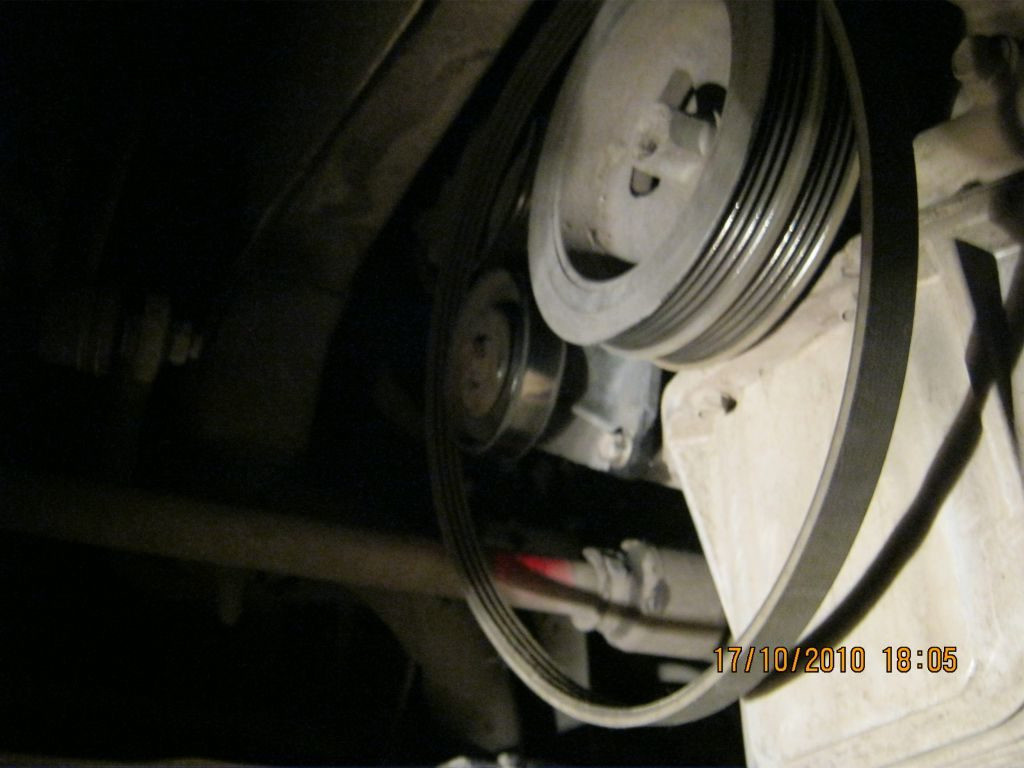
13. Remove the air conditioning belt tensioner, replace with a new one
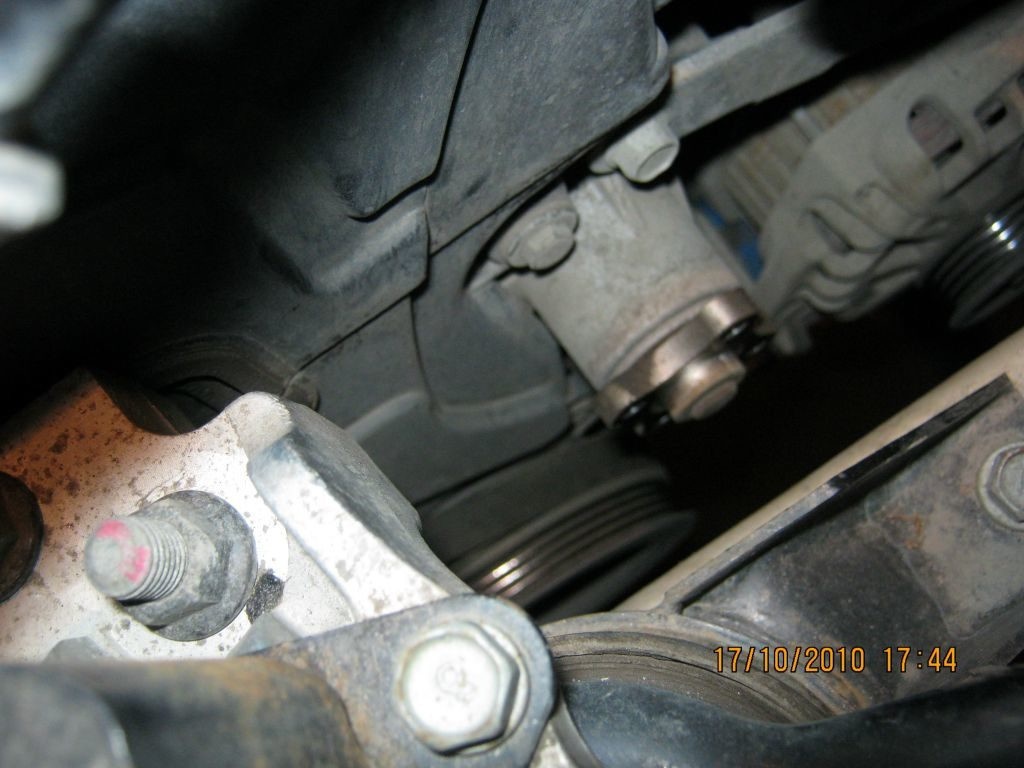
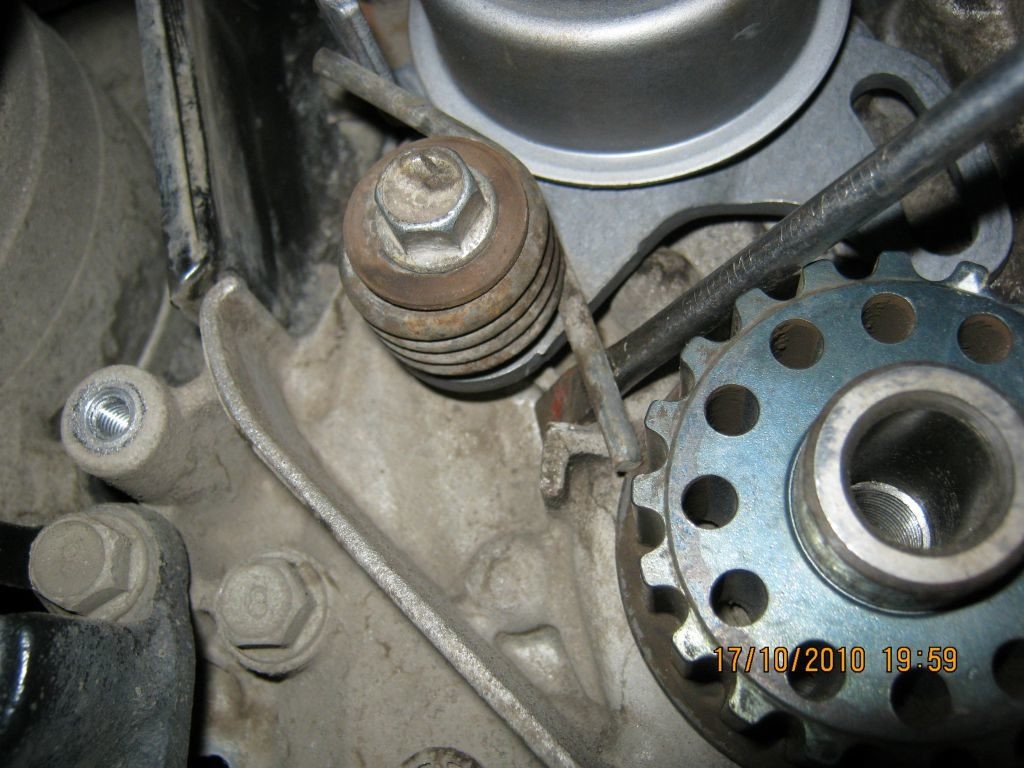
14. We proceed directly to the removal of the timing belt. The first step is to fix the brakes so that when you try to unscrew the crankshaft pulley, the engine will not start.
15. Engage 5th gear on vehicles with a manual transmission
To lock the crankshaft on machines with automatic transmission, remove the starter and fix it through the hole next to the flywheel ring
16. Using a 22 key, loosen the crankshaft pulley bolt
17. Remove the crankshaft pulley
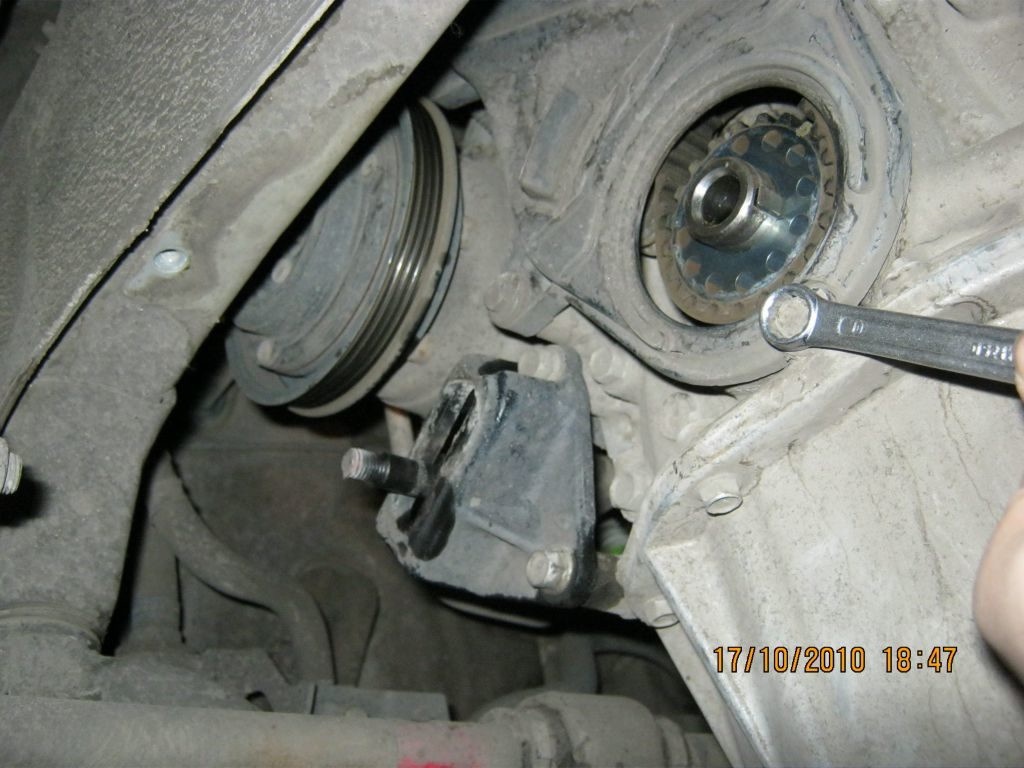
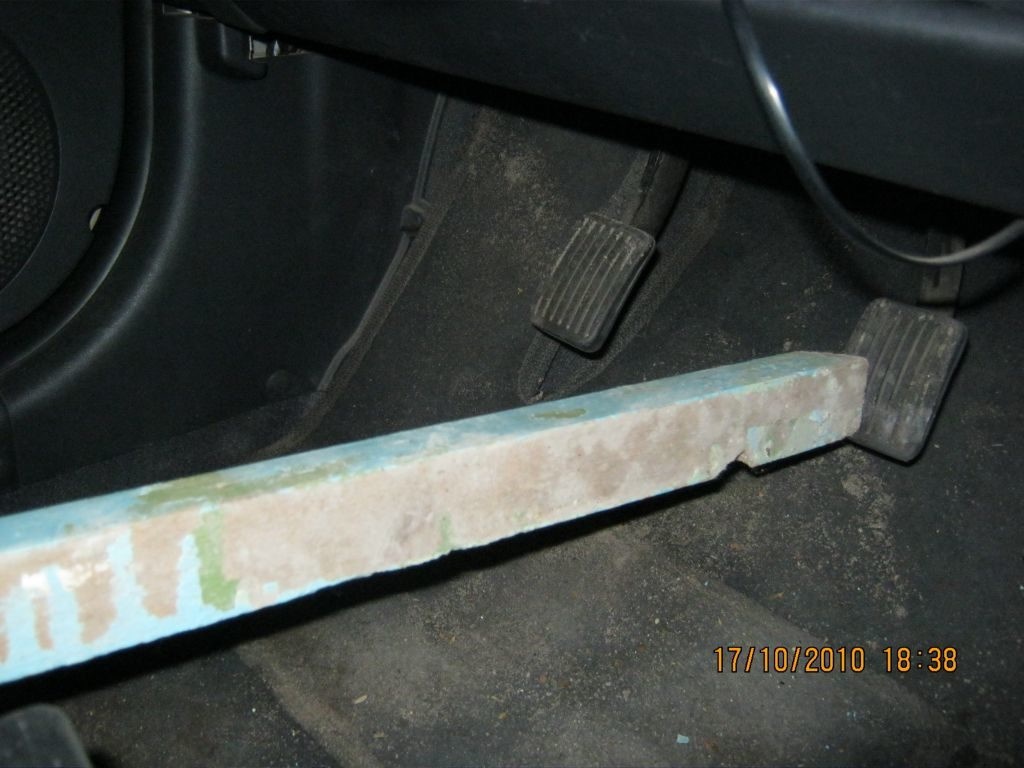
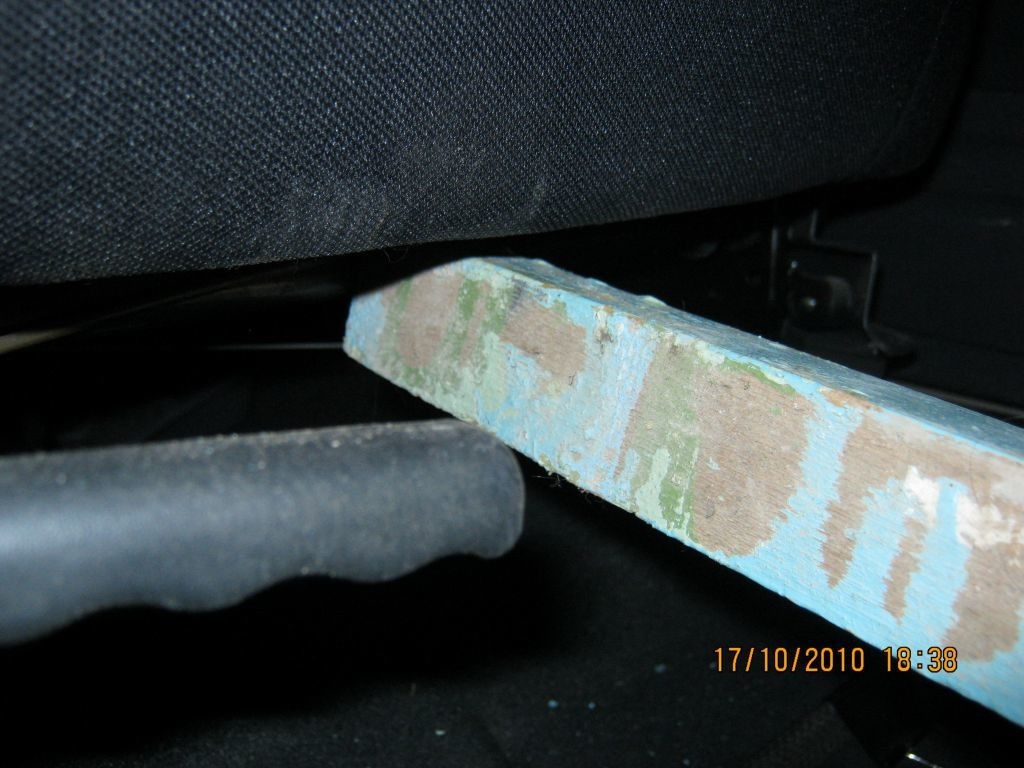
18. Remove the brake pedal stopper
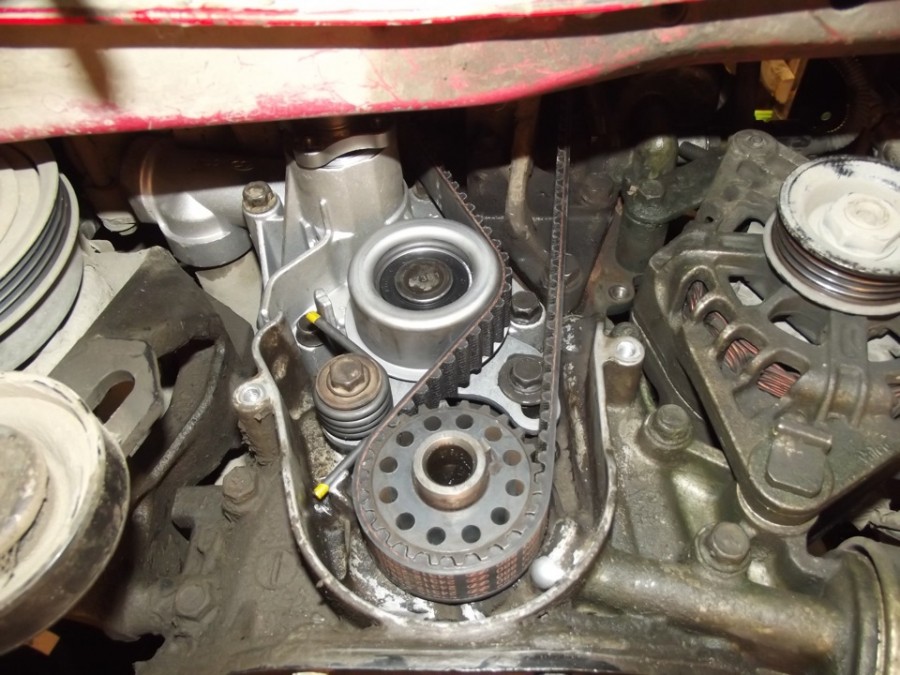
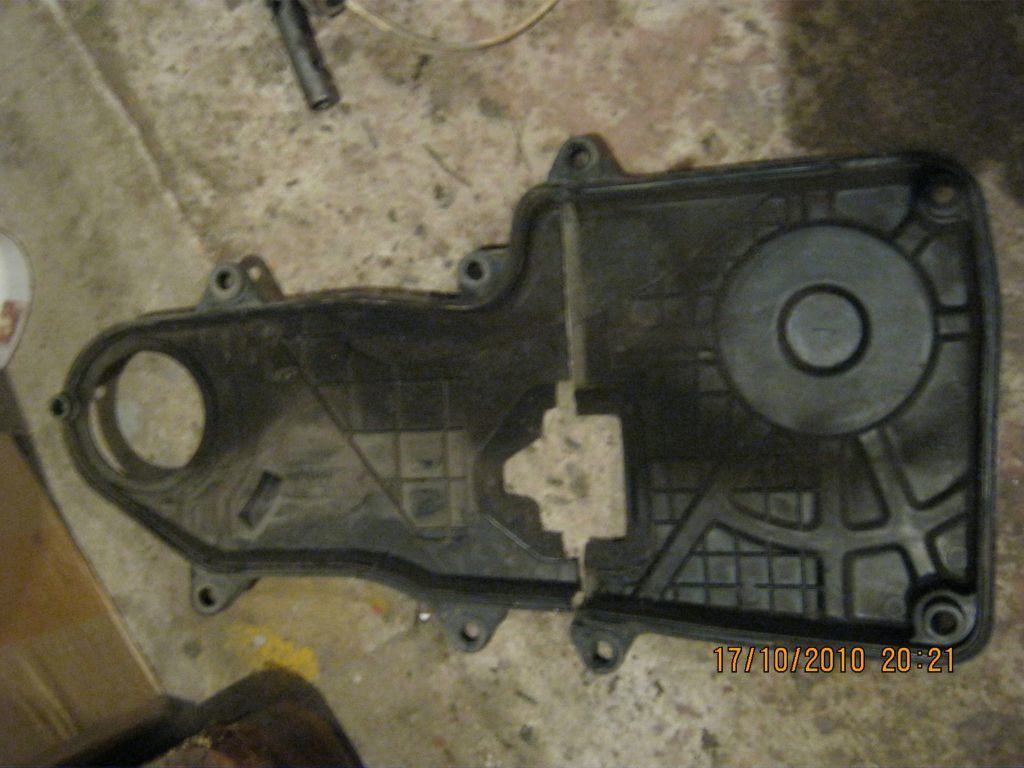
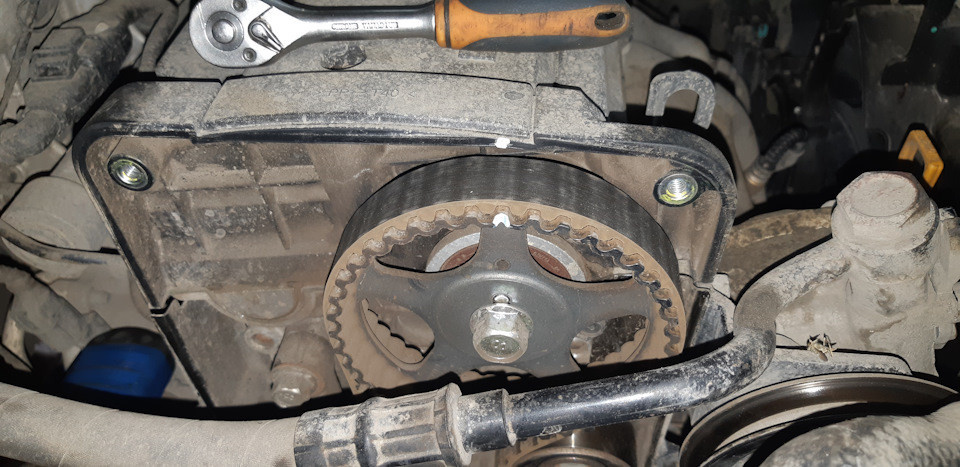
19. Remove the timing belt cover. Consists of two parts, top and bottom
20. Jack up the right front wheel.
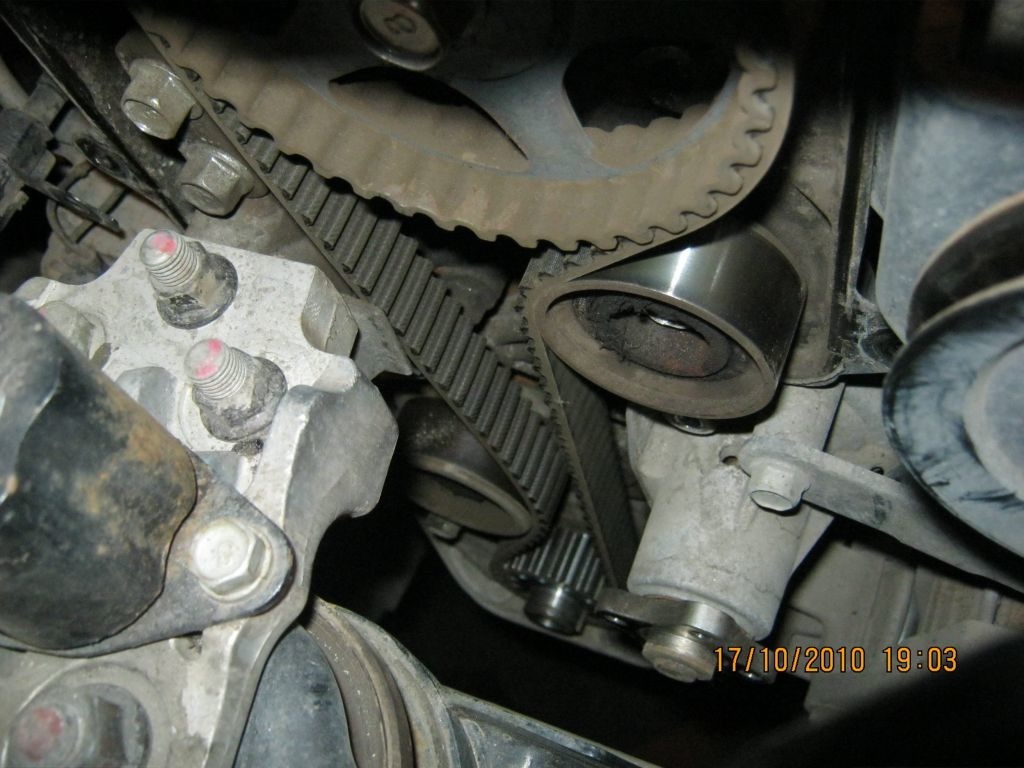
21. Turn the wheel to align the marks on the camshaft and crankshaft gears

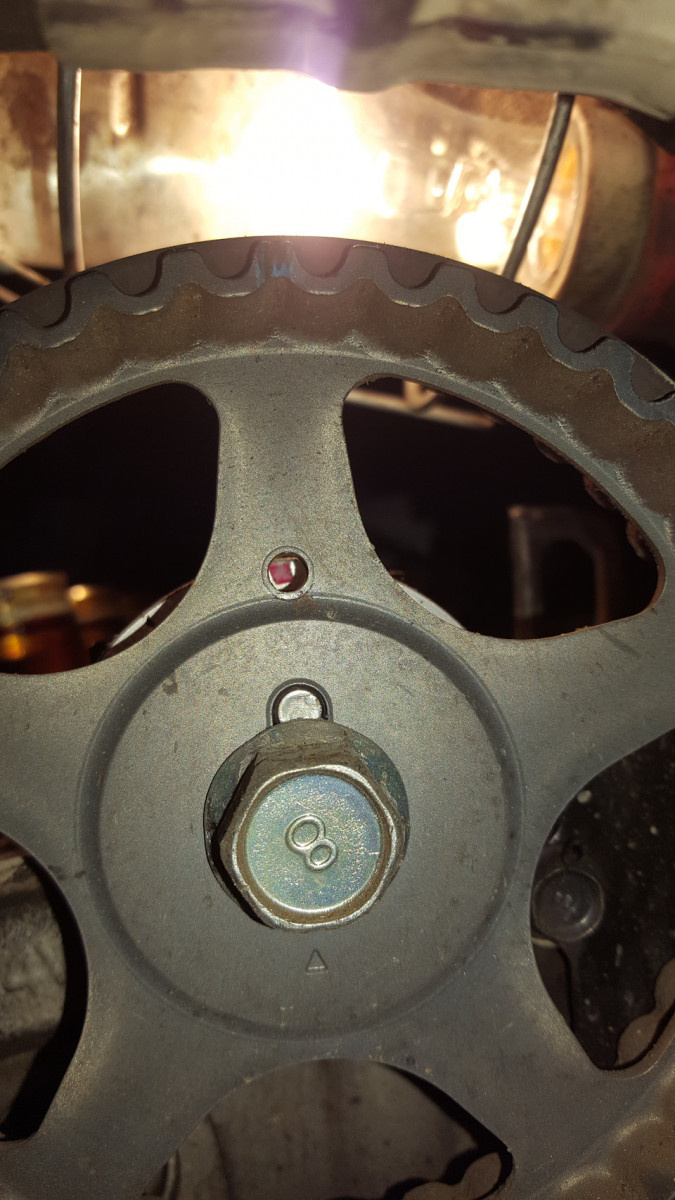
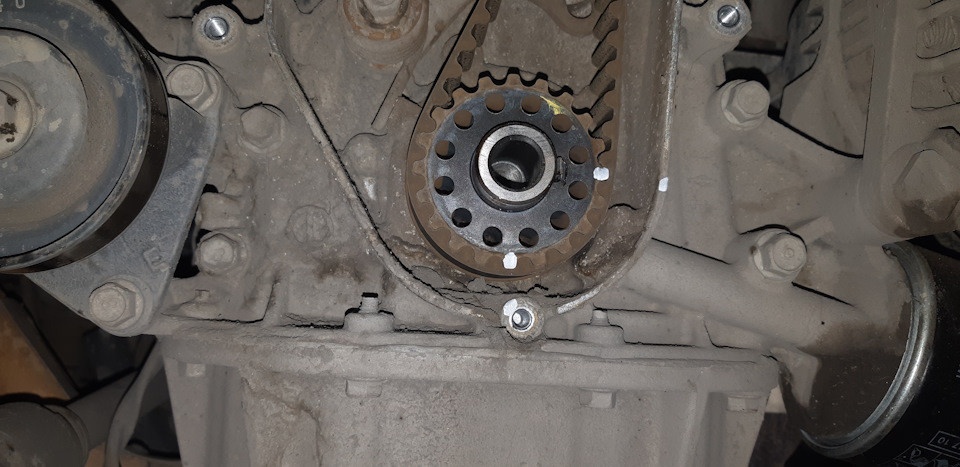
22. Recheck labels. On the crankshaft it is now a mark on the sprocket and oil pump housing, on the camshaft it is a round hole in the pulley and a red mark on the bearing housing located just behind the camshaft pulley.
23. With a head of 12, unscrew 2 bolts holding the timing tensioner pulley, carefully remove it while holding the tensioner spring, remember how it turned out
24. We unscrew the adjusting bolt and the bolt of the tensioner roller, remove the roller with the spring
25. Remove the timing belt
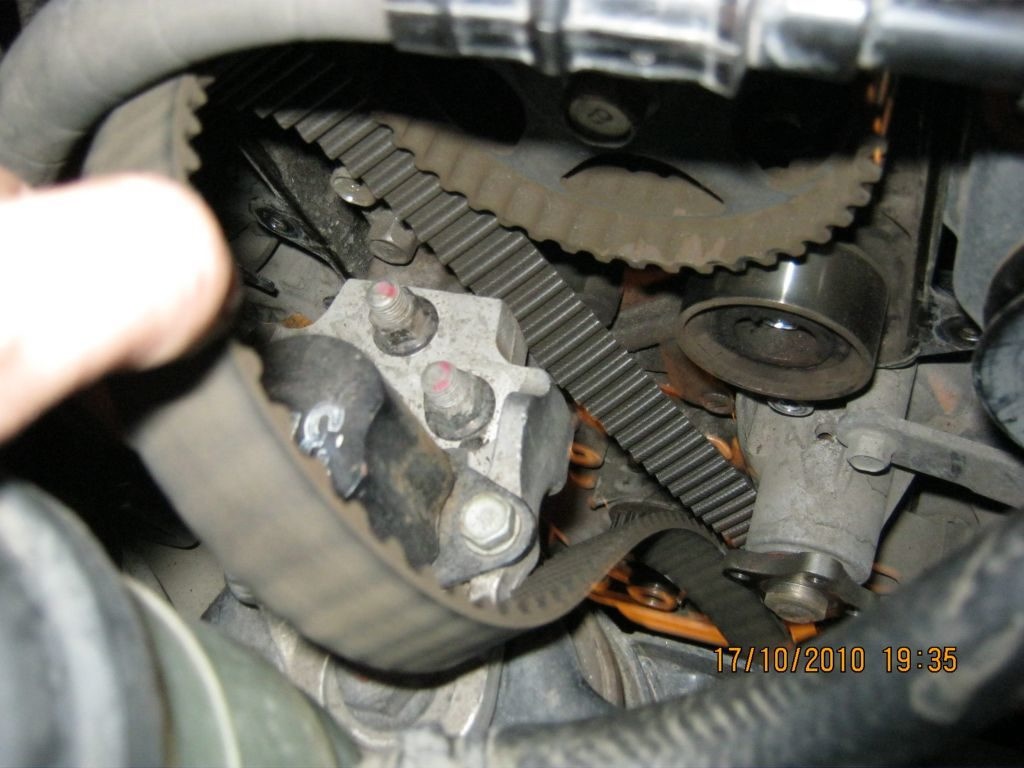
26. As a rule, we change the timing belt along with the rollers, we change them. With a 14 head, unscrew the upper bypass roller. We fix a new one, tightening with a moment of 43-55 Nm.
27. Install the tension roller with a spring. Initially, we twist the bolt of the cut, then we pick it up with a screwdriver and fill it with a cork.
28. For convenience, before installing the timing belt, pull out the tension roller until it stops and fix it by tightening the right set screw.
29. We put on a new belt. If there are arrows on the belt indicating the direction, then pay attention to them. The movement of the gas distribution mechanism is directed clockwise, if it is simpler, then we direct the arrows on the belt to the radiators. When installing the belt, it is important that the right shoulder is in a taut state with the camshaft and crankshaft marks set, the left shoulder will be tensioned by the tension mechanism. The belt installation procedure is shown in the following diagram.
1 – a gear pulley of a cranked shaft; 2 - bypass roller; 3 – a gear pulley of a camshaft; 4 - tension roller
30. We release both bolts of the tension roller, as a result of which the roller itself will be pressed against the belt by a spring with the necessary force
31. Turn the crankshaft two turns by turning the fixed wheel. We check the coincidence of both timestamps. If both marks match, tighten the tension roller with a torque of 20-27 Nm. If the marks "disappear", repeat.
32. Check timing belt tension. When tensioning the tension roller and the tensioned branch of the toothed belt with a force of 5 kg by hand, the toothed belt should bend towards the center of the head of the tension roller fastening bolt
33. We lower the car from the jack and install everything in the reverse order.
List of required spare parts
- Tension roller - 24410-26000;
- Bypass roller - 24810-26020;
- Timing belt - 24312-26001;
- Water pump (pump) - 25100-26902.
Time: 2-3 hours.
A similar replacement procedure is carried out on Hyundai Getz engines with 1,5 G4EC and 1,6 G4ED engines.